Are you a homeowner struggling with a noisy or faulty garage door? If so, it may be time to consider some garage door hinge replacement tips to keep your door functioning smoothly. Garage door hinge replacement tips can prevent multiple issues, including noise, poor movement, and unexpected breakdowns, ensuring that your garage door remains functional and safe.

Understanding Garage Door Hinges
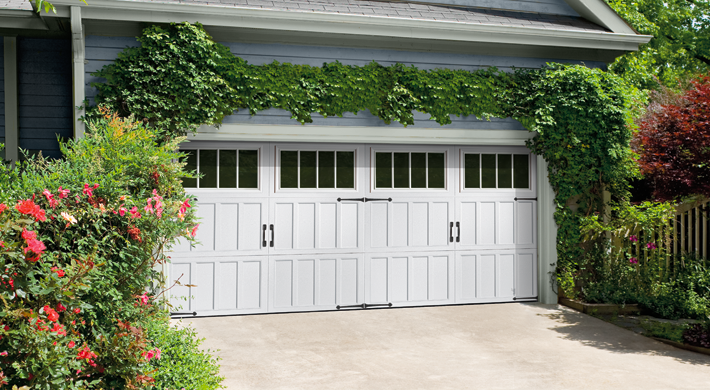
Before diving into the garage door hinge replacement tips, it is essential to understand what role hinges play in the performance of your garage door. Hinges are crucial components that connect the panels of your garage door and allow it to move up and down easily.
Common Types of Garage Door Hinges
Several types of garage door hinges are available, each designed to fit specific kinds of doors. Common types include center hinges, which connect panels in the middle, and end hinges, which attach at the ends of the panels. Knowing which type your garage door uses is a crucial step in following the right garage door hinge replacement tips.
Signs Your Hinges Need Replacement
There are several signs that indicate it’s time to consider garage door hinge replacement. Look out for uneven door movements, increased noise during operation, or visible signs of wear and tear on the hinges.
Preparing for Hinge Replacement
Gathering the Necessary Tools
To execute these garage door hinge replacement tips effectively, you will need tools such as a wrench, screwdriver, new hinges, and protective gear. Having these tools on hand before starting the process will make the task more manageable.
Ensuring Safety First
Before you start the hinge replacement process, make sure the garage door is fully closed. Disconnect it from any power sources to avoid accidents. This important aspect of garage door hinge replacement tips ensures your safety and that of your garage door system.
Step-by-Step Replacement Process
Step 1: Remove Old Hinges
Begin by unscrewing and removing the old hinges using a screwdriver. Replace one hinge at a time to avoid misalignment of the door panels.
Step 2: Align New Hinges
Proper alignment is a key aspect of garage door hinge replacement tips. Ensure that the new hinges fit precisely in the slots where the old ones were removed.
Step 3: Secure and Test
Once aligned, screw in the new hinges tightly. Open and close the garage door a few times to test the mobility and ensure everything is operating smoothly.
Maintaining Your Garage Door Hinges
Frequent maintenance is a significant part of prolonging the lifespan of your garage door hinges. Regularly check them for signs of wear and apply lubricant to maintain smooth operation. Learn more about necessary maintenance steps by referring to How Often to Service a Garage Door.

FAQs
- What are the signs that indicate a failing garage door hinge?
Common signs include squeaking noises, difficulty in opening or closing the door, and visible wear on the hinges. - How often should garage door hinges be replaced?
It’s recommended to inspect hinges annually and replace them if they show signs of damage. - Is it possible to install new hinges myself?
Yes, following proper garage door hinge replacement tips can make the process manageable, but if unsure, consulting a professional is advisable.
Fixing or replacing garage door hinges may seem daunting, but with these garage door hinge replacement tips, homeowners can address potential problems easily. Remember, regular maintenance plays a key role in the health of your garage door system, and for more advice, [here’s what you need to know](https://www.overheaddoor.com/blogs/blog-detail/year-at-a-glance-garage-door-maintenance), providing essential insights into maintaining garage doors efficiently.
This article contains affiliate links. We may earn a commission at no extra cost to you.