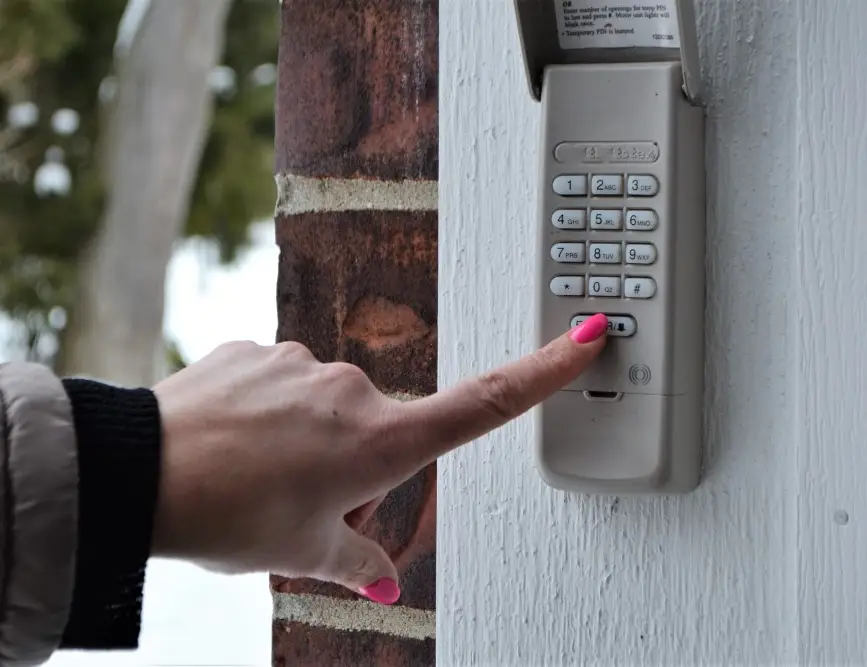
A properly working garage door relies on several components to open and close smoothly, and one of the most critical is the garage door limit switch. Understanding how this device works and how to adjust it can help you resolve common issues like doors not closing fully, reversing unexpectedly, or stopping short of the ground. This guide will walk you through the essentials of limit switches, their purpose, and practical steps for adjustment.
If your garage door gets stuck or behaves unpredictably, the root cause is often related to the limit switch settings. Before calling a professional, learning about this small but vital part can save you time and money. For those dealing with seasonal issues, you might also find solutions in our guide on garage door stuck in humid conditions.
Understanding the Role of Garage Door Limit Switches
The limit switch is a safety and control device found in most automatic garage door openers. Its main job is to tell the opener when to stop moving the door—both at the fully open and fully closed positions. Without this mechanism, the motor could keep running, causing the door to slam into the floor or ceiling, potentially damaging the system or posing a safety risk.
Limit switches are typically mechanical or electronic. Mechanical types use physical contact, while electronic versions rely on sensors. Both types serve the same function: they signal the opener to cut power to the motor at the correct points in the door’s travel.
Common Signs of Limit Switch Problems
If your garage door doesn’t close all the way, reverses before hitting the ground, or won’t open fully, the limit switch settings may be off. Other symptoms include the door stopping mid-cycle or the opener motor continuing to run after the door has stopped moving.
- The door stops short of the ground or ceiling
- The opener reverses direction unexpectedly
- The motor keeps running after the door stops
- Repeated need to press the remote for full operation
These issues are often resolved by a simple adjustment of the limit switch. However, if you notice persistent problems, it may be worth checking for other causes, such as track obstructions or sensor misalignment. For doors that won’t move past a certain point, see our troubleshooting guide for doors stuck halfway.
How Garage Door Limit Switches Work
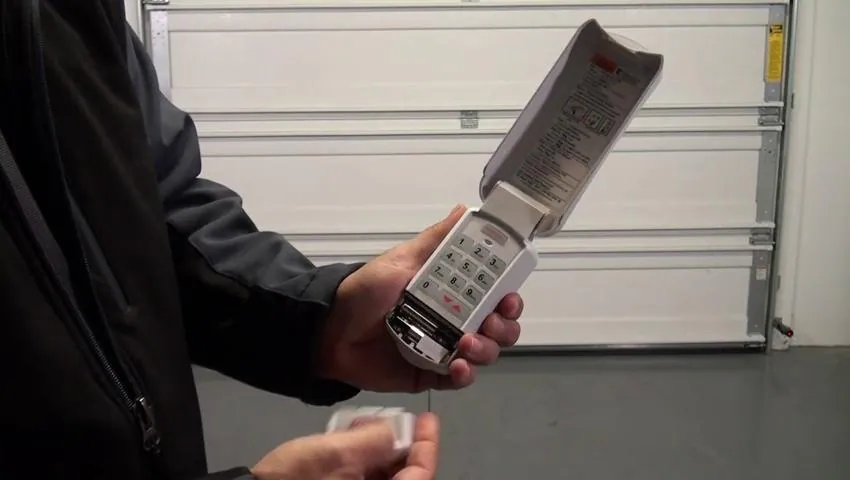
Most garage door openers have two limit switches—one for the open position and one for the closed position. These switches are usually located on the opener’s track or inside the opener housing. As the door moves, a part attached to the chain or screw drive triggers the switch at the set point, sending a signal to stop the motor.
On many models, you’ll find adjustment screws or dials labeled “up limit” and “down limit.” Turning these changes the point at which the door stops. Adjusting these settings is a straightforward process, but it’s important to follow the manufacturer’s instructions to avoid over-adjusting and causing further issues.
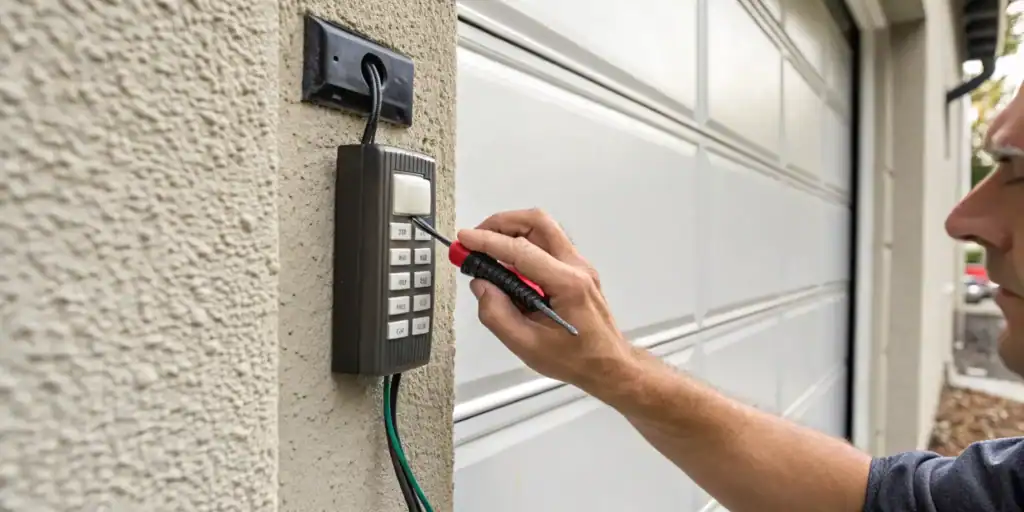
Step-by-Step: Adjusting Your Garage Door’s Limit Switch
Adjusting the limit switch is a task most homeowners can handle with basic tools. Here’s a general process, but always consult your opener’s manual for specifics:
- Disconnect Power: Unplug the opener to ensure safety before making adjustments.
- Locate the Limit Adjustment Screws: These are usually found on the side or back of the opener housing, often labeled “up” and “down.”
- Test the Door: Plug the opener back in and operate the door. Note where it stops on both the open and close cycles.
- Adjust as Needed: Use a screwdriver to turn the adjustment screw. A small turn (usually 1/4 turn at a time) can make a big difference. Clockwise typically increases travel distance, counterclockwise decreases it.
- Retest: After each adjustment, run the door through a full open/close cycle to check the new stop points.
- Fine-Tune: Repeat the process until the door stops exactly where you want it—fully closed without slamming, and fully open without hitting the opener or ceiling.
If you’re unsure about the process or your opener uses a different mechanism, check the manufacturer’s website or a detailed resource like this guide on programming a garage door opener.
Maintenance Tips for Reliable Limit Switch Performance
Regular maintenance can prevent many issues related to limit switches. Here are some practical tips:
- Keep Tracks Clean: Dirt or debris can cause the door to stop prematurely, making it seem like a limit switch problem.
- Lubricate Moving Parts: Use a quality garage door lubricant on hinges, rollers, and tracks to reduce strain on the opener.
- Inspect Sensors: Make sure safety sensors are aligned and free of obstructions, as misalignment can mimic limit switch issues.
- Test Regularly: Run the door through full cycles monthly to catch any irregularities early.
For seasonal challenges, such as when your garage door stops halfway in cold weather, adjusting the limit switch may help, but also check for ice or mechanical resistance.
Troubleshooting Persistent Limit Switch Issues
If adjusting the switch doesn’t resolve your problem, consider these additional troubleshooting steps:
- Check for Obstructions: Objects in the path of the door or on the tracks can prevent full closure.
- Inspect the Wiring: Loose or damaged wires can interrupt the signal from the limit switch.
- Examine the Gears: Worn gears inside the opener can cause erratic movement, unrelated to the switch.
- Review the Manual: Some openers have unique adjustment procedures—always refer to the documentation.
For doors that get stuck or only move partway, you may benefit from reading about what to check when your garage door is stuck halfway.
Frequently Asked Questions
What does a limit switch do on a garage door opener?
The limit switch tells the opener when to stop moving the door, both at the fully open and fully closed positions. This prevents over-travel and protects the system from damage.
How do I know if my garage door limit switch needs adjustment?
Signs include the door stopping short of the floor or ceiling, reversing unexpectedly, or the motor running after the door stops. If you notice these, it’s time to check and possibly adjust the switch.
Can I adjust the limit switch myself?
Yes, most homeowners can adjust the limit switch using a screwdriver. Always unplug the opener first and make small adjustments, testing after each change. If you’re unsure, consult your opener’s manual or a professional.
Why does my garage door reverse before closing completely?
This is often caused by the down limit being set too high, making the opener think the floor has been reached early. Adjusting the down limit screw usually resolves this issue.
Conclusion
A well-adjusted limit switch is essential for safe and reliable garage door operation. By understanding its function and knowing how to make precise adjustments, you can resolve many common garage door issues on your own. Regular maintenance and periodic testing will help keep your system running smoothly for years to come.