Installing a garage door opener on your own can be a rewarding project. By the end of this garage door opener DIY installation guide, you’ll be equipped with all the knowledge you need. It is designed to aid homeowners in smoothly setting up their own garage door opener. Whether you’re a seasoned DIY enthusiast or a novice eager to try your hand, this guide offers insightful, optimistic steps to open the doors, quite literally, to new skills.

Understanding Your Opener
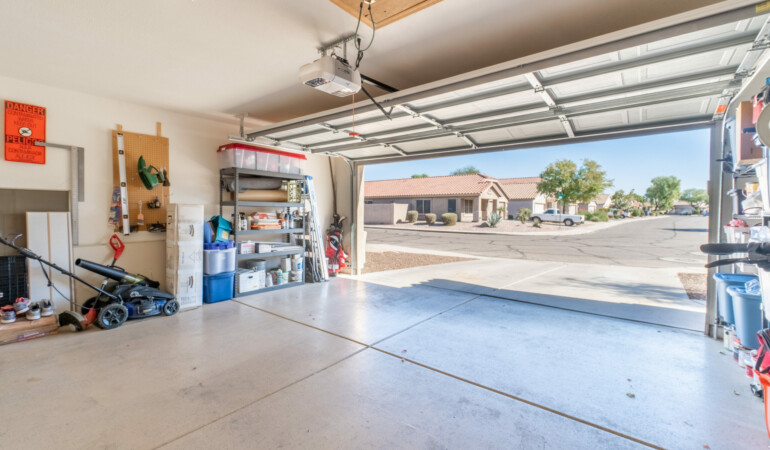
Before diving into the installation process, it’s crucial to familiarize yourself with the various components and functions of a garage door opener. Knowing the ins and outs will prevent any potential headaches during the installation. Typically, a garage door opener consists of a motor, a drive mechanism, sensors, and a remote or wireless connectivity system. Understanding these parts will go a long way in ensuring a seamless setup.
Tools and Materials You Will Need
Gathering the right tools is an initial yet pivotal step in the garage door opener installation process. Here’s a list to guide you:
- Power Drill
- Socket Set
- Screwdriver (flathead and Phillips)
- Tape Measure
- Wrench
- Ladder
Make sure you have all these tools on hand before starting the installation to avoid interruptions.
Preparation Steps
Begin by reading through the manual provided with your garage door opener. Ensure that you have enough space in your garage to safely install the opener. Assess any mounting options for your setup and plan accordingly. Clearance is key, as a clean working environment reduces risks of injury.
Installation Steps
Step 1: Aligning and Assembling the Opener
Position the rail around the power unit and attach them together. Always double-check the alignment, as misalignment can lead to operational problems.
Step 2: Fixing the Mounting Bracket
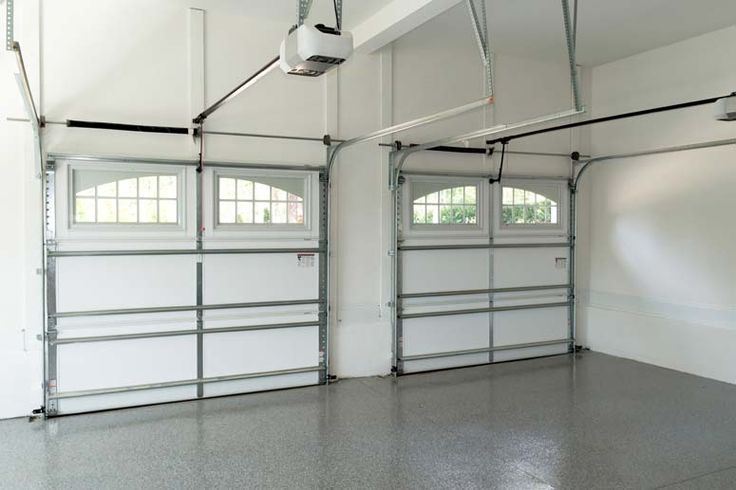
Attach the mounting bracket to the garage ceiling using a power drill. Ensure it is centered and robustly fixed to bear the weight of the opener.
Step 3: Installing the Drive System
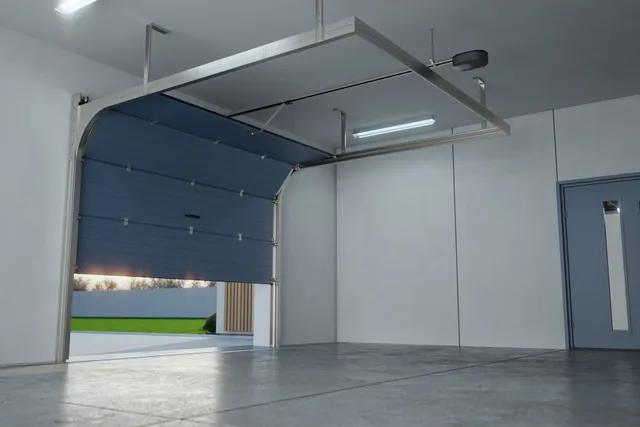
The drive mechanism, whether chain or belt, will determine where the opener is mounted. Make sure it’s secure and won’t interfere with the door’s pathway.
Step 4: Connecting Sensor System
Sensors are a crucial safety feature. Position them six inches off the ground and ensure they align perfectly on either side of the door.
Step 5: Powering the Opener
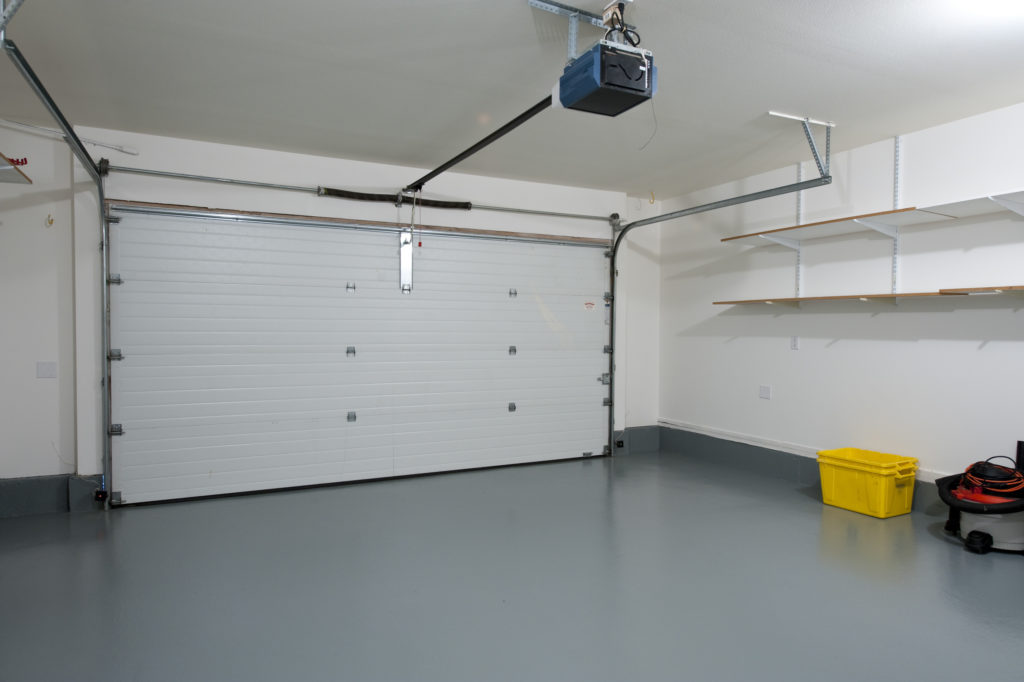
Plug the opener into a nearby outlet. It’s advisable to use a dedicated power socket to avoid overloading circuits.
Step 6: Programming the Remote
Follow the instructions in the manual for setting up your remote. Most systems will require you to press a specific button on the remote control.
Testing and Troubleshooting
Testing the garage door is crucial. Ensure it opens smoothly and closes without jamming. If faced with any issues such as inconsistent opening, refer back to our door won’t close guide for detailed resolutions.
Maintenance Tips
Regular maintenance can prolong the life of your garage door opener. Lubricate moving parts and check alignment regularly. For more detailed advice, refer to [CNET’s guide on protecting your garage door](https://www.cnet.com/home/security/tips-to-protect-your-garage-door/).
Safety Precautions
Safety should never be compromised. Always disconnect power before making adjustments and ensure children cannot access remotes unattended.
Common Mistakes to Avoid
One common mistake is misaligning the sensors, which can prevent the door from operating. Ensure sensors are level and facing each other.
Importance of Professional Assistance
If you’re encountering unusual sounds or persistent issues, consider consulting a professional. A timely intervention can prevent costly damage.
Conclusion
Equipped with this garage door opener DIY installation guide, you’re ready to enhance your home’s convenience. Remember, with patience and care, installing your own garage door opener is an achievable feat.

FAQs
What types of garage door openers exist?
There are chain-drive, belt-drive, and screw-drive openers, each with distinct advantages and usability suited to different needs.
How long does the installation take?
On average, it takes around 4-6 hours, depending on your familiarity with the process and tool proficiency.
What if my garage door wont close properly after installation?
Check sensor alignment and consult our door won’t close guide or contact professional services for assistance.
This article contains affiliate links. We may earn a commission at no extra cost to you.