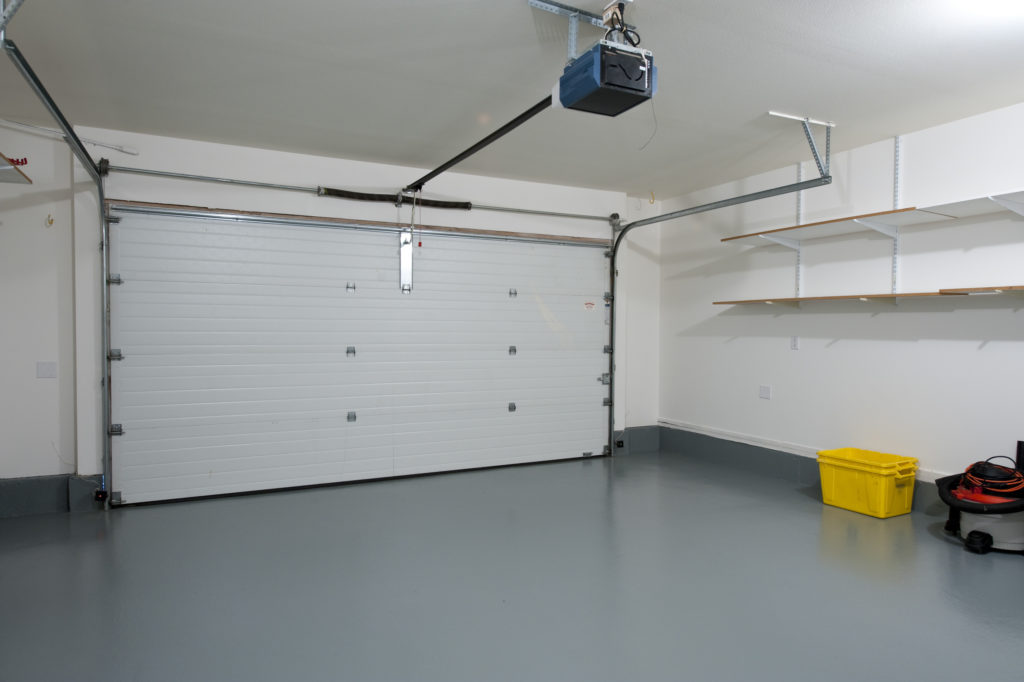
The Basics of Garage Door Opener Gear Replacement
If your garage door opener isn’t working as smoothly as it used to, it might be time for a garage door opener gear replacement. Over time, gears can wear down, leading to a malfunctioning opener. Before you rush to replace the entire system, consider changing the gears. This can save you both time and money.
Understanding the Mechanism
Most garage door openers use a gear and sprocket assembly to move the chain or belt that opens and closes the door. When the main drive gear wears out, you might notice strange noises or the door not operating as it should. This component is vital for the overall function of your garage door opener.
Identifying Gear Wear
To determine if you need a garage door opener gear replacement, listen for grinding noises when the opener is in use. Also, inspect the gears for visible wear or damage. Routine checks can help you catch these issues early.
Signs Your Garage Door Opener Gear Needs Replacement
- Unusual grinding or clicking noises
- Door moves slower than usual
- Intermittent operation or stopping mid-cycle
Steps to Replace the Gear
Tackling a garage door opener gear replacement might sound intimidating, but with the right instructions, you can handle it. Here are the steps:
Tools You Will Need
- Screwdriver set
- Wrench set
- Replacement gear kit
- Lubricant
Step-by-Step Guide
1. Disconnect the opener from the power source to ensure safety.
2. Remove the opener cover to access the gear and sprocket assembly.
3. Carefully detach the chain or belt from the sprocket.
4. Remove the worn out gear using the appropriate tools.
5. Install the new gear, lubricate it for smooth operation, and reattach the chain or belt.
6. Finally, reassemble the opener, plug it back into the power source, and test its operation.
Maintaining Your Garage Door Opener
Regular maintenance can extend the life of your garage door opener. Even if you don’t frequently use the garage, inspect the gears annually. Lubricating the moving parts can reduce wear and keep your system functioning smoothly.
Benefits of Regular Checks
- Saves money on significant repairs
- Prevents unexpected malfunctions
- Ensures safety of the garage door operation
When to Seek Professional Help
While many homeowners can manage a garage door opener gear replacement themselves, some situations may require professional intervention. If the door is significantly off balance after gear replacement, consider consulting a professional.
Considering Professional Services
If you’re not comfortable with DIY repairs or encounter issues beyond simple gear replacement, hiring an experienced technician can ensure the job is done correctly and safely.
Cost Estimation for Gear Replacement
Replacing a gear is usually cost-effective compared to a full opener system replacement.
Factors Affecting Cost
- The brand of the opener
- Availability of parts
- Professional service fees
Conclusion
Taking the time to understand and perform a garage door opener gear replacement can help maintain your garage door’s efficiency and longevity. Regular checks, timely replacements, and knowing when to seek professional help are key aspects of effective garage door maintenance.

FAQs
1. How often should I check my garage door gears?
It’s recommended to inspect them at least once a year.
2. Can all brands of garage door openers have their gears replaced?
Most brands allow gear replacements, but it’s best to check with the manufacturer’s guidelines.
3. What should I do if replacing the gear doesn’t solve the problem?
If issues persist, it may be a sign of a broader problem. Consult a professional technician.
This article contains affiliate links. We may earn a commission at no extra cost to you.


