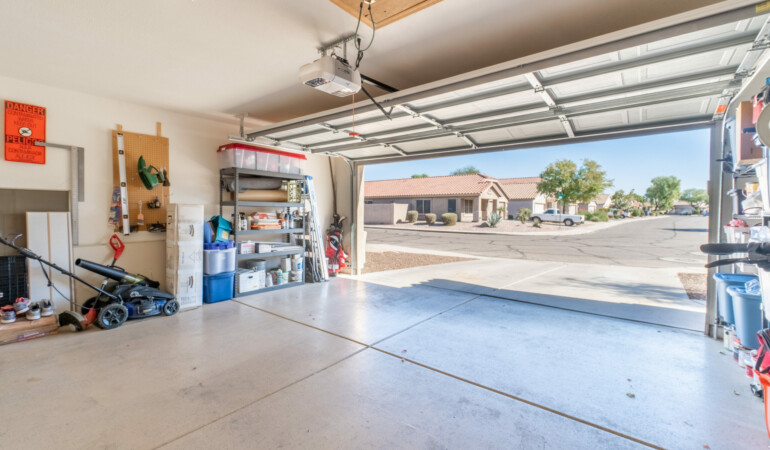
Installing a garage door opener can seem like a daunting task, especially for beginners. However, with the right guidance and a bit of patience, it can be a rewarding DIY project. In this article, we will provide you with essential garage door opener installation tips for beginners to help you through the process.

Understanding the Basics of Garage Door Openers
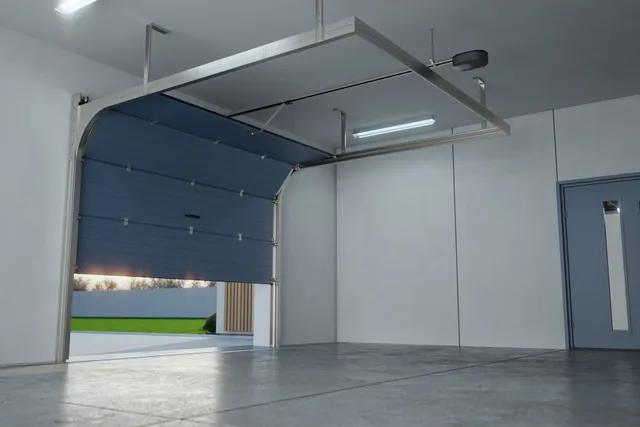
Before diving into the installation process, it’s crucial to understand the basics of garage door openers. These devices are designed to open and close your garage door with ease, providing convenience and security for your home. There are several types of garage door openers, including chain drive, belt drive, and screw drive openers, each with its own advantages and disadvantages.
Choosing the Right Garage Door Opener
When selecting a garage door opener, consider factors such as the size and weight of your garage door, the level of noise you’re comfortable with, and any additional features you may want, such as a smart opener that can be controlled via a smartphone app. For more information on smart openers, check out this guide on smartphone-controlled garage door openers.
Tools and Materials Needed for Installation
Before starting the installation, gather all necessary tools and materials. You’ll need a power drill, screwdriver, tape measure, pliers, adjustable wrench, and a ladder. Additionally, ensure you have all the components of your garage door opener kit, including the motor unit, rail, trolley, chain or belt, and remote controls.
Step-by-Step Guide to Installing a Garage Door Opener
Step 1: Assemble the Rail and Trolley
Start by assembling the rail and trolley according to the manufacturer’s instructions. This typically involves connecting sections of the rail and attaching the trolley, which will move along the rail to open and close the door.
Step 2: Install the Motor Unit
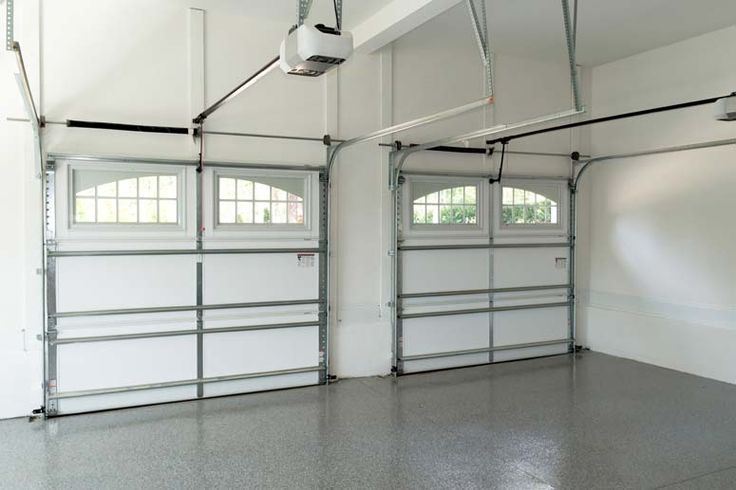
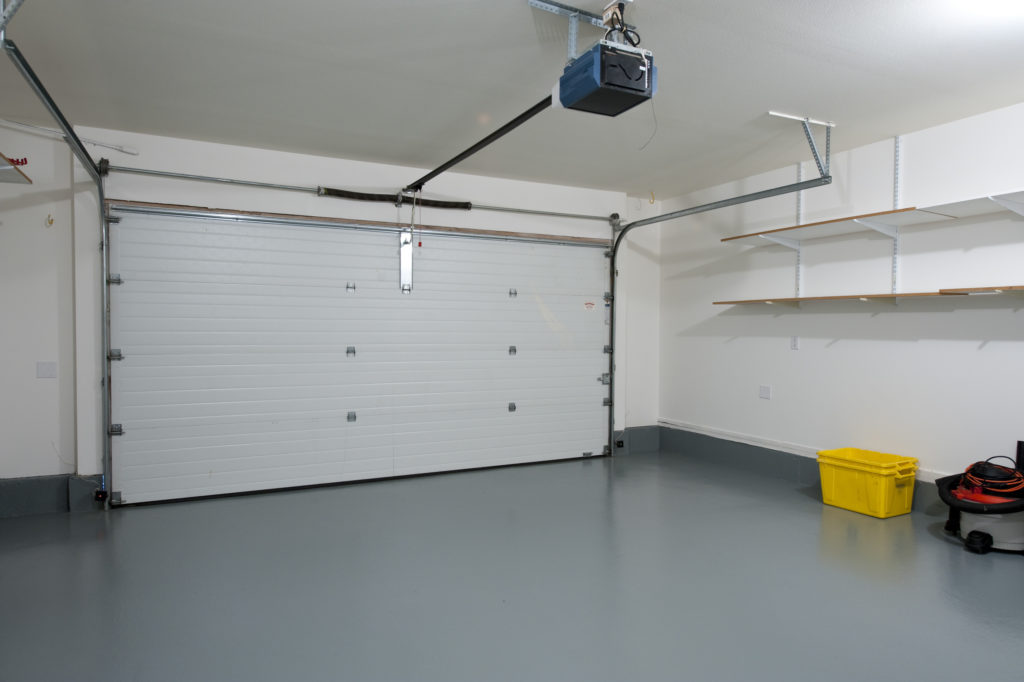
Next, install the motor unit. Position it on the ceiling of your garage, ensuring it’s centered above the garage door. Secure it with the appropriate brackets and ensure it’s level.
Step 3: Connect the Rail to the Motor Unit
Once the motor unit is in place, connect the rail to it. This step may require assistance, as the rail can be heavy and difficult to maneuver on your own.
Step 4: Attach the Chain or Belt
With the rail in place, attach the chain or belt that will drive the trolley. Follow the manufacturer’s instructions to ensure it’s properly tensioned and aligned.
Step 5: Install the Door Bracket
Attach the door bracket to the garage door. This bracket will connect to the trolley arm, allowing the door to open and close. Ensure the bracket is securely fastened to the door.
Wiring and Testing the Garage Door Opener
Step 6: Wire the Safety Sensors
Install the safety sensors on either side of the garage door, about six inches above the ground. Connect the wires to the motor unit, ensuring they’re properly secured and not obstructed.
Step 7: Connect the Power
Plug the motor unit into a nearby electrical outlet. Ensure the outlet is not controlled by a wall switch, as this could disrupt the operation of the opener.
Step 8: Test the Opener
With everything connected, test the garage door opener to ensure it’s functioning correctly. The door should open and close smoothly without any issues. If adjustments are needed, consult the manufacturer’s instructions.
Maintenance Tips for Your Garage Door Opener
Regular maintenance is key to ensuring your garage door opener functions properly and lasts for years to come. Lubricate the moving parts, such as the chain or belt and the trolley, every six months. Additionally, check the safety sensors periodically to ensure they’re aligned and functioning correctly.
For a more comprehensive guide on maintaining your garage door, consider reading this external resource on garage door maintenance.
Common Mistakes to Avoid During Installation
During the installation process, it’s easy to make mistakes that can affect the performance of your garage door opener. Avoid overtightening bolts, neglecting to level the motor unit, or skipping the alignment of safety sensors. These oversights can lead to operational issues and even damage to your garage door.
When to Seek Professional Help
If you encounter any challenges during the installation process or if you’re uncomfortable with certain steps, it’s best to seek professional help. A qualified technician can ensure your garage door opener is installed correctly and safely.

FAQs About Garage Door Opener Installation
What type of garage door opener is best for beginners?
For beginners, a belt drive opener is often recommended due to its quieter operation and ease of installation compared to chain drive models.
How long does it take to install a garage door opener?
Installation time can vary depending on your experience level and the complexity of the opener, but it typically takes between 4 to 6 hours.
Can I install a garage door opener myself, or do I need a professional?
While many homeowners successfully install garage door openers themselves, it’s important to be comfortable with DIY projects and follow the instructions carefully. If in doubt, consult a professional.
For additional information on residential garage door trends and smart opener comparisons, visit trends in garage doors.
This article contains affiliate links. We may earn a commission at no extra cost to you.