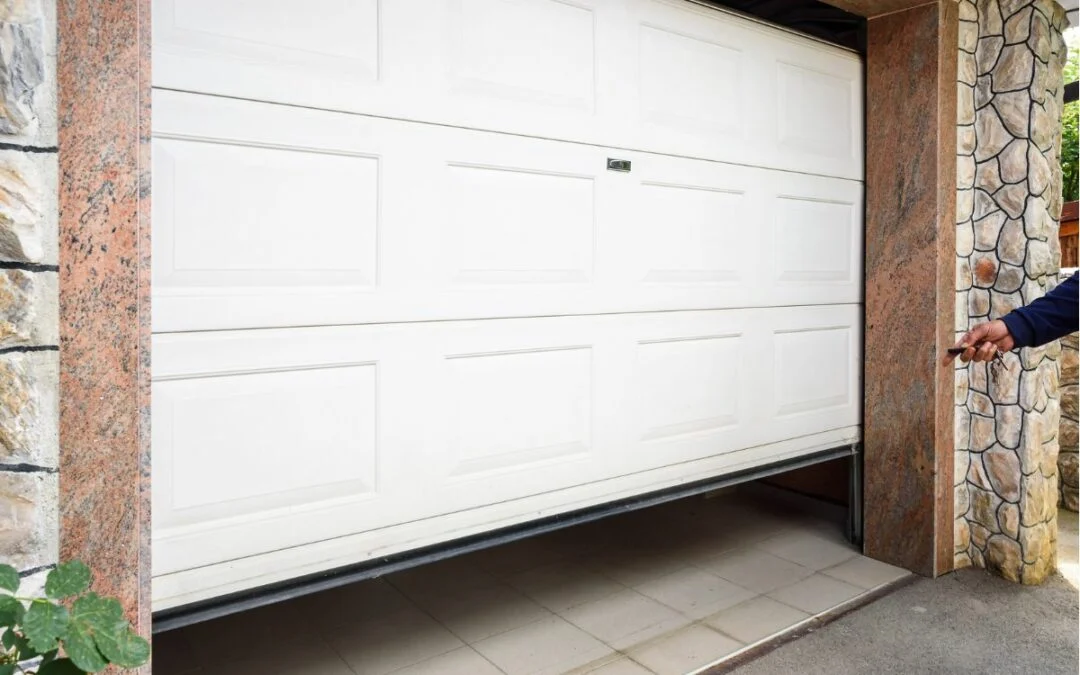
A properly adjusted garage door opener ensures smooth operation, safety, and longevity for your garage door system. If your door stops short, reverses unexpectedly, or fails to close or open fully, it’s likely time to review the travel settings. Understanding the garage door opener travel adjustment steps is essential for homeowners who want to maintain optimal performance and avoid unnecessary wear or safety risks.
This article breaks down the process of adjusting your opener’s travel limits, highlights common issues, and provides practical tips for safe and effective operation. If you’re interested in learning more about related mechanisms, you may also find our guide on how garage door limit settings work helpful.
Why Travel Adjustment Matters for Garage Door Openers
Travel adjustment refers to setting the points at which your garage door stops when opening and closing. If these settings are off, your door may not seal properly, could reverse before closing, or might even cause damage to the opener or the door itself. Properly calibrated travel limits are crucial for:
- Safety: Prevents the door from closing on objects or people.
- Security: Ensures the door fully closes and locks.
- Performance: Reduces strain on the opener and mechanical parts.
- Longevity: Minimizes unnecessary wear and tear.
If you notice your garage door reversing halfway or stopping unexpectedly, it may be related to travel limit settings or safety features. For a deeper dive into these safety mechanisms, see our explanation of the garage door reversing halfway safety feature.
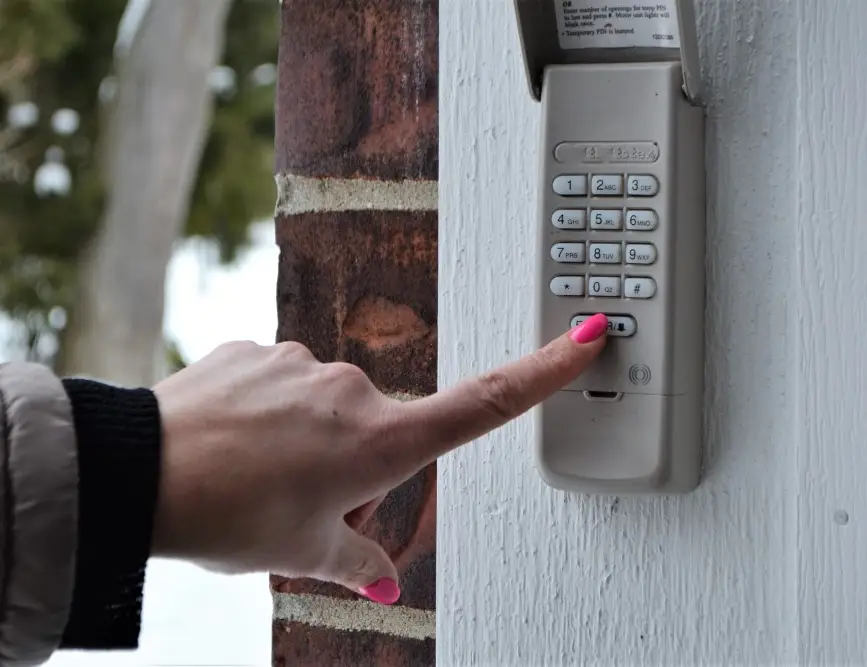
Signs Your Garage Door Opener Needs Travel Adjustment
Before starting any adjustments, it’s important to recognize when your opener’s travel limits are out of sync. Common symptoms include:
- The door doesn’t close all the way or leaves a gap at the bottom.
- The door reverses direction before reaching the floor.
- The opener keeps running after the door stops moving.
- The door won’t open fully, or stops short of the open position.
- Unusual noises or strain from the opener during operation.
These issues can often be resolved by following the correct garage door opener travel adjustment steps. However, persistent problems may also indicate sensor misalignment or limit switch faults. If you suspect sensor issues, our garage door photo eye troubleshooting guide can help.
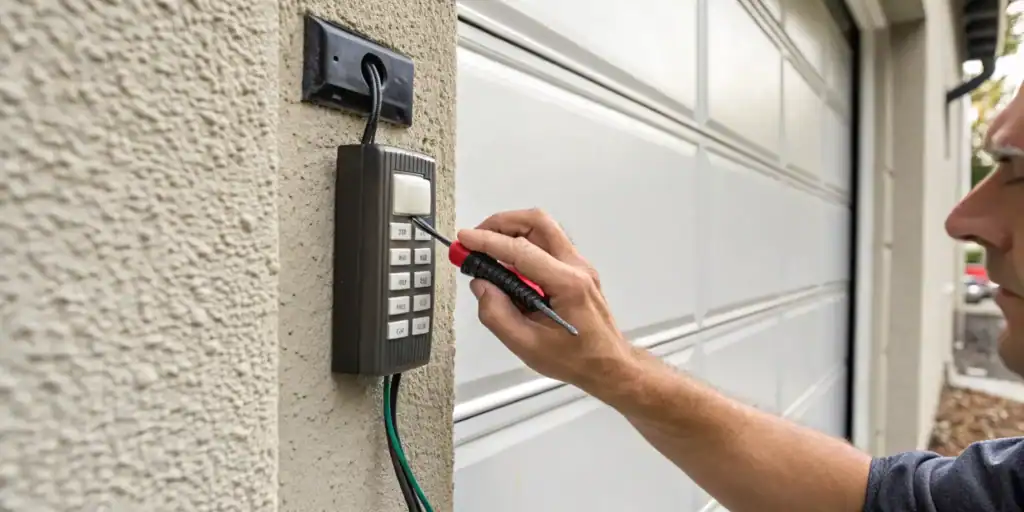
Essential Tools and Safety Precautions
Before making any adjustments, gather the following:
- Owner’s manual for your specific opener model
- Step ladder
- Flathead screwdriver or appropriate adjustment tool
- Protective gloves and safety glasses
Always disconnect power to the opener before working on it to prevent accidental activation. Make sure the area around the door is clear of people, pets, and objects.
Step-by-Step Guide to Adjusting Garage Door Opener Travel
The process may vary slightly depending on your opener brand, but most units use similar adjustment methods. Here’s a general approach:
-
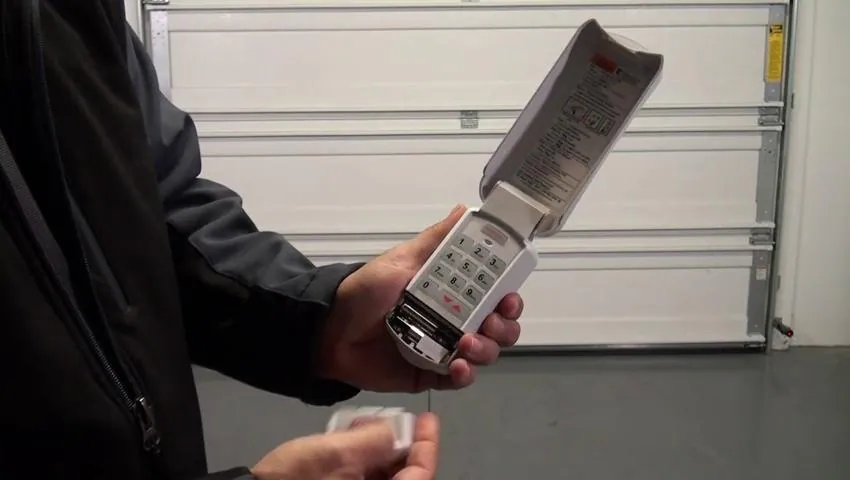
Locate the Adjustment Screws or Dials
Most openers have two adjustment screws or dials labeled “Up” (open) and “Down” (close). These are usually found on the side or back of the opener motor housing. -
Test the Door’s Current Travel
Reconnect power, then use the wall button or remote to open and close the door. Observe where the door stops in both directions. -
Adjust the Close Travel Limit
If the door doesn’t close fully or reverses, turn the “Down” adjustment screw clockwise to increase travel (door closes further) or counterclockwise to decrease it. Make small adjustments (about 1/4 turn at a time), then retest. -
Adjust the Open Travel Limit
If the door doesn’t open fully, turn the “Up” adjustment screw clockwise to increase travel (door opens further) or counterclockwise to decrease it. Again, make incremental changes and test after each. -
Fine-Tune and Test Safety Reversal
After setting travel limits, test the safety reversal by placing a block of wood under the door and closing it. The door should reverse upon contact. If not, adjust the force settings as described in your manual.

Common Problems and Troubleshooting Tips
Even after following the recommended steps for adjusting garage door opener travel, you might encounter issues such as:
- Door reverses before closing: Sensors may be misaligned or dirty. Check alignment and clean the lenses.
- Opener keeps running: Travel limits may be set too far. Reduce the adjustment slightly.
- Door won’t close all the way: Increase the “Down” travel limit incrementally.
- Door slams shut or opens too quickly: Check the force settings and adjust as needed.
For more in-depth troubleshooting, refer to your opener’s manual or consult our article on garage door limit switch explained for additional guidance.
Maintenance Tips for Reliable Operation
Regular maintenance helps keep your opener running smoothly and reduces the need for frequent adjustments. Here are some best practices:
- Lubricate moving parts (rollers, hinges, tracks) every 6 months.
- Inspect and test safety sensors monthly.
- Check for loose hardware and tighten as needed.
- Clean the door tracks to prevent debris buildup.
- Test the auto-reverse function regularly for safety.
When to Call a Professional
While most homeowners can handle basic travel adjustment procedures for garage door openers, certain situations require expert attention:
- The door is extremely heavy or unbalanced.
- Springs or cables are damaged or broken.
- Repeated adjustment does not resolve the issue.
- Opener makes grinding or unusual noises.
Attempting repairs on high-tension components can be dangerous. If you’re unsure, it’s best to consult a qualified technician.
Additional Resources
For further reading on related topics, you may find these resources useful:
- How garage door sensors prevent accidents
- Learn more about why garage doors stop halfway and how to address this common problem.
Frequently Asked Questions
What are the main reasons a garage door opener needs travel adjustment?
Over time, normal use can cause the door’s travel limits to drift, resulting in incomplete opening or closing. Changes in weather, worn parts, or accidental bumps to the opener’s settings can also require recalibration.
How often should I check or adjust my garage door opener’s travel limits?
It’s a good idea to test your opener’s travel and safety reversal every few months, or whenever you notice the door not opening or closing fully. Regular checks help catch small issues before they become bigger problems.
Can improper travel adjustment damage my garage door or opener?
Yes, if the travel limits are set incorrectly, the opener may strain against the door or fail to seal properly, leading to mechanical wear or safety hazards. Always make small adjustments and test thoroughly after each change.