Understanding how garage door limit settings work is essential for anyone who wants their garage door to operate smoothly and safely. Limit settings control how far your garage door travels when opening and closing. If these settings are off, your door might not close all the way, or it could slam shut or stay partially open. This can lead to security risks, energy loss, and even damage to your door or opener.
Whether you’re troubleshooting a malfunction or performing routine maintenance, knowing how to adjust these settings can save you time and money. This article explains the basics of garage door limit switches, how to identify when they need adjustment, and step-by-step instructions for making safe corrections. If you’re experiencing issues such as your garage door stuck in humid conditions, understanding the role of limit settings is a good place to start.
What Are Garage Door Limit Settings?
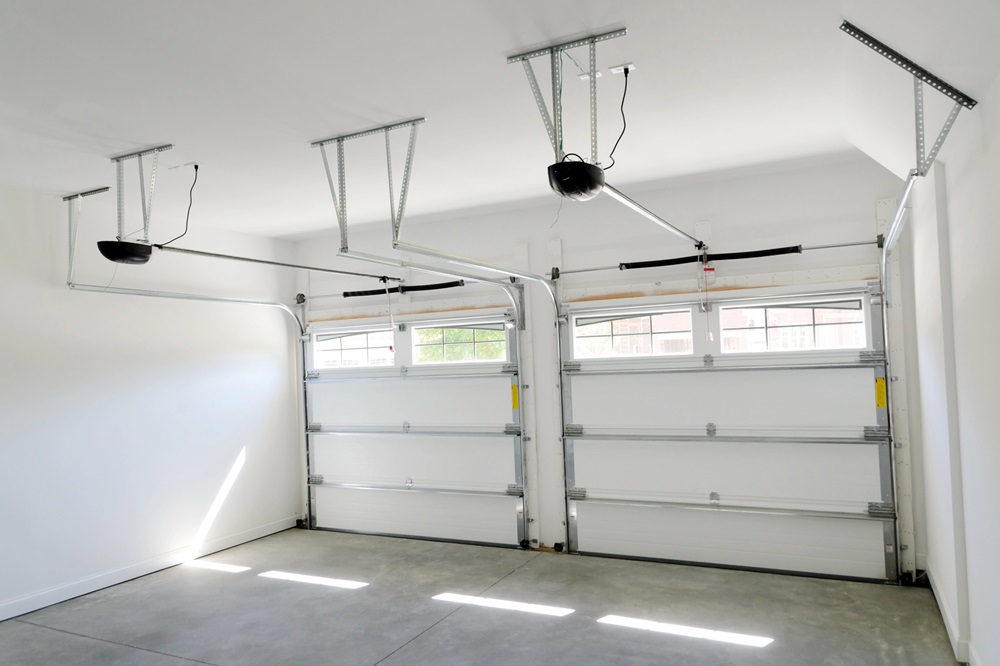
Garage door limit settings are adjustments on your opener that determine how far the door travels when opening or closing. These settings use mechanical or electronic switches to signal the motor when to stop. If the limits are set incorrectly, the door may not seal properly against the ground or may not open fully, causing inconvenience and potential safety hazards.
Most modern openers have two separate limit adjustments: one for the up (open) direction and one for the down (close) direction. These are usually found as dials, screws, or digital controls on the opener unit itself. Properly set limits ensure your door operates efficiently and safely every time.
Why Proper Limit Adjustment Matters
Setting your garage door’s travel limits correctly is crucial for several reasons:
- Safety: Prevents the door from closing too far and damaging the floor or the door itself.
- Security: Ensures the door closes completely, keeping your home protected.
- Efficiency: Reduces unnecessary strain on the opener and extends its lifespan.
- Convenience: Avoids situations where the door remains partially open or fails to open fully.
If you notice your garage door won’t move past halfway or stops unexpectedly, it may be time to check the limit settings. For more troubleshooting tips, see this guide on garage door won’t move past halfway.
How Limit Switches Control Door Travel
The core of how garage door limit settings work lies in the limit switches or sensors inside the opener. These switches detect the position of the door and send signals to the motor to stop at the correct point.
- Mechanical Limit Switches: These use physical contact with a moving part (like a screw drive or chain) to trigger the stop.
- Electronic Limit Switches: These use sensors or encoders to track the door’s position and electronically signal the motor to stop.
When the door reaches the preset open or closed position, the switch interrupts the power to the motor, stopping movement. If the settings drift or are set incorrectly, the door may not align with the floor or ceiling as intended.
Signs Your Garage Door Limit Settings Need Adjustment
It’s important to recognize when your garage door’s travel limits are out of alignment. Common symptoms include:
- The door doesn’t close fully or leaves a gap at the bottom.
- The door reverses before reaching the floor.
- The door opens but stops short of the full open position.
- The opener motor keeps running after the door stops moving.
- The door slams into the floor or ceiling.
If you experience these problems, adjusting the limit settings is often the solution. However, if your garage door is stuck halfway, you might also want to review this resource on what to check when garage door stuck halfway for additional troubleshooting steps.
Step-by-Step: Adjusting Garage Door Travel Limits
Adjusting the travel limits is a straightforward process, but it’s important to follow safety precautions. Here’s a general guide:
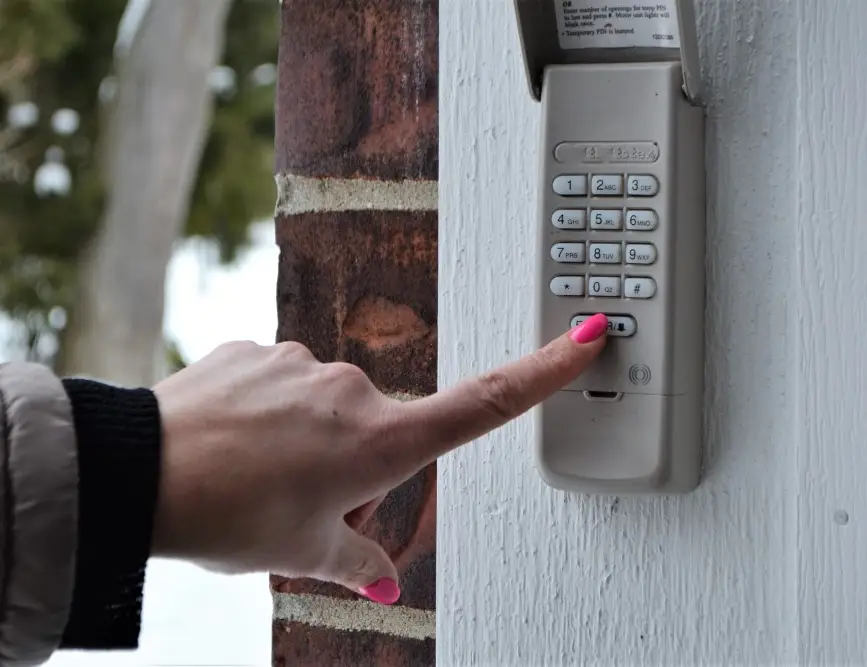
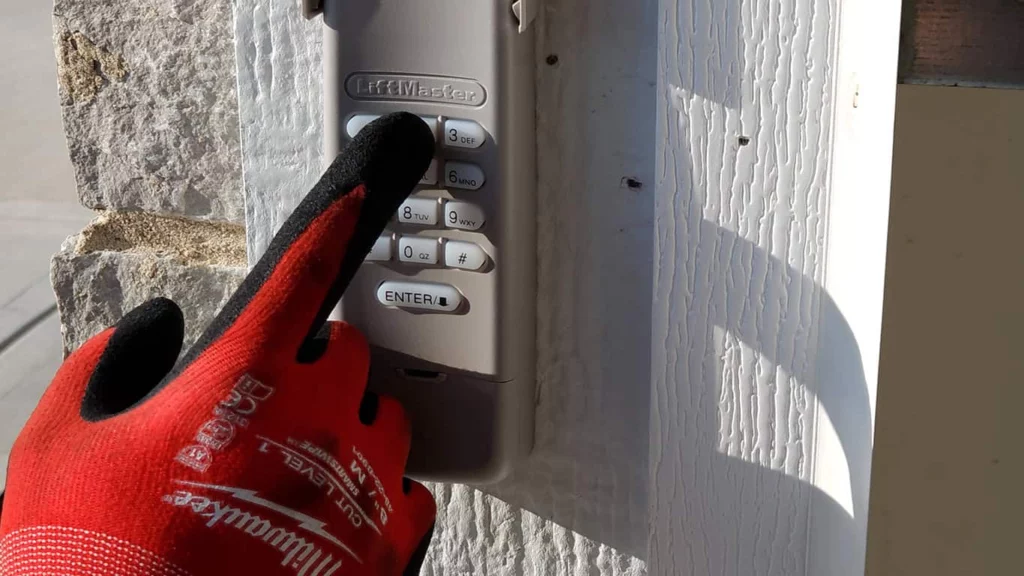
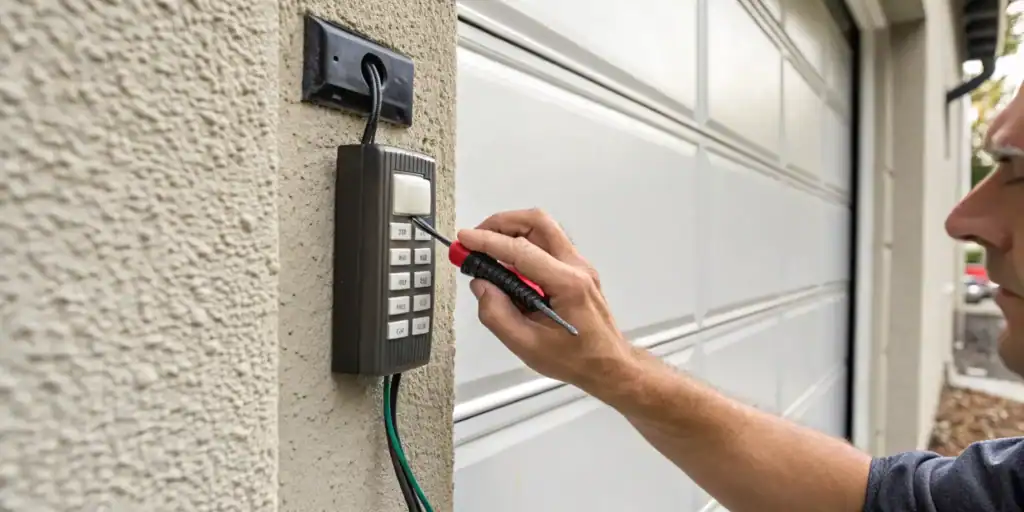
- Locate the Limit Adjustment Screws or Dials: These are typically on the side or back of the opener motor unit. They may be labeled “Up/Down,” “Open/Close,” or similar.
- Test the Door: Use the wall button or remote to open and close the door, observing where it stops in each direction.
- Adjust the Limits: Use a screwdriver to turn the adjustment screws. Small turns (usually a quarter turn at a time) are best. One screw controls the up (open) limit, and the other controls the down (close) limit.
- Retest After Each Adjustment: Operate the door after each change to see if it stops at the correct position. Repeat as needed until the door opens and closes fully without overrunning.
- Check the Safety Reversal System: After adjusting, test the safety sensors by placing an object in the door’s path. The door should reverse if it encounters resistance.
Always consult your opener’s manual for model-specific instructions. If you’re unsure or uncomfortable making adjustments, consider contacting a professional.

Common Issues Related to Garage Door Limit Settings
Several problems can arise if the travel limits are not set correctly. These include:
- Door Stops Halfway: The opener may think the door is fully open or closed when it isn’t. This can be caused by incorrect limit settings or other obstructions. Learn more about garage door stops halfway in cold weather for seasonal troubleshooting.
- Continuous Motor Operation: If the door stops but the motor keeps running, the limit switch may not be engaging properly.
- Weather-Related Changes: Temperature and humidity can affect door movement, requiring periodic adjustments.
- Sensor Malfunctions: Faulty safety sensors can sometimes mimic limit switch problems.
If you’re dealing with persistent issues, it’s helpful to consult a professional or refer to resources like this comprehensive guide to garage door troubleshooting for more in-depth solutions.
Maintenance Tips for Reliable Operation
Keeping your garage door in good working order involves more than just adjusting the limits. Here are some maintenance tips:
- Lubricate Moving Parts: Use a high-quality garage door lubricant spray on hinges, rollers, and tracks.
- Inspect the Door Balance: Disconnect the opener and manually lift the door. It should stay open about halfway. If not, the springs may need adjustment.
- Test Safety Features: Regularly check the auto-reverse and photo-eye sensors for proper operation.
- Clean Tracks and Sensors: Remove debris and dust to prevent interference with door movement.
- Check Limit Settings Seasonally: Adjust as needed, especially after extreme weather changes.
FAQ
How do I know if my garage door limit settings are incorrect?
Signs include the door not closing fully, stopping short when opening, reversing unexpectedly, or the motor running after the door stops. If you notice any of these, check the travel limits.
Can I adjust the limit settings myself?
Yes, most homeowners can adjust the limits using the screws or dials on the opener. Always follow the manufacturer’s instructions and make small adjustments, testing after each change.
What should I do if adjusting the limits doesn’t fix the problem?
If problems persist, there may be issues with the safety sensors, door balance, or opener itself. Consider consulting a professional technician for a thorough inspection.
Do weather conditions affect garage door limit settings?
Yes, changes in temperature and humidity can cause the door or tracks to expand or contract, sometimes requiring limit adjustments for smooth operation.
Conclusion
Knowing how to manage your garage door’s travel limits is key to safe and reliable operation. By understanding the mechanics of limit switches, recognizing when adjustments are needed, and following proper maintenance routines, you can keep your garage door functioning smoothly year-round. If you encounter persistent issues, don’t hesitate to seek professional help or consult in-depth troubleshooting resources.