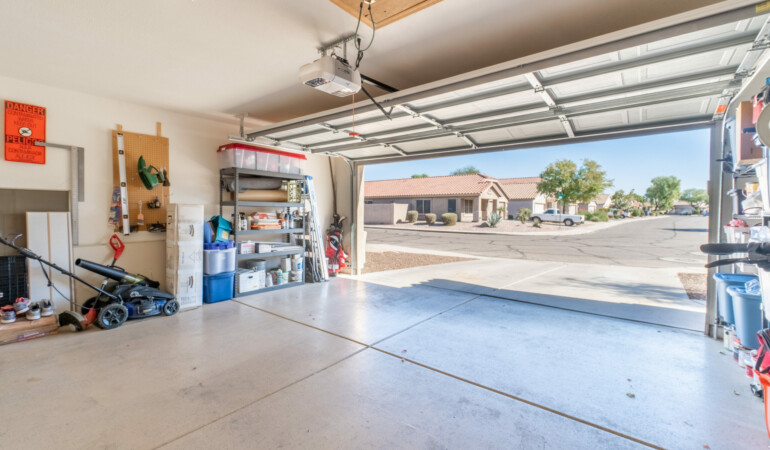
Steel garage doors are a popular choice for many homeowners due to their durability, security, and aesthetic appeal. However, like any other component of your home, they require regular inspection and maintenance to ensure they operate smoothly and last for years. In this guide, we’ll walk you through the essential steps on how to inspect steel garage doors effectively.

1. Understanding the Importance of Regular Inspections
Regular inspection of your steel garage door is crucial to identify any potential issues before they become serious problems. This not only ensures the longevity of your door but also keeps your family safe from any potential hazards. Identifying issues early can save you from costly repairs down the line.
2. Preparing for the Inspection
Before you begin the inspection, gather the necessary tools such as a flashlight, a screwdriver, and a ladder. Ensure you are wearing appropriate safety gear, including gloves and safety glasses, to protect yourself during the process.
3. Visual Inspection of the Door
3.1 Check for Physical Damage
Begin by examining the door panels for any signs of dents, rust, or warping. Steel is a robust material, but it is not immune to physical damage. Look for any cracks or severe scratches that may compromise the door’s integrity.
3.2 Inspect the Paint and Finish
The paint and finish of your steel garage door not only add to its aesthetic appeal but also protect it from environmental factors. Ensure that the paint is intact and there are no areas of chipping or peeling. If you notice any, consider repainting to prevent rust.
4. Checking the Hardware
4.1 Examine the Tracks
The tracks guide the door during opening and closing. Ensure they are clear of debris and properly aligned. Misaligned tracks can cause the door to operate incorrectly or even derail.
4.2 Inspect the Rollers
Check the condition of the rollers, which help the door glide smoothly. Look for signs of wear and tear, and replace any rollers that appear damaged or worn out.
5. Evaluating the Door Balance
A properly balanced garage door ensures smooth operation and reduces strain on the opener. Disconnect the automatic opener and manually open the door halfway. It should stay in place. If it doesn’t, the door may be out of balance and require professional adjustment.
6. Testing the Safety Features
6.1 Check the Auto-Reverse Function
The auto-reverse function is a critical safety feature that prevents injury or damage. Place an object under the door and attempt to close it. The door should automatically reverse upon contact with the object.
6.2 Test the Photo Eye Sensors
These sensors are located on either side of the door, near the floor. Ensure they are aligned and clean, as dirt can impede their function. Test the sensors by blocking the beam with an object and ensuring the door does not close.
7. Lubricating Moving Parts
Proper lubrication is key to maintaining a smooth and quiet operation. Apply a silicone-based lubricant to the rollers, hinges, and tracks to reduce friction and prevent wear.
8. Inspecting the Weather Seal
The weather seal at the bottom of the door prevents drafts and moisture from entering your garage. Check for any cracks or gaps and replace the seal if necessary. For more detailed steps, you can refer to this guide.
9. Listening for Unusual Noises
During operation, listen for any unusual noises such as grinding or squeaking. These sounds can indicate a lack of lubrication or potential mechanical issues that need attention.
10. Inspecting the Springs
The springs bear the weight of the door and are under a lot of tension. Visually inspect for signs of wear or damage, but do not attempt to adjust them yourself. If you suspect an issue, contact a professional.
11. Checking the Cables
The cables work alongside the springs to lift the door. Look for fraying or wear, and ensure they are securely attached. Damaged cables can cause the door to malfunction and should be replaced immediately.
12. Testing the Garage Door Opener
Test the remote and wall switch to ensure the door opens and closes smoothly. If there are any issues, consult the manufacturer’s manual or contact a professional for repairs.
13. Maintaining a Regular Inspection Schedule
Set a regular schedule for inspecting your steel garage door, ideally every six months. Regular maintenance can prevent unexpected issues and extend the life of your door.
14. When to Call a Professional
While many inspection tasks can be performed by homeowners, certain issues require professional expertise. If you encounter broken springs, malfunctioning openers, or significant structural damage, it’s best to call a professional. For further reading on signs you need an inspection, visit this page.
15. Additional Resources
For more information on inspecting garage doors, consider visiting this external resource for a comprehensive guide.

FAQ
What are the signs that my steel garage door needs repair?
Common signs include unusual noises during operation, difficulty opening or closing, and visible damage to the door or hardware.
How often should I inspect my steel garage door?
It’s recommended to inspect your garage door every six months to ensure it remains in good working condition.
Can I perform all inspections myself?
While many tasks can be done by homeowners, certain issues, such as spring adjustments, should be handled by professionals for safety reasons.
This article contains affiliate links. We may earn a commission at no extra cost to you.