Are you delighted to learn how to put the cable back on your garage door? You’ve come to the right place! This comprehensive guide will walk you through the process step-by-step, ensuring that you can tackle this common problem with confidence.
Introduction to Garage Door Cables
Garage doors are an essential component of any home, providing security and convenience. However, over time, parts can wear out or become damaged. One common issue that homeowners face is dealing with garage door cables that have come off. Knowing how to put the cable back on your garage door can save you time and money, and ensure the smooth operation of your garage door.
Safety Precautions
Before you begin, it’s crucial to take safety seriously. Garage door repairs can be dangerous if not done properly. Here are a few safety tips to keep in mind:
- Wear safety gloves and glasses.
- Disconnect the garage door opener.
- Ensure the garage door is in the down position before starting any repairs.
Tools You Will Need
To put the cable back on your garage door, you’ll need the following tools:
- Adjustable wrench
- Locking pliers
- Screwdrivers
- Stepladder
Understanding the Garage Door System
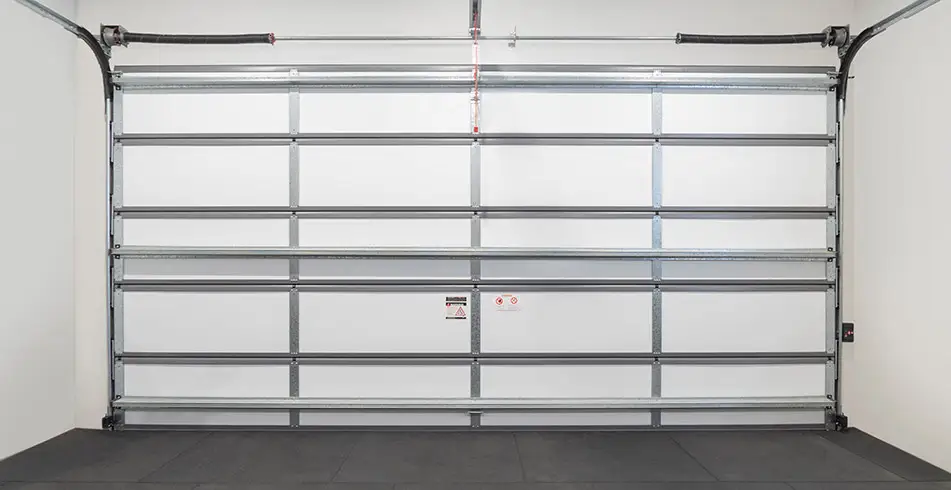
It’s essential to have a basic understanding of how your garage door system works. The main components include:
- Door sections
- Tracks
- Springs
- Cables
- Drums
Identifying the Problem
The first step is to identify the problem. In this case, we’re dealing with a garage door cable that has come off. Look for signs of wear and tear or any visible damage to the cable.
Steps to Put the Cable Back on Garage Door
Step 1: Prepare the Garage Door
Make sure the garage door is fully closed. Disconnect the garage door opener to prevent any accidental movements.
Step 2: Release the Tension
Use locking pliers to secure the torsion spring’s shaft. This is a critical step as it ensures the spring does not unwind and cause injury.
Step 3: Reattach the Cable
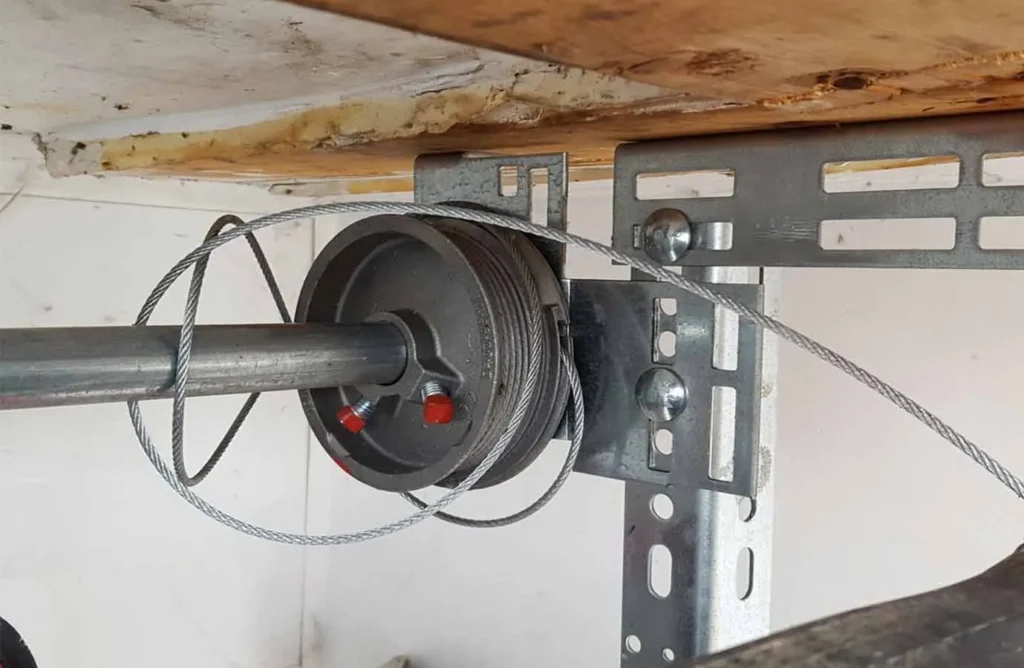
Loop the cable back onto the drum at the bottom of the door. Ensure it’s properly seated in the groove of the drum.
Step 4: Check the Tension
Once the cable is reattached, check the tension on both sides. It’s crucial that the tension is even to ensure the door operates smoothly.
Step 5: Test the Door
Reconnect the garage door opener and test the door. Open and close it a few times to ensure the cable is holding correctly and everything is functioning as it should.
Maintenance Tips
To avoid future issues with your garage door cable, r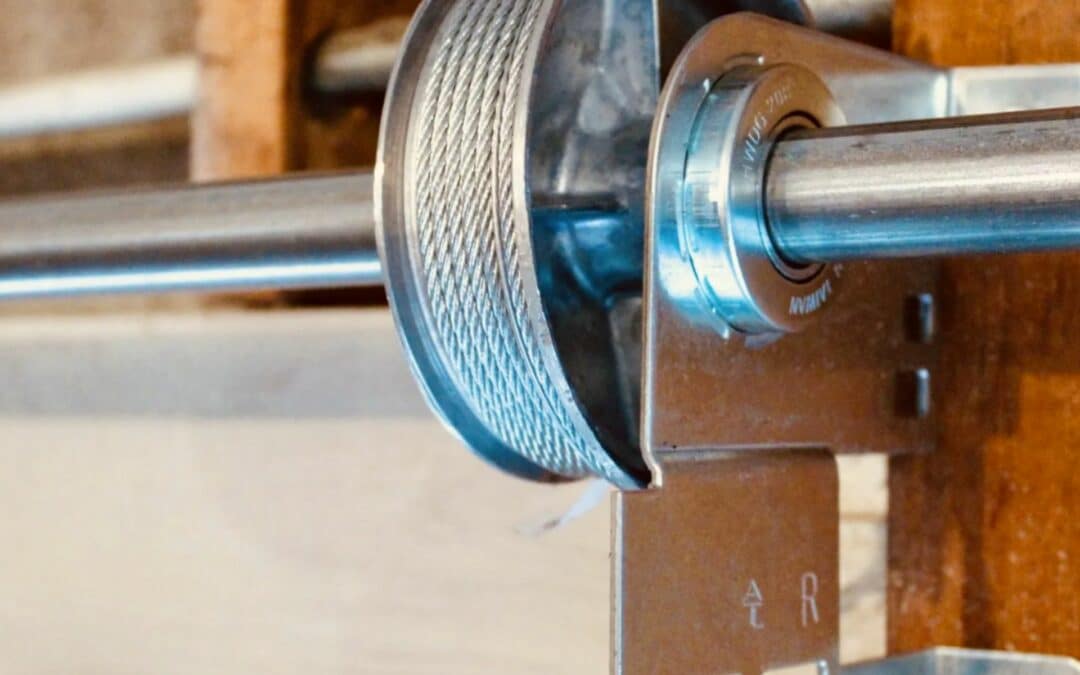 egular maintenance is key. Here are a few tips:
- Inspect the cables periodically for signs of wear and damage.
- Lubricate moving parts to reduce friction.
- Check the balance of your garage door regularly.
When to Call a Professional
While putting the cable back on your garage door can be a DIY project, there are times when it’s best to call in a professional. If the cable is severely damaged or the door is not operating correctly after your repair, contact a garage door technician for assistance.
Related Articles
- Garage Door Maintenance
- Replace Your Garage Door
- Common Problems
- Program Garage Door Opener
- Replace Garage Door Cable
External Resources
FAQ
Q1: What causes garage door cables to come off?
A1: Garage door cables can come off due to several reasons, including uneven tension, worn-out cables, or issues with the drum. Regular maintenance can help prevent this problem.
Q2: Can I put the cable back on the garage door myself?
A2: Yes, you can! However, it’s essential to follow safety precautions and the steps outlined in this guide to ensure a safe and successful repair.
Q3: When should I hire a professional?
A3: If the cable is severely damaged or if the door isn’t operating correctly after your repair, it’s best to consult a professional garage door technician.


