When it comes to home improvement projects, removing a garage door panel might seem daunting to many homeowners. However, with the right guidance and tools, this seemingly complicated process can be simplified. Whether you’re looking to replace a damaged panel or update the overall aesthetic of your garage, understanding how to remove a garage door panel is essential.

The Benefits of Removing a Garage Door Panel
There are several reasons why one might consider removing a garage door panel. Damaged or worn-out panels can affect the functionality and appearance of your garage door. By removing and replacing these panels, you can enhance your home’s curb appeal and ensure the smooth operation of your garage door. Additionally, replacing a single panel is often more cost-effective than investing in a completely new door.
Tools and Materials Required
Before you begin the process, make sure you have the necessary tools and materials. These typically include:
- Screwdrivers
- Wrenches
- Safety gloves
- Replacement panel
- Drill
- Measuring tape
Step-by-Step Guide on How to Remove a Garage Door Panel
1. Safety First
Your safety should always be the top priority when performing any DIY project. Ensure you are wearing safety gloves and protective eyewear before starting. Disconnect the power to the garage door opener to prevent any accidental activation.
2. Identify the Panel to Be Removed
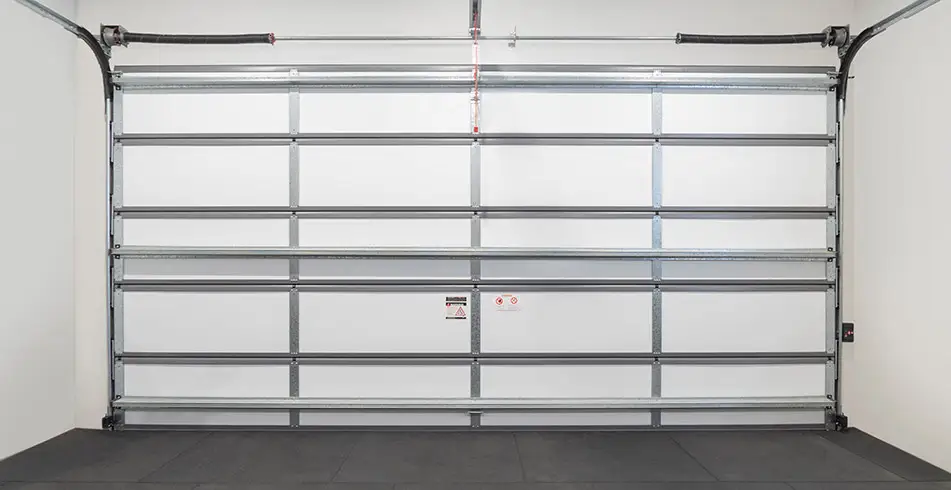
Examine your garage door and identify the specific panel that needs to be removed. Measure the dimensions of the panel so you can purchase the correct replacement size.
3. Remove the Door from Its Track
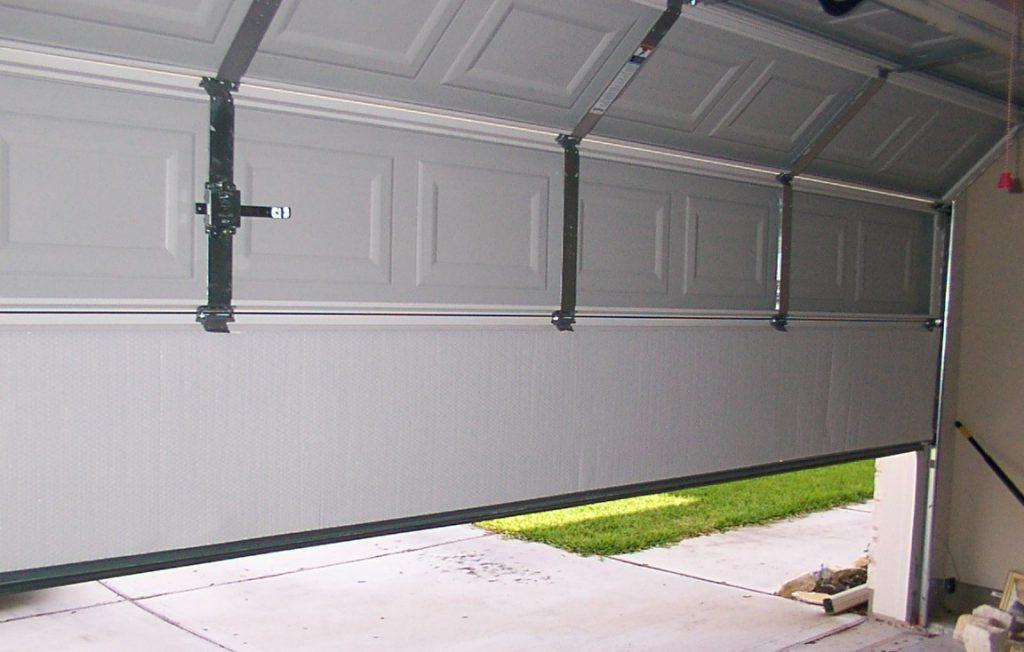
Start by releasing the tension in the garage door springs to avoid injuries. Use a winding bar to carefully remove the tension from the spring. After this, you can begin unscrewing the brackets that hold the panel in place. It’s essential to work patiently and systematically to ensure no additional damage occurs.
4. Detach the Panel
Once the brackets are removed, you can carefully detach the panel from the door. Lift the panel gently, ensuring that you do not damage the surrounding panels or the door’s structure.
Common Challenges and How to Overcome Them
Dealing with Stubborn Screws
Sometimes, screws can become rusted or stuck over time. In such cases, using a lubricant like WD-40 can help loosen them. Allow the lubricant to sit for a few minutes before attempting to unscrew the screws again.
Replacing Multiple Panels
If you’re replacing more than one panel, it’s crucial to maintain the door’s balance during the process. Removing multiple panels can affect the door’s weight distribution, making it difficult to operate. Consider seeking professional assistance if you’re unsure about handling the task on your own.
FAQs about Removing Garage Door Panels
Can I remove a garage door panel by myself?
While it’s possible to remove a garage door panel on your own, it’s essential to exercise caution and follow the steps carefully. If you’re unsure about any part of the process, consider consulting a professional.
What should I do if the replacement panel doesn’t fit?
If the replacement panel doesn’t fit, double-check your measurements. It’s crucial to purchase a panel that matches the dimensions of your existing door. If the panel still doesn’t fit, you may need to seek professional assistance.
How often shou ld I inspect my garage door panels for damage?
Regular maintenance is key to ensuring the longevity of your garage door. Inspect your door panels at least twice a year for any signs of wear and tear. Promptly addressing minor issues can prevent more significant problems down the line.
Conclusion
Knowing how to remove a garage door panel is a valuable skill for homeowners looking to maintain or improve their garage doors. By following the step-by-step guide provided, you can confidently tackle this project and achieve professional-looking results. For more information on maintaining your garage door, visit StaySafe.
For more relevant insights on garage door maintenance and repair, check out these articles:


