When homeowners face the daunting issue of a broken garage door spring, it often feels like a huge problem. The importance of a fully functional garage door cannot be overstated as it plays a significant role in your home’s security and convenience. Today, we’ll dive deep into how to repair a broken garage door spring and ensure its as good as new. We are here to guide you through proper steps, safety measures, and professional advice to handle this issue smoothly.

What is a Garage Door Spring?
Overview
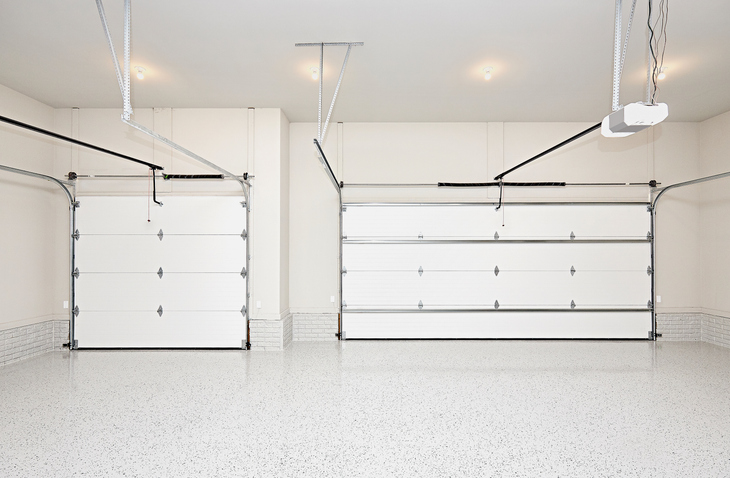
A garage door spring is an integral part of the garage door system. It allows for smooth opening and closing by counterbalancing the weight of the door. There are two primary types of springs: torsion springs and extension springs. Understanding these will help you in how to repair a broken garage door spring safely.
Torsion Springs
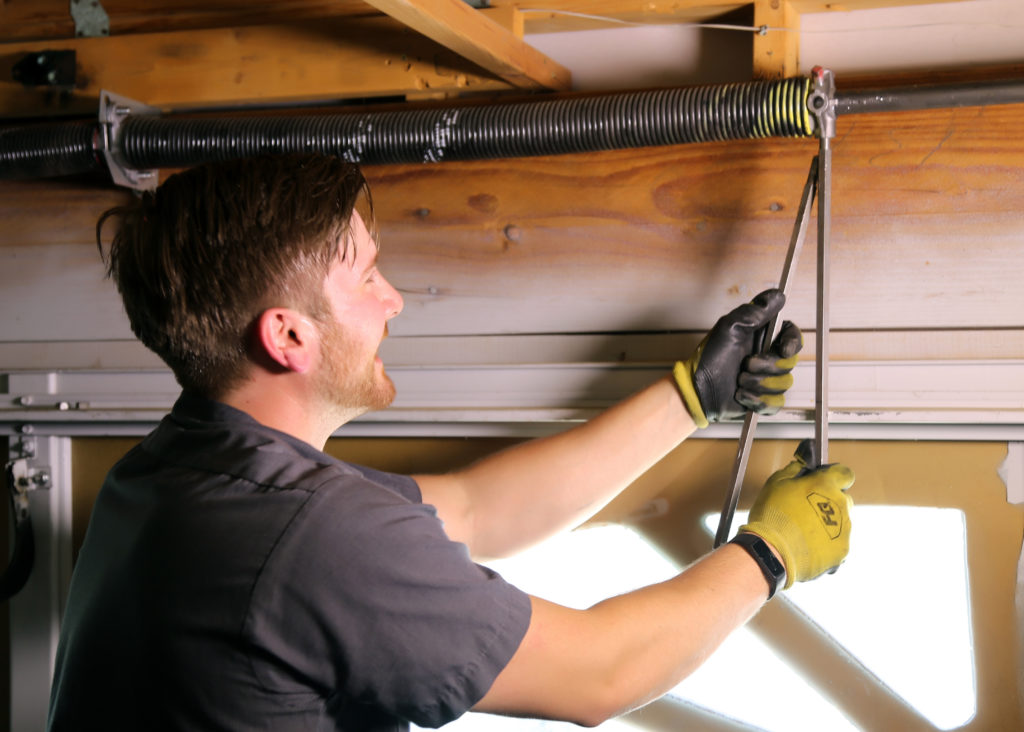
Torsion springs are located above the closed garage door. They are parallel to the top of the door and use torque to lift the door, making them crucial for balanced operation.
Extension Springs
Extension springs are found on either side of the door and extend to provide the necessary tension to lift the door. These are more common in older systems and require different handling techniques compared to torsion springs.
Signs of a Broken Garage Door Spring
Difficulty in Operation
If your garage door is not opening smoothly or is making unusual noises, these are telltale signs that you may be dealing with a broken garage door spring.
The Door Closes Too Quickly
Another sign is if the door closes too quickly or with a loud bang. This indicates that the spring is not providing enough tension, causing the door to drop rapidly.
Gap in the Spring
A noticeable gap in the spring itself is a clear physical indicator of a break. This gap will cause the door to function improperly and necessitate immediate attention.
Safety Precautions
Wear Protective Gear
Before you begin the repair process, wearing safety goggles and gloves is essential to protect you from any potential hazards.
Disconnect the Power
Make sure to disconnect the power supply to the garage door opener to avoid any accidental activation during the repair.
Use Appropriate Tools
Using the right tools, such as winding bars and a sturdy ladder, is crucial for the safe and successful completion of the repair.
Step-by-Step Guide to Repair a Broken Garage Door Spring
Gather the Necessary Tools
Items You’ll Need
Before starting the repair, gather all the necessary tools and materials, including winding bars, a C-clamp, vice grips, and the replacement spring.
Measure the Old Spring
It’s important to measure the old spring so you can purchase the correct replacement. Note down the wire size, length, and inside diameter.
Secure the Door
Use the C-clamp or vice grips to secure the door in place to prevent it from moving while you work.
Unwind the Unbroken Spring
Using winding bars, carefully unwind the unbroken spring to relieve the tension in the torsion tube.
Remove the Broken Spring
Remove the bolts holding the broken spring in place and carefully slide it off the torsion tube.
Install the New Spring
Slide the new spring onto the torsion tube and bolt it into place, ensuring it’s properly aligned.
Wind the New Spring
Using winding bars, wind the new spring to the specified number of turns, typically indicated by the manufacturers guidelines.
Test the Door
Carefully remove the C-clamp or vice grips and test the door manually to ensure it opens and closes smoothly.
When to Call a Professional
Complex Repairs
If at any point you feel uncomfortable or uncertain about the repair process, it’s best to call a professional. Complex repairs, like those involving multiple springs or older systems, often require specialized knowledge and tools.
Lack of Tools
If you do not have the necessary tools or safety equipment, hiring a professional is the safest option.
Maintaining Your Garage Door
Regular Inspections
Regularly inspecting your garage door for signs of wear and tear can help prevent future issues. Check out our detailed guide on garage door maintenance for more information.
Lubrication
Lubricating the moving parts of the garage door, including springs, rollers, and hinges, can extend their lifespan and ensure smooth operation.
Professional Maintenance
Its advisable to have a professional inspection at least once a year to catch any potential issues early. Check out our guide on fixing common garage door problems for more DIY tips.
FAQ Section
Q1: How do I know if my garage door spring is broken?
A: Signs of a broken garage door spring include difficulty in operation, the door closing too quickly, and a visible gap in the spring.
Q2: Can I replace a broken garage door spring myself?
A: While it is possible to replace a broken garage door spring yourself, it involves significant risk. Always prioritize s afety and consider hiring a professional if you are unsure.
Q3: How often should I perform maintenance on my garage door?
A: Regular maintenance should be performed at least once a year. This includes inspections, lubrication, and professional check-ups.
Conclusion
Repairing a broken garage door spring can be challenging, but with the right knowledge and tools, its manageable. However, always prioritize safety and do not hesitate to seek professional help if needed. Regular maintenance and timely repairs can ensure the longevity and smooth operation of your garage door. For more home repair tips, visit this guide on home repairs.


