Introduction
Are you a homeowner who has observed damage to your garage door panel? Learning how to replace a garage door panel can save you time and money while keeping your garage fully functional. Whether due to accidental impact or normal wear and tear, knowing how to tackle this repair can be invaluable. In this guide, we are delighted to provide a step-by-step tutorial to help you with this home improvement task.
Understanding Your Garage Door Components
Before diving into the process, it’s crucial to familiarize yourself with the parts of your garage door. This will aid in understanding the instructions better and make the process smoother.
Garage Door Panels
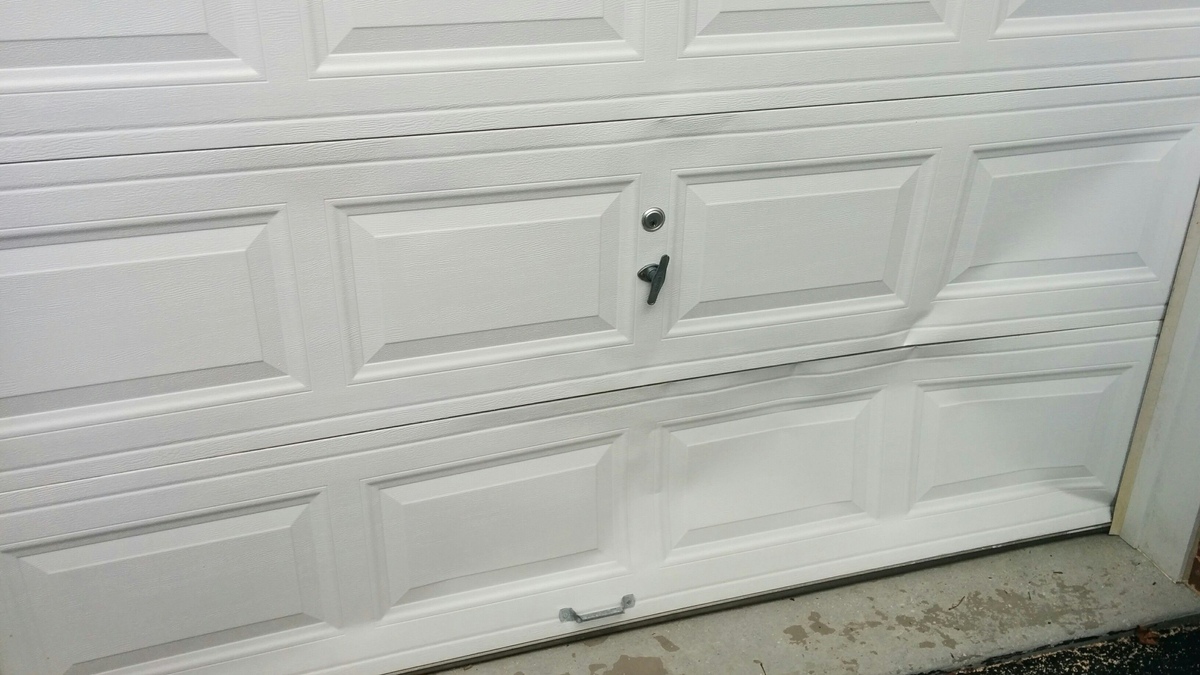
The panels are the individual sections that collectively form the garage door. Damage to one panel often leads to the need to replace it, instead of the entire door.
Tracks and Rollers
These components help the door move up and down smoothly. Understanding their function helps in knowing what’s at stake when replacing a panel.
Hinges and Brackets
These are the joints that connect the panels, allowing them to move. They also need to be checked for wear and tear during the replacement process.
Tools and Materials Required
Assembling the right tools and materials is essential for a successful garage door panel replacement. Heres a comprehensive list:
- Screwdriver set
- Wrench set
- Garage door panel
- Work gloves
- Stepladder
- Lubricant
- Safety goggles
Step-by-Step Guide to Replace a Garage Door Panel
Step 1: Disconnect the Garage Door Opener
For safety reasons, first disconnect the garage door opener. This ensures that the door wont move while youre working on it.
Step 2: Secure the Garage Door
Using clamps or locking pliers, secure the garage door to the track. This will prevent the door from moving and make it easier to work on.
Step 3: Remove the Damaged Panel
Begin by unbolting the panel from the adjacent panels. Carefully remove the hinges and brackets as well. Its crucial to keep track of these parts for reinstallation.
Step 4: Install the New Panel
Position the new panel where the old one was removed. Reattach the hinges and brackets to secure the new panel in place. Make sure everything is tightly fastened to ensure smooth operation.
Step 5: Reconnect the Garage Door Opener
Once youve replaced the damaged panel and ensured everything is secure, reconnect the garage door opener. Test the door by opening and closing it a few times to ensure smooth operation.
Common Mistakes to Avoid
Skipping Safety Steps
Dont skip on safety precautions like wearing safety goggles and disconnecting the opener.
Using Incorrect Tools
Always use the right tools for the job. This can prevent damage to the new panel and other components.
Maintenance Tips
Regular Inspection
Makes it a habit to inspect your garage door regularly. Look for signs of wear and tear.
Lubricate Moving Parts
Lubricate the tracks and rollers frequently to ensure smooth operation.
When to Seek Professional Help
If the damage is extensive or youre not comfortable performing the replacement yourself, its best to seek professional help. For a comprehensive evaluation, refer to this Is it time to replace your garage door.
FAQs
Can I replace just one panel on my garage door?
Yes, its possible to replace just one panel if thats the only section thats damaged.
Do I need to replace t he entire garage door?
No, you dont need to replace the entire door if only one or a few panels are damaged.
How do I know when to replace my garage door panel?
If the panel shows signs of significant wear or damage, its time to replace it.
Conclusion
This step-by-step guide aims to provide a comprehensive, approachable resource for homeowners looking to replace their garage door panels. By following these detailed instructions, you can tackle this repair with confidence and skill. Remember, regular maintenance and timely repairs are crucial for the longevity of your garage door. For more tips on garage door maintenance, visit our article on the importance of regular garage door maintenance.