Garage door springs play a vital role in the overall functioning of your garage door. Over time, these springs can wear out or break, leading to issues with opening and closing the door. Knowing how to replace garage door spring can save you money on repair costs and extend the life of your garage door. This guide will walk you through the entire process.
Understanding Garage Door Springs
Before diving into the replacement process, its crucial to understand the basic types of garage door springs. Primarily, there are two types:
Torsion Springs
Torsion springs are mounted above the garage door. These springs use torque to lift the door.
Extension Springs
Extension springs are located on either side of the door and stretch to provide the force needed to lift the door.
Signs Your Garage Door Spring Needs Replacement
Identifying the signs that your garage door spring needs replacing can save you from unexpected hiccups. Common signs include:
- The door doesn’t open or close smoothly
- Visible wear and tear on the springs
- Loud noises during operation
- The door feels heavy to lift manually
Safety Considerations Before Beginning
Replacing garage door springs is a task that requires caution. Always:
- Wear safety goggles and gloves
- Disconnect the door opener
- Have another person help you if possible
Tools You Will Need
Gather the following tools before you start working:
- Winding bars
- C-clamps
- Socket wrench set
- Adjustable wrench
- Safety glasses and gloves
Step-by-Step Guide to Replacing Garage Door Spring
Step 1: Disconnect the Garage Door Opener
Always begin by disconnecting the garage door opener to prevent any accidental activation during the process.
Step 2: Secure the Door
Use C-clamps to keep the door securely in place. Place a clamp below the bottom roller on both tracks.
Step 3: Loosen the Unbroken Spring
Using winding bars, unwind the unbroken spring to relieve the tension. Carefully remove the setscrews.
Step 4: Remove Old Springs
Securely detach the broken spring from the track bracket, then slide it off the torsion bar.
Step 5: Install New Springs
Slide the new spring onto the torsion bar and reattach components using the socket wrench set.
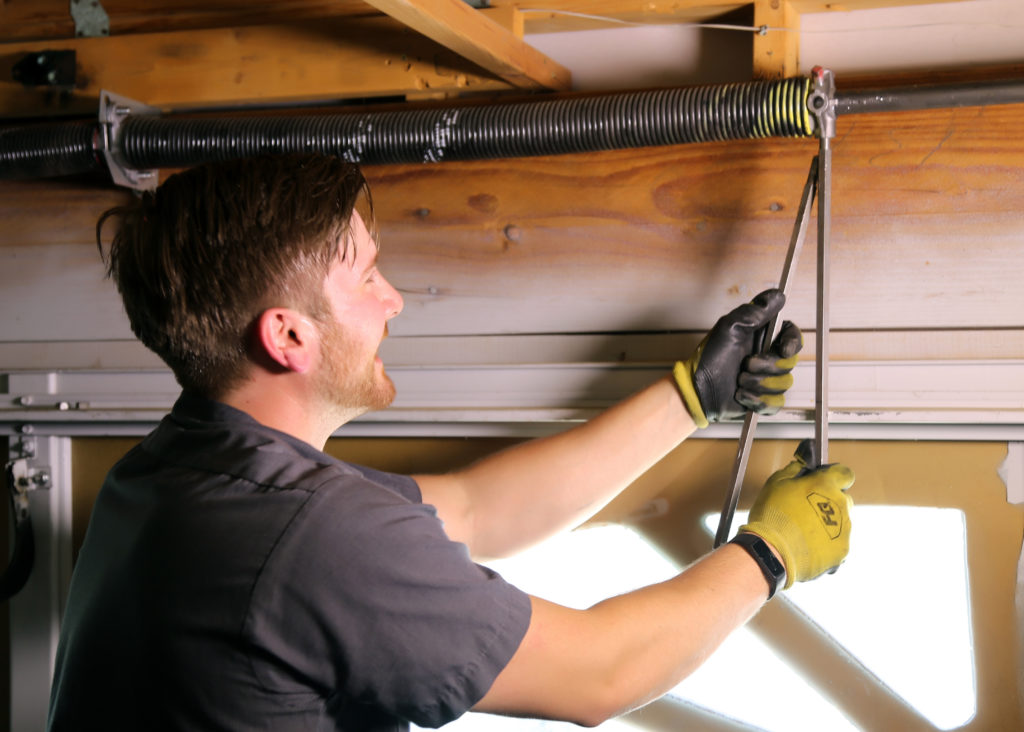
Step 6: Wind the New Spring
Use winding bars to wind the new spring to the correct tension. Tighten the setscrews to secure it in place.
Step 7: Test the Door
Finally, remove the C-clamps and test the door to ensure it opens and closes correctly.
Additional Resources
For further insight on garage door maintenance, visit our guide on common problems.
FAQs
Is it safe to replace garage door springs yourself?
While it’s possible, its recommended to seek professional help for safety r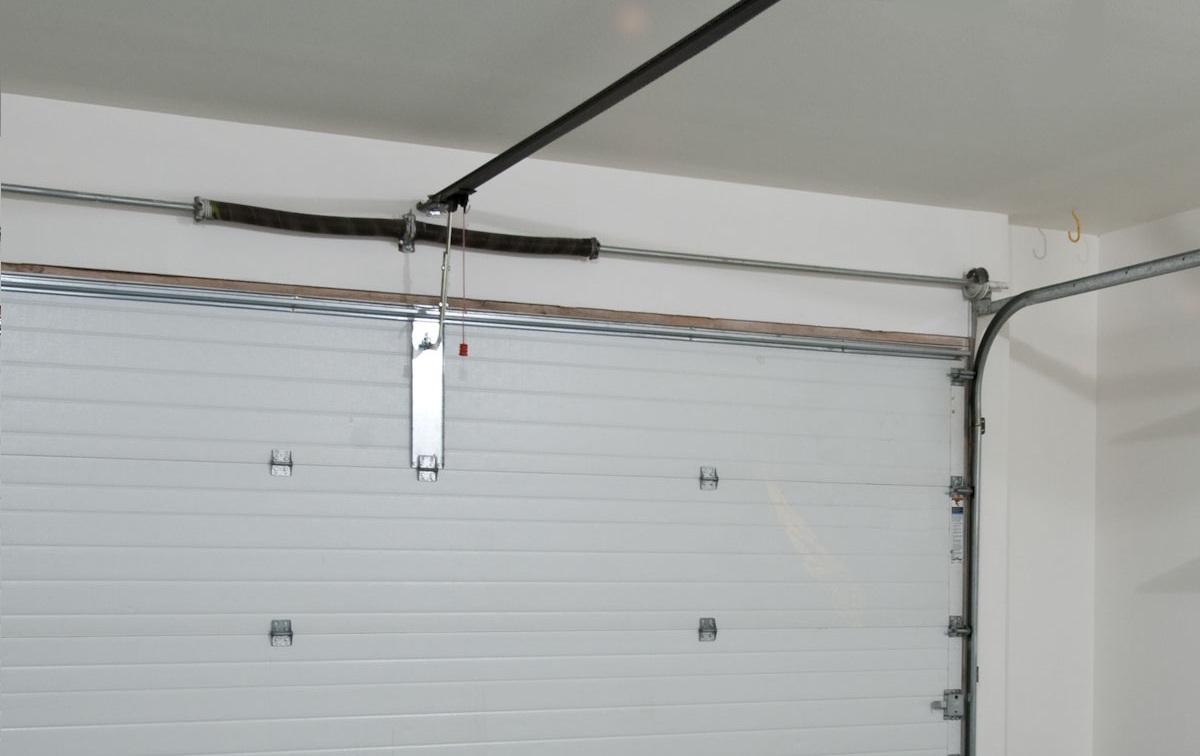 easons.
How often should garage door springs be replaced?
Typically, every 7-9 years, depending on usage.
What causes garage door springs to break?
General wear and tear, lack of maintenance, and extreme temperature changes.
Conclusion
Replacing your garage door spring can seem daunting, but with the right tools and precautions, its manageable. Always prioritize safety and seek professional assistance if needed.
For more tips, check out this guide on standards.