
Maintaining a secure and weather-proof garage is essential for any homeowner. One of the most vital, yet overlooked, aspects of garage maintenance is learning how to seal garage door sides and top. A poorly sealed garage door can lead to numerous problems including pest infestations, water damage, and increased energy costs. In this article, we will provide a comprehensive guide to sealing your garage door effectively, ensuring you enjoy a more secure and energy-efficient home.
Why Sealing Your Garage Door is Important
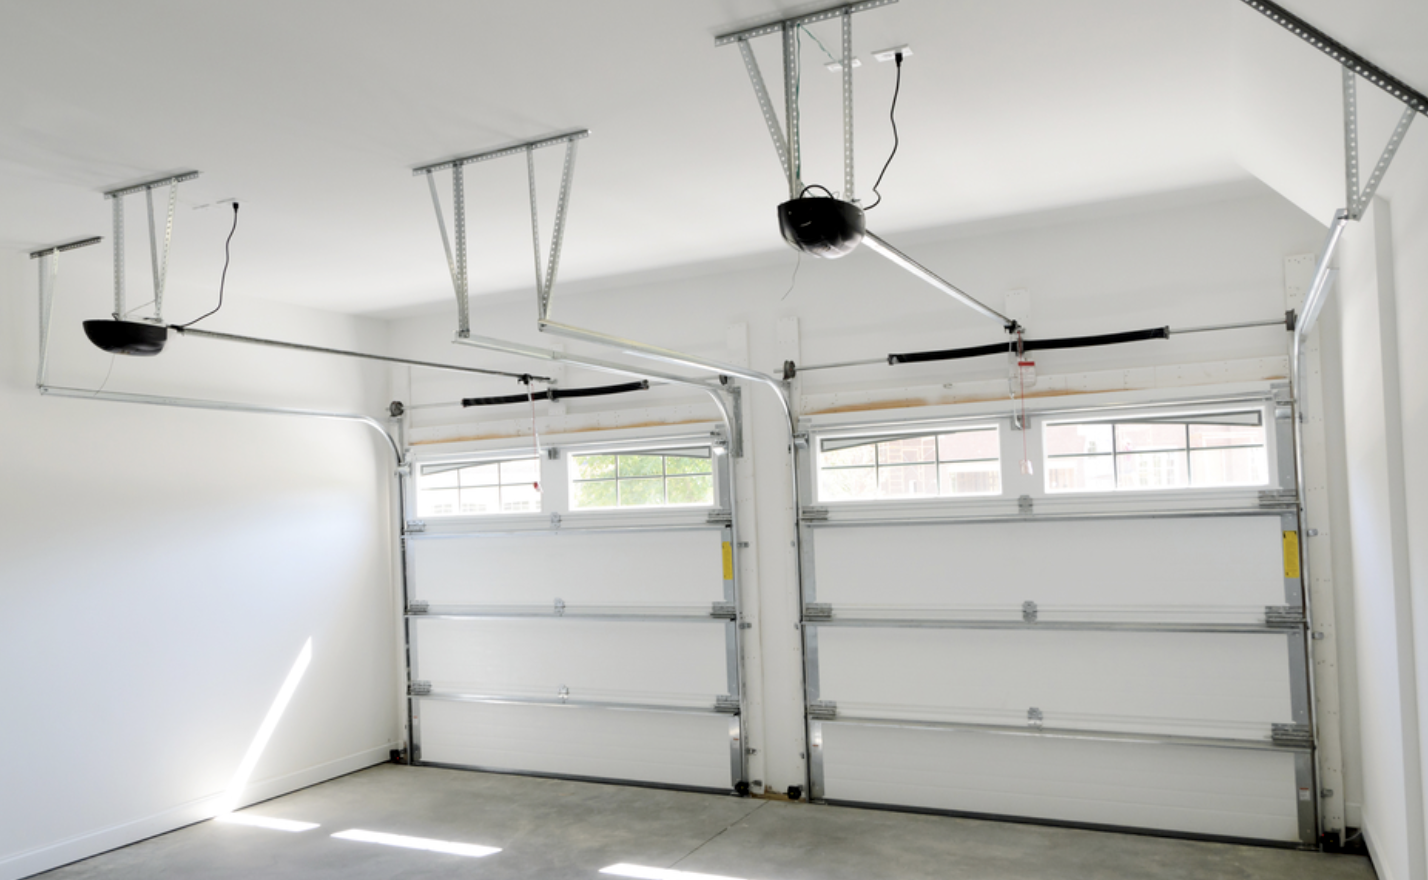
Before diving into the steps, it’s crucial to understand why it matters to know how to seal garage door sides and top. These gaps can let in unwanted elements, compromising your garage’s integrity.
Preventing Water Damage
Water ingress is one of the leading causes of structural damage. By sealing your garage door properly, you prevent water from entering, avoiding costly repairs.
Pest Control
A well-sealed garage door keeps pests at bay. These small intruders can cause significant damage and are often a health hazard.
Energy Efficiency
Sealing gaps helps in maintaining the temperature inside your garage, leading to greater energy efficiency. It ensures your heating and cooling systems don’t work overtime, thus saving on energy bills.
Materials You Will Need
- Weatherstripping
- Garage door sealant
- Caulking gun
- Utility knife
- Screwdriver
- Measuring tape
- Brush
- Cleaning Solution
Step-by-Step Guide to Sealing Your Garage Door
Step 1: Clean the Area
Start by cleaning the sides and top of the garage door thoroughly. Use a brush and cleaning solution to remove dirt, dust, and debris. This will ensure that the sealants and weatherstripping adhere properly.
Step 2: Measure the Gaps
Use a measuring tape to measure the gaps along the sides and top of your garage door. Accurate measurements will ensure you apply the correct amount of sealing material.
Step 3: Apply Weatherstripping
Cut weatherstripping according to the measurements. Using a screwdriver, attach it securely along the edges. This step is crucial for minimizing air leakage.
Step 4: Use Garage Door Sealant
Apply a bead of garage door sealant along the edges for additional protection. Use a caulking gun for ease of application. This step ensures any minute gaps are filled.
Step 5: Inspect and Test
Once the sealing materials are applied, inspect the work thoroughly. Open and close the garage door to ensure the seals are holding up well.
Common Mistakes to Avoid
Even with the best intentions, mistakes can happen. Here are some common pitfalls to avoid:
Using the Wrong Materials
Not all weatherstripping and sealants are created equal. Make sure to use materials specifically designed for garage doors.
Skipping the Cleaning Step
Skipping the initial cleaning step can result in poor adhesion, making your efforts futile.
Inaccurate Measurements
Precision is key. Inaccurate measurements can lead to ineffective sealing, thus compromising your efforts.
Maintenance Tips for Longevity
< h3>Regular Inspections
Perform regular inspections to ensure the seals are intact. Look for signs of wear and tear.
Reapply Sealant Periodically
Over time, the sealant may degrade. Reapplying it periodically ensures long-lasting protection.
Frequently Asked Questions (FAQ)
1. What type of weatherstripping should I use?
We recommend using high-quality, garage-specific weatherstripping for the best results.
2. How often should I inspect the seals?
It’s a good practice to inspect the seals every six months.
3. Can I do this myself or should I hire a professional?
While this is a DIY-friendly task, if you’re uncomfortable doing it yourself, hiring a professional is always a safe option.
For more details on garage door maintenance, you can read regular maintenance or common problems. Additionally, to get to know when it’s time for a replacement, visit replacement signs and understand more.
For further guidance on home repairs, you can visit USA.gov’s home repair guide.


