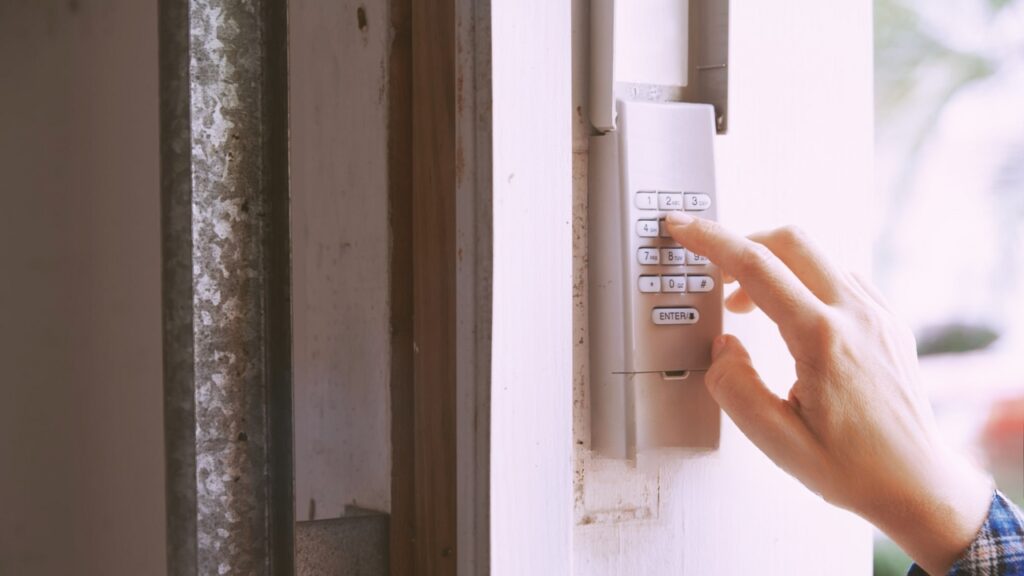
Over time, exposure to weather and frequent use can cause your garage door keypad cover to crack, fade, or break entirely. A damaged cover not only looks unsightly but can also allow moisture and debris to affect the keypad’s performance. Replacing this small but essential part is a straightforward task that helps maintain your garage’s security and convenience.
This guide walks you through each step of the garage door keypad keypad cover replacement process, including how to identify when a new cover is needed, what tools you’ll require, and tips for ensuring a snug, weather-resistant fit. If you’re interested in keeping your keypad in top shape, you might also want to read about garage door keypad preventative maintenance for more tips on extending the life of your entry system.
Why Replace a Garage Door Keypad Cover?
The keypad cover serves as the first line of defense against rain, snow, dust, and UV rays. When it’s cracked or missing, the electronic components underneath are left vulnerable. Here’s why timely keypad cover replacement matters:
- Weather Protection: Prevents water and dirt from seeping into the keypad, reducing the risk of malfunctions.
- Enhanced Security: A secure cover deters tampering and keeps your access code hidden from prying eyes.
- Improved Usability: A clear, intact cover makes the keypad easier to use, even in poor weather.
- Prolonged Lifespan: Protecting the keypad helps avoid costly repairs or full replacements down the line.
Signs It’s Time for a New Keypad Cover
Not sure if your keypad cover needs replacing? Look for these common indicators:
- Visible cracks, chips, or missing pieces
- Faded or cloudy plastic that makes buttons hard to see
- Difficulty opening or closing the cover
- Water spots or condensation inside the cover
- Buttons sticking or not responding due to debris
Choosing the Right Replacement Cover
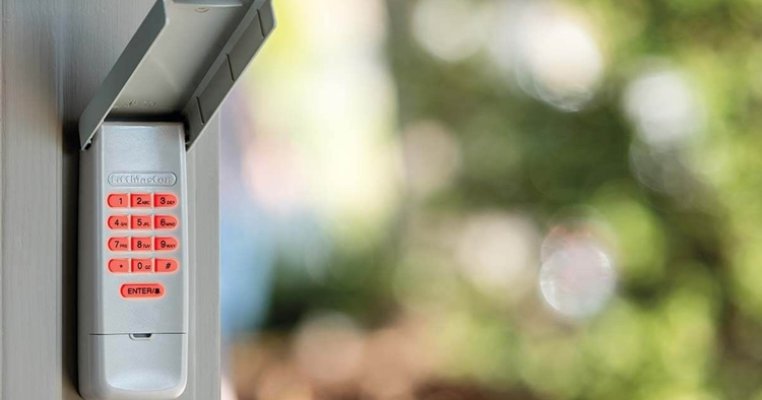
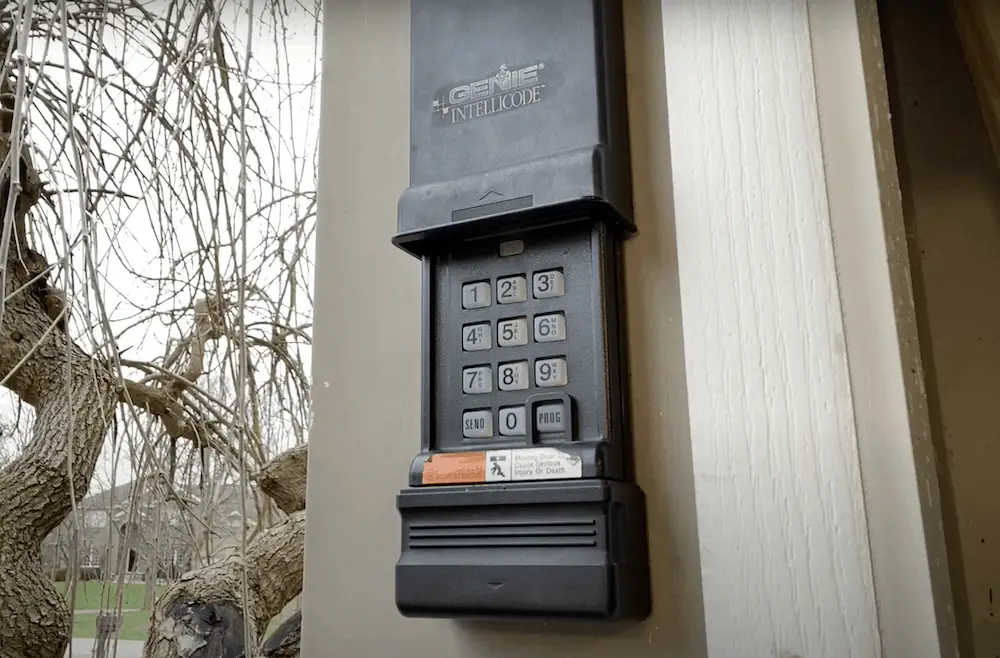
Before starting your garage door keypad keypad cover replacement, it’s important to select a compatible cover. Most keypads are brand-specific, so check your keypad’s model number and manufacturer. Universal covers are available, but for best results, opt for an exact match.
If you’re unsure about compatibility, consult your keypad’s manual or visit the manufacturer’s website. Some covers are sold as part of a full keypad kit, while others can be purchased separately. For those considering a full upgrade, you can compare the best garage door openers for 2025 to see if a new system might be worthwhile.
Tools and Materials Needed for the Job
Most garage door keypad keypad cover replacement projects require only basic tools. Gather these items before you start:
- Replacement keypad cover (matched to your model)
- Small Phillips or flathead screwdriver
- Soft cloth for cleaning
- Optional: mild soap and water for stubborn dirt
Step-by-Step Instructions for Replacing the Cover
Follow these steps to ensure a smooth and secure installation:
- Turn Off Power (if needed): For most battery-powered keypads, this isn’t necessary, but if your unit is hardwired, disconnect the power to avoid accidental activation.
- Open the Keypad Housing: Gently lift or slide the old cover open. Locate the screws or clips holding the cover in place.
- Remove the Old Cover: Using the appropriate screwdriver, carefully loosen and remove the fasteners. Set them aside for reuse if the new cover doesn’t include replacements.
- Clean the Keypad Area: Wipe away any dust, dirt, or moisture from the exposed keypad and housing. This helps ensure a tight seal for the new cover.
- Install the New Cover: Align the replacement cover with the housing. Secure it using the original screws or clips, making sure it fits snugly and operates smoothly.
- Test the Keypad: Close and open the new cover several times to check for smooth movement. Enter your code to confirm all buttons are accessible and responsive.
Tips for a Long-Lasting Keypad Cover
To maximize the lifespan of your new cover, keep these maintenance tips in mind:
- Clean the cover regularly with a soft, damp cloth to remove dust and grime.
- Avoid harsh chemicals that can cloud or weaken the plastic.
- Inspect the cover seasonally for cracks or sun damage, especially if your keypad faces direct sunlight.
- Lubricate hinges or moving parts with a silicone-based spray if the cover starts to stick.
- For more detailed cleaning advice, see cleaning garage door keypad properly.
When to Consider Full Keypad Replacement
Sometimes, replacing just the cover isn’t enough. If your keypad is unresponsive, has worn-out buttons, or shows signs of internal corrosion, a full replacement may be necessary. Learn more about when to replace garage door keypad for guidance on making that decision.
If you’re concerned about costs, check out this detailed breakdown of garage door keypad replacement cost to plan your budget.
Common Issues After Replacing a Keypad Cover
After installing a new cover, you might encounter a few minor issues:
- Stiff Movement: If the cover feels tight, double-check alignment and ensure no debris is caught in the hinges.
- Unresponsive Buttons: Make sure the cover isn’t pressing against the keypad. If problems persist, inspect the circuit board for damage. For troubleshooting, see garage door keypad circuit board issues.
- Water Intrusion: Confirm that the cover is fully seated and the gasket (if present) is intact.
FAQ
Can I Use a Universal Keypad Cover?
Universal covers are available and can fit many standard keypads, but for the best fit and weather protection, it’s recommended to use a cover designed for your specific model. Always check compatibility before purchasing.
How Often Should I Replace My Keypad Cover?
Most covers last several years, but you should inspect yours at least once a year. Replace it if you notice cracks, cloudiness, or difficulty operating the cover.
Do I Need to Reprogram My Keypad After Replacing the Cover?
No, replacing the cover alone does not affect your keypad’s programming. However, if you disconnect the power or replace the entire keypad, you may need to re-enter your access codes.