Garage door sensors play a crucial role in keeping your garage safe and functional. If your garage door isn’t closing properly or the safety sensors seem unresponsive, checking their voltage is a practical first step in troubleshooting. Using a multimeter to test these sensors helps you quickly determine whether the issue lies with the sensors themselves, the wiring, or the garage door opener unit.
This guide will walk you through the process of measuring voltage at your garage door sensors, what readings to expect, and what to do if the numbers don’t match up. You’ll also find tips for addressing common sensor issues and links to related resources, such as how to install garage door sensor sun shields for improved accuracy.
Understanding Garage Door Safety Sensors and Their Voltage
Garage door safety sensors, often called photo-eyes, are installed on both sides of the door near the floor. They use an infrared beam to detect obstructions and prevent the door from closing on objects or people. These sensors require a low-voltage power supply, typically between 5 and 24 volts DC, depending on the manufacturer and model.
When troubleshooting, it’s important to know the expected voltage range for your specific system. Most residential garage door openers supply about 12 to 24 volts DC to the sensors. If the voltage is too low or absent, the sensors won’t function correctly, and the door may refuse to close.
Tools and Safety Precautions for Measuring Sensor Voltage
Before you begin, gather the following tools:
- Digital multimeter (with DC voltage setting)
- Small flathead screwdriver (for accessing terminals, if needed)
- Protective gloves (optional, for safety)
Safety first: While garage door sensors operate at low voltage, always exercise caution. Disconnect the garage door opener from power if you need to access internal wiring. Never touch exposed wires with bare hands.
Step-by-Step Process to Test Garage Door Sensor Voltage
Follow these steps to accurately measure the voltage at your garage door sensors:
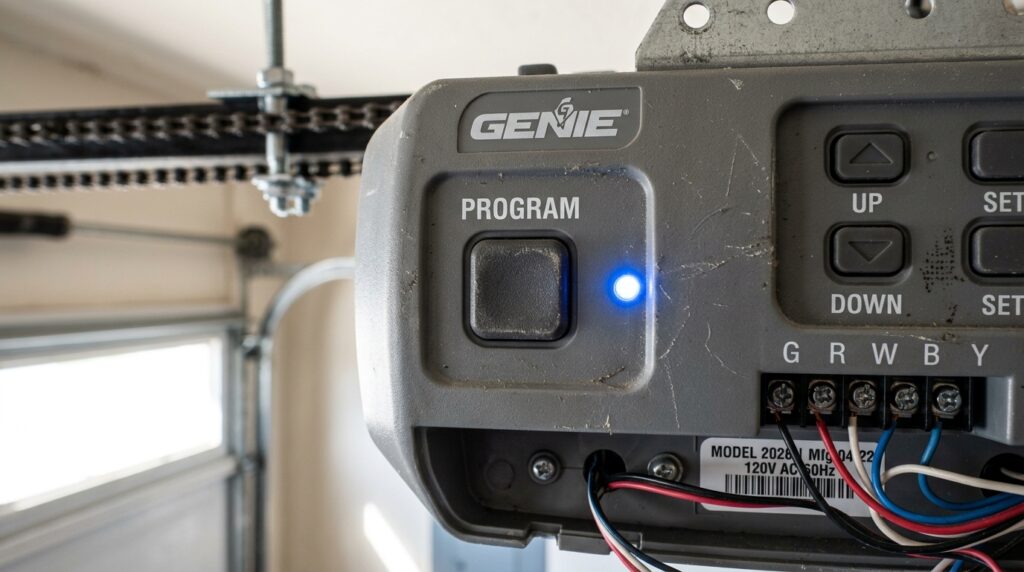
- Locate the sensor wiring: Find the wires running from the sensors to the opener unit. These are usually color-coded and may be connected via screw terminals or wire nuts.
- Set your multimeter: Turn the dial to the DC voltage setting. If your meter is not auto-ranging, select a range that covers up to 24V DC.
- Access the sensor terminals: If necessary, gently loosen the terminal screws or wire nuts to expose the wires. You may also test at the back of the opener unit where the sensor wires connect.
- Probe the wires: Place the multimeter’s black (negative) probe on the ground wire (often white) and the red (positive) probe on the power wire (often black or red).
- Read the voltage: The display should show a steady voltage, typically between 12V and 24V DC. Consult your opener’s manual for the exact expected value.
-
Interpret the results:
- If the voltage matches the expected range, the power supply is likely fine.
- If the voltage is significantly lower, fluctuating, or zero, there may be a wiring fault, a blown fuse, or a faulty opener board.

What to Do If Your Garage Door Sensor Voltage Is Incorrect
If your multimeter reading is outside the normal range, several issues could be at play:
- Loose or corroded connections at the sensor or opener terminals
- Damaged wiring due to wear, rodents, or moisture
- Blown fuse or faulty circuit board in the opener unit
- Sensor malfunction caused by age or physical damage
For step-by-step guidance on replacing faulty wires, see how to replace garage door sensor wiring. If you suspect moisture is causing voltage drops, check out how to fix garage door sensor moisture problems for practical solutions.
Tips for Accurate Sensor Voltage Testing
- Test with the door opener powered on: The sensors only receive voltage when the opener is plugged in and powered.
- Check both sensors: Measure voltage at both the sending and receiving units to identify localized faults.
- Inspect for LED indicators: Many sensors have LED lights that indicate power and alignment. If the LED is off, voltage is likely absent.
- Consult your manual: Always refer to your opener’s documentation for specific voltage values and wiring diagrams.

Common Problems Revealed by Sensor Voltage Checks
Testing voltage at your garage door sensors can reveal several common issues:
- Zero voltage: Indicates a break in the circuit, blown fuse, or disconnected wire.
- Low voltage: May point to corroded terminals, damaged wires, or a failing power supply.
- Normal voltage but malfunctioning sensor: Suggests the sensor itself is faulty and may need replacement.
If your sensor’s LED is yellow or flickering, you may want to read why is my garage door sensor yellow for more insight into what different indicator lights mean.
When to Reset or Replace Your Garage Door Sensors
If voltage is present but the sensors still don’t function, try resetting them. For a step-by-step reset procedure, see this detailed guide on resetting garage door sensors. If resetting doesn’t resolve the issue, replacement may be necessary.
Persistent problems with obstruction warnings or sensor misalignment can also be caused by dirt, sunlight interference, or physical damage. For tips on clearing obstructions, visit what to do if garage door sensor is blocked.
Frequently Asked Questions
What voltage should I expect when testing garage door sensors?
Most residential garage door sensors operate between 12V and 24V DC. Always check your opener’s manual for the exact voltage specification. If your reading is within this range, the power supply is likely functioning correctly.
Can I test garage door sensors without a multimeter?
While a multimeter provides the most accurate results, you can sometimes diagnose sensor issues by observing the LED indicators or swapping sensors from one side to the other. However, voltage testing is the most reliable way to confirm electrical problems.
What should I do if there is no voltage at my garage door sensors?
If your multimeter reads zero volts, check for loose wires, blown fuses, or a faulty opener board. Inspect the wiring for visible damage and consult your opener’s manual for troubleshooting steps. If you’re unable to resolve the issue, consider contacting a professional technician.


