Sunlight interference is a common cause of unreliable garage door sensor performance. When direct sunlight hits the safety sensors, it can cause false readings or prevent the door from closing properly. Installing sun shields is a straightforward way to protect your sensors and ensure your garage door operates safely and consistently. This guide will walk you through the process, from understanding why shields are important to step-by-step installation and troubleshooting tips.
If you’ve noticed issues like blinking lights or unexplained sensor errors, you’re not alone. Many homeowners experience these problems, especially in garages that face east or west. Before you start, it’s helpful to learn more about related sensor issues, such as why is my garage door sensor yellow or what to do if garage door sensor is blocked.
Why Sun Shields Are Essential for Garage Door Sensors
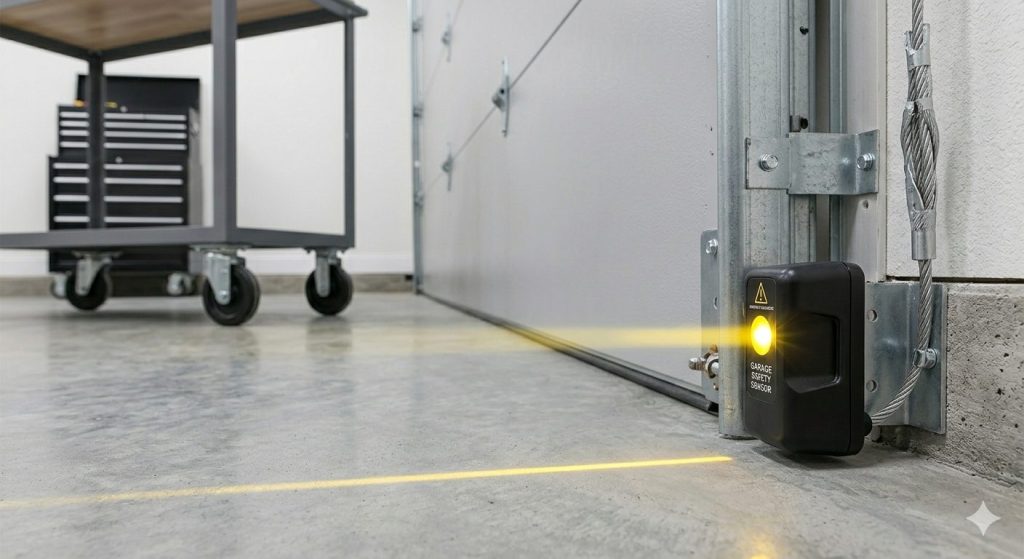
Garage door safety sensors rely on an infrared beam to detect obstacles. When sunlight shines directly onto the sensor eye, it can overwhelm the receiver and disrupt the beam. This often leads to the door refusing to close or reversing unexpectedly. Sun shields act as a barrier, blocking harsh sunlight and allowing the sensors to function as intended.
Without proper shielding, you might notice blinking indicator lights or inconsistent operation. If you’re experiencing these symptoms, you may also want to check out solutions for how to fix garage door sensor flickering for additional troubleshooting.
Tools and Materials Needed for Sun Shield Installation
Before you begin, gather the following items to ensure a smooth installation process:
- Sun shields designed for garage door sensors (universal or brand-specific)
- Phillips or flathead screwdriver
- Measuring tape
- Zip ties or mounting hardware (if not included with the shields)
- Soft cloth for cleaning sensor lenses
Most sun shields are made from durable plastic and are designed to fit over standard sensor housings. Some brands offer clip-on designs, while others may require screws or adhesive.
Step-by-Step Guide: Installing Sun Shields on Garage Door Sensors
Follow these steps to install sun shields and improve the accuracy of your garage door sensors:
- Turn off the power to your garage door opener for safety. This prevents accidental operation while you’re working near the sensors.
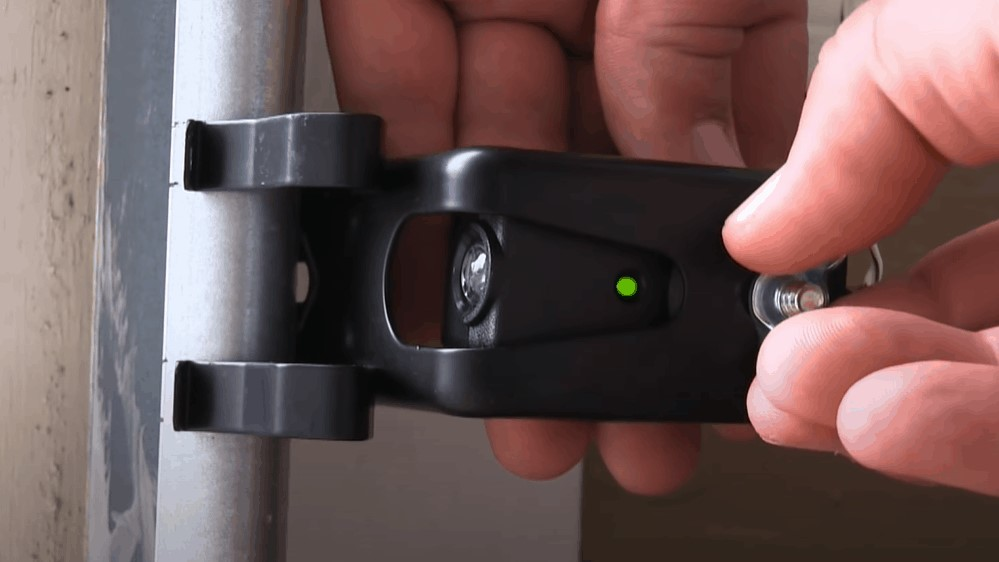
- Locate the sensors on both sides of the garage door, near the floor. Clean the lenses with a soft cloth to remove dust or debris.
- Position the sun shield over the sensor. Most shields are designed to snap or slide into place, covering the top and sides of the sensor eye.
- Secure the shield using the provided hardware or zip ties. Ensure the shield does not block the sensor’s beam path or interfere with alignment.
- Check alignment by confirming that the sensors’ indicator lights are steady (not blinking). Adjust the shield or sensor position if necessary.
- Restore power and test the garage door. The door should close smoothly without reversing or stopping unexpectedly.
Tips for Maintaining Sensor Accuracy After Installation
Once your sun shields are in place, regular maintenance will help keep your sensors working reliably:
- Inspect the shields periodically for cracks or damage, especially after storms or extreme weather.
- Clean the sensor lenses and shields with a soft, dry cloth to remove dust, cobwebs, or dirt.
- Check alignment if you notice blinking lights or the door not closing. Realign the sensors if needed.
- Test the system monthly by placing an object in the sensor path to ensure the door reverses as expected.
If you encounter persistent issues, you may need to check the sensor wiring. For detailed instructions, see how to replace garage door sensor wiring.
Common Problems and Troubleshooting Sun Shield Installations
Even with shields installed, you might still face occasional sensor malfunctions. Here are some common issues and solutions:
- Sensor lights keep blinking: This usually indicates misalignment or an obstruction. Adjust the sensor or shield position until the lights are steady.
- Door won’t close in bright sunlight: Double-check that the shield fully covers the sensor eye and isn’t allowing sunlight to leak in from the sides.
- Shields fall off or shift: Secure them with additional zip ties or mounting brackets if necessary.
- Wiring issues: Inspect the sensor wires for damage or loose connections. If needed, refer to guidance on how to rewire garage door sensors.
For more details on blinking sensor lights and what they mean, you can read this comprehensive explanation of garage door sensor blinking lights.
Frequently Asked Questions
Do Sun Shields Affect the Range or Sensitivity of Garage Door Sensors?
Properly installed sun shields are designed to block sunlight without interfering with the infrared beam. As long as the shield does not obstruct the sensor lens or the path between sensors, it will not reduce sensitivity or range.
Can I Make a DIY Sun Shield for My Garage Door Sensors?
While some homeowners use cardboard or plastic to create makeshift shields, commercial products are recommended for durability and fit. DIY solutions may not provide adequate protection or could interfere with sensor alignment.
What Should I Do If My Garage Door Still Won’t Close After Installing Sun Shields?
First, check that the shields are correctly positioned and not blocking the sensor beam. Clean the lenses, realign the sensors, and inspect for wiring issues. If problems persist, consult a professional or refer to resources on what to do if garage door sensor is blocked.
How Often Should I Replace or Inspect Sun Shields?
Inspect sun shields at least twice a year, or after severe weather. Replace them if you notice cracks, discoloration, or if they no longer fit securely over the sensors.
Conclusion
Adding sun shields to your garage door sensors is a simple yet effective way to prevent sunlight interference and ensure reliable door operation. By following the steps outlined in this article and performing regular maintenance, you can keep your garage door system safe and responsive. For persistent issues or advanced troubleshooting, don’t hesitate to seek professional assistance or explore further resources on sensor maintenance and repair.