If your garage door refuses to close or the safety sensors are acting up, faulty wiring could be the culprit. Learning how to rewire garage door sensors can help restore your door’s safety features and save you from costly service calls. This practical guide covers the essential steps, safety tips, and troubleshooting advice for handling sensor wiring at home.
Before you start, it’s important to understand how these sensors work and why proper wiring is crucial for your garage door’s operation. We’ll also highlight common symptoms of wiring issues and point you to additional resources, such as how to check garage door sensor wiring for damage, to help you diagnose problems before you begin.
Understanding Garage Door Sensor Wiring
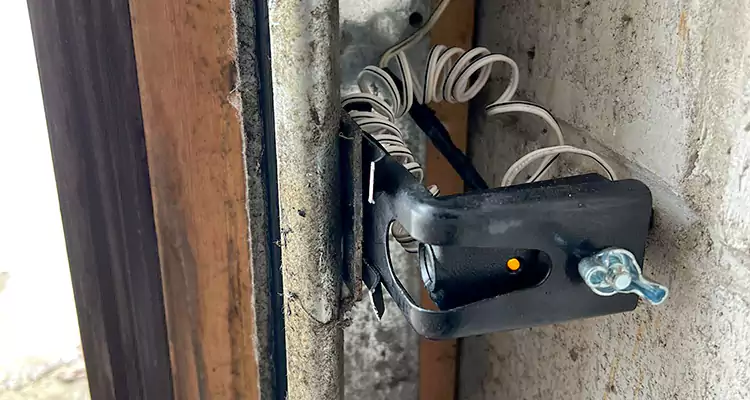
Garage door sensors are a key safety feature, preventing the door from closing if an object or person is in the way. These sensors typically use a pair of photo eyes mounted near the floor on either side of the door. When the wiring is damaged or disconnected, the sensors can’t communicate, and the door may refuse to close or only operate when you hold the wall button.
Signs that your sensor wiring needs attention include:
- The door reverses immediately after starting to close.
- Indicator lights on the sensors are off, blinking, or red instead of green.
- The door only closes when you hold the wall button down.
- Visible frayed, pinched, or disconnected wires near the sensors or opener.
For a deeper dive into diagnosing these issues, check out this helpful article on why does my garage door only close when I hold the button.
Safety Precautions Before Rewiring
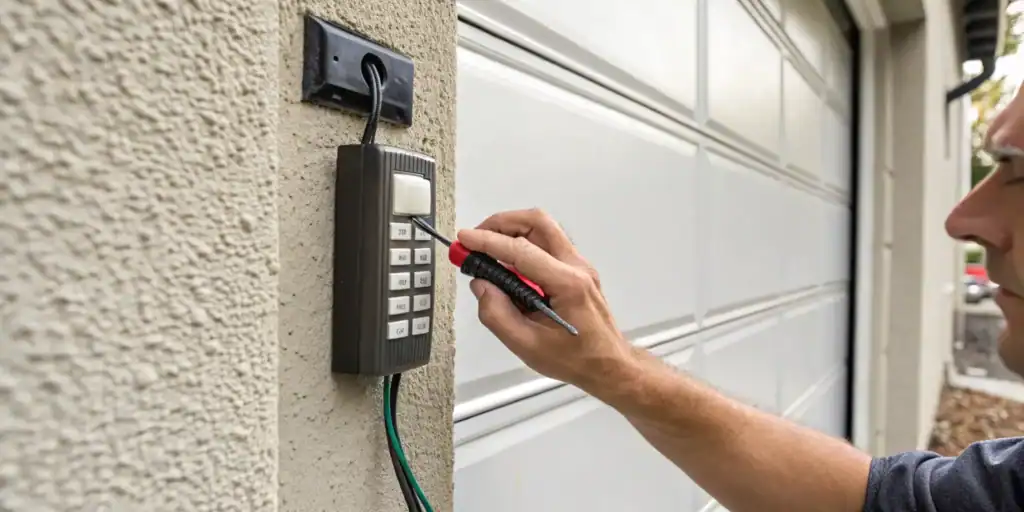
Working with electrical components requires caution. Always unplug your garage door opener from the power outlet before starting any repairs. Use insulated tools and avoid working in wet conditions. If you’re unsure about any step, consider consulting a professional.
Tools and Materials Needed
Gather these items before you begin:
- Flathead and Phillips screwdrivers
- Wire strippers and cutters
- Replacement low-voltage wire (usually 22-gauge, two-conductor)
- Electrical tape or wire nuts
- Voltage tester (optional, for added safety)
- Cable staples or clips (to secure new wiring)
Step-by-Step Instructions for Rewiring Garage Door Sensors
Follow these steps to safely rewire your garage door safety sensors:
- Disconnect Power: Unplug the garage door opener to prevent accidental activation or electrical shock.
- Inspect Existing Wiring: Examine the wires running from each sensor to the opener. Look for visible damage, loose connections, or corrosion at the terminals.
- Remove Damaged Wire: If you find damaged sections, carefully detach the wires from the sensor terminals and the opener. Note the color coding—typically, white is common and black or red is for signal.
- Prepare New Wire: Cut a length of replacement wire to match the original run. Strip about 1/2 inch of insulation from each end.
- Connect to Sensors: Attach the new wires to the sensor terminals, matching the original color coding. Tighten the screws securely.
- Route and Secure Wire: Run the new wire along the wall or ceiling, using cable staples or clips to keep it tidy and out of the way.
- Connect to Opener: Attach the other ends of the wires to the corresponding terminals on the garage door opener. Again, match the color coding and tighten the connections.
- Double-Check Connections: Ensure all wires are secure and there are no exposed copper strands.
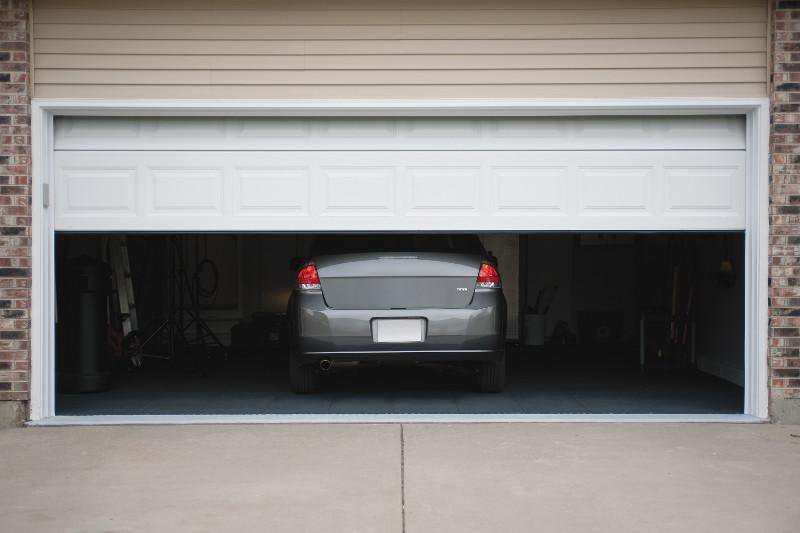
- Restore Power and Test: Plug the opener back in. Test the sensors by closing the door and interrupting the beam—if the door reverses, the sensors are working.
Tips for Reliable Sensor Wiring
- Use only low-voltage wire rated for garage door sensors.
- Avoid running sensor wires parallel to high-voltage lines to prevent interference.
- Keep wire runs as short and direct as possible.
- Secure wires to prevent accidental damage from vehicles, tools, or foot traffic.
- Label wires if you’re working with multiple sets to avoid confusion during reinstallation.
Testing and Troubleshooting After Rewiring
Once you’ve completed the wiring, it’s important to verify that everything works as intended. If the door still won’t close, double-check your connections and sensor alignment. Misaligned sensors can cause the safety system to malfunction even if the wiring is correct.
For more detailed troubleshooting, see this guide on how to test garage door safety sensors. If you notice a blinking green light or inconsistent sensor behavior, you may also find solutions in this article on how to fix garage door sensor blinking green.

Common Mistakes to Avoid When Rewiring Sensors
- Forgetting to unplug the opener before starting work.
- Mixing up wire color coding, leading to reversed polarity.
- Leaving exposed copper, which can cause shorts or corrosion.
- Failing to secure wires, resulting in future damage.
- Overtightening terminal screws, which can break delicate wires.
When to Call a Professional
While many homeowners can handle basic sensor rewiring, some situations require expert help. If you encounter persistent electrical issues, damaged opener circuitry, or are uncomfortable working with wiring, it’s best to contact a qualified technician. This ensures your garage door system remains safe and reliable.
Additional Resources and Sensor Color Codes
Understanding sensor indicator lights can help you quickly identify wiring or alignment problems. For a comprehensive explanation of what different sensor light colors mean and how to fix related issues, see this guide to garage door sensor color codes and troubleshooting.
FAQ
What type of wire should I use for garage door sensors?
Most garage door sensors use low-voltage, 22-gauge, two-conductor wire. It’s important to use wire rated for indoor use and suitable for low-voltage applications to ensure safe and reliable operation.
How do I know if my garage door sensor wiring is bad?
Common signs include the door refusing to close, blinking or red sensor lights, or the need to hold the wall button for the door to operate. You may also notice visible damage to the wires. For a step-by-step approach, refer to resources on how to check garage door sensor wiring for damage.
Can I bypass garage door sensors if I can’t fix the wiring?
While bypassing sensors is possible, it’s not recommended for safety reasons. If you need to temporarily override the sensors, consult a guide to bypass garage door sensors safely and restore proper wiring as soon as possible.