Repairing an overhead garage door spring can seem like a daunting task, but don’t worry, it is doable. If you follow the right steps and take necessary precautions, you can do it on your own efficiently and effectively. This article will guide you through the process of repairing an overhead garage door spring.

Understanding the Importance of Garage Door Springs
Garage door springs are what’s keeping your garage door functioning smoothly. They bear the weight of the door and ensure its smooth opening and closing. If they malfunction, it can cause serious issues.
Types of Garage Door Springs
There are mainly two types of garage door springs:
- Torsion springs: These are attached directly above the door and are commonly used in modern garage door systems.
- Extension springs: These are typically mounted on the sides of the door and are common in older garage door setups.
Safety Precautions
Before you begin the repair, it is critical to take necessary safety precautions. Always wear safety goggles and gloves, and ensure you have safety guides handy.
Tools You’ll Need
Here are the tools you’ll need for repairing your garage door spring:
- Winding bars
- Socket wrench
- Clamps
- Screwdrivers
Step-by-Step Guide to Repairing Garage Door Spring
Step 1: Disconnect the Garage Door Opener
The first and foremost step is to disconnect the garage door opener to avoid any accidents.
Step 2: Stabilize the Door
Next, use clamps to secure the door in an open position to prevent it from moving.
Step 3: Remove the Broken Spring
Using a wrench, carefully remove the broken spring from the assembly. Make sure you keep track of all bolts and screws.
Installing the New Spring
Once you’ve safely removed the broken spring, it’s time to install the new one.
Step 4: Attach the New Spring
Carefully attach the new spring to the assembly, ensuring it is securely fastened.
Step 5: Tighten the Screws and Bolts
Use your socket wrench to tighten all the screws and bolts. Make sure everything is secure.
Final Adjustments
After installing the new spring, make final adjustments to ensure it’s functioning correctly.
Step 6: Reconnect the Garage Door Opener
Once you’ve confirmed that everything is secure, reconnect the garage door opener.
Step 7: Test the Garage Door
Finally, test the garage door a few times to ensure it is opening and closing smoothly.
Regular Maintenance Tips
To avoid future issues, make sure to regularly maintain your garage door. Check out our guide on the importance of regular garage door maintenance.
Common Mistakes to Avoid
Here are some common mistakes to avoid when repairing your garage door spring:
- Ignoring safety precautions
- Using the wrong tools
- Not following the instructions
When to Call a Professional
If you feel uncomfortable or unsure at any step, it’s best to call in a profession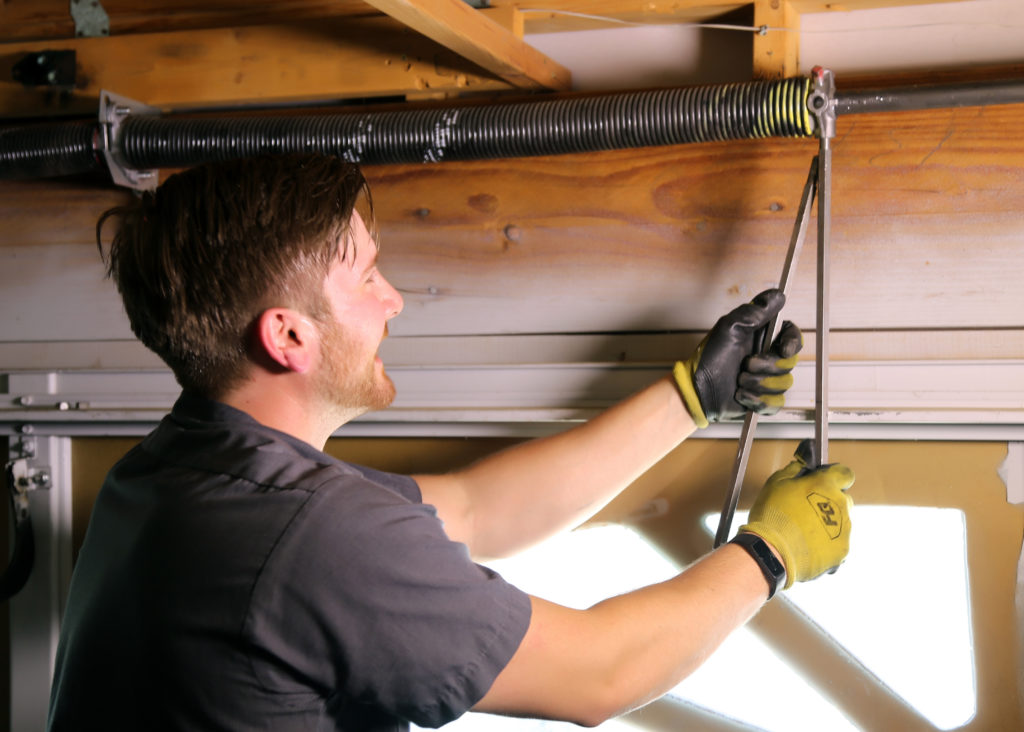 al. Sometimes, professional help isnt just necessary but also safer. Check out our article on common garage door problems and how to fix them for more information.
FAQs
1. How often should garage door springs be replaced?
Garage door springs typically last between 7 to 9 years with regular use.
2. What are the signs of a broken garage door spring?
Some signs include difficulty in opening the door, a loud noise, or the door feeling heavier than usual.
3. Is it safe to repair a garage door spring by yourself?
While it is possible to repair a garage door spring by yourself, it involves certain risks. Make sure you follow all safety precautions and consider professional assistance if unsure.