
Garage doors are an essential part of our homes. They provide security and convenience. However, when they malfunction, especially the springs, it can be a hassle. Learning how to rewind a garage door spring is a valuable skill. This knowledge can save you time and money. In this article, we’ll guide you through the process step-by-step.
What are Garage Door Springs?
Garage door springs are crucial components. They balance the door, making it easy to open and close. There are two primary types: torsion springs and extension springs.
Torsion Springs
Torsion springs are located above the door. They use torque to lift the door. When you open the door, the springs unwind and release energy.
Extension Springs
Extension springs are found on the sides of the door. They stretch and contract to help lift the door.
Signs Your Garage Door Springs Need Rewinding
Understanding when to rewind a garage door spring is essential. Common signs include:
- The door feels heavy or is difficult to lift.
- There are visible gaps in the springs.
- The door opens unevenly or slams shut.
- You hear unusual noises during operation.
Precautions Before Starting
Safety first! Garage door springs are under high tension. Mishandling can cause severe injuries. Always follow these precautions:
- Wear safety glasses and gloves.
- Disconnect the garage door opener.
- Use the right tools.
- Work with a partner if possible.
Tools You’ll Need
Gathering the right tools is crucial. Here’s what you’ll need:
- Winding bars
- Adjustable wrench
- Clamps
- Socket set
- Safety gear
Step-by-Step Guide: How to Rewind a Garage Door Spring
Step 1: Identifying the Spring Type
Determine if you have torsion or extension springs. This will guide your approach.
Step 2: Disconnect the Opener
Disconnect the garage door opener to prevent accidental operation.
Step 3: Secure the Door
Use clamps to lock the door in place. This ensures it stays put during the process.
Step 4: Loosen the Set Screws
Using an adjustable wrench, slightly loosen the set screws on the winding cone.
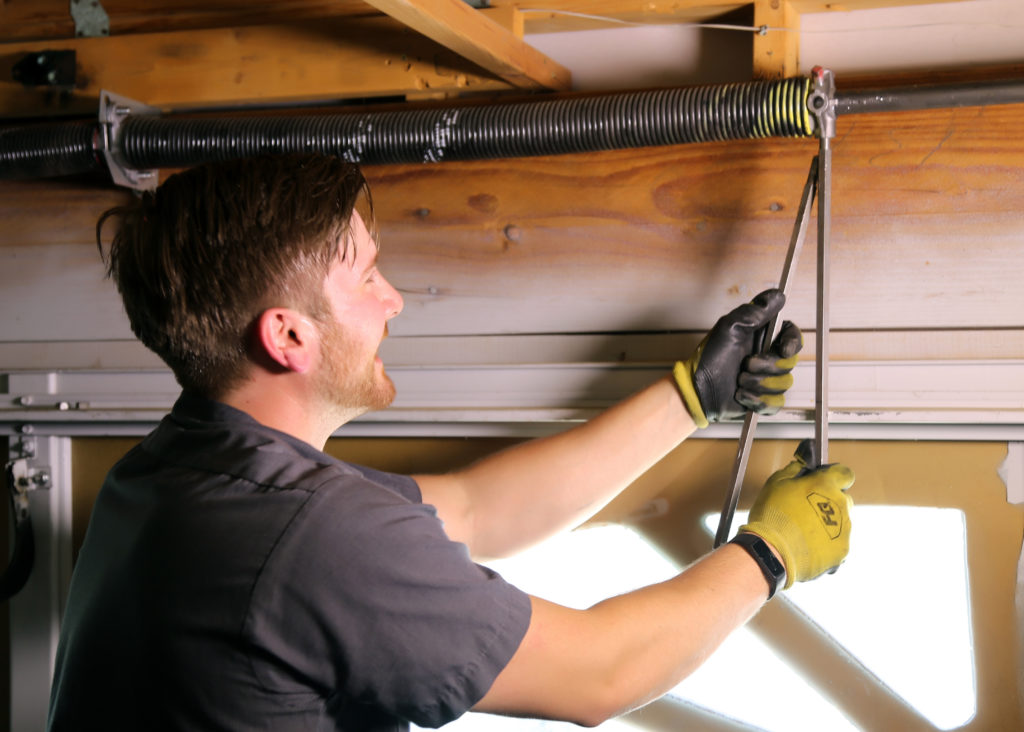
Step 5: Insert the Winding Bars
Insert the winding bars into the holes on the cone. These bars will help control the tension.
Step 6: Rewind the Spring
Carefully turn the winding bars to rewind the spring. Follow manufacturer’s instructions for the number of turns.
Step 7: Tighten the Set Screws
Once you’ve rewound the spring, tighten the set screws securely.
Step 8: Test the Door
Remove the clamps and reconnect the opener. Test the door to ensure it operates smoothly.
Maintenance Tips to Extend Spring Life
Regular maintenance can prolong the life of your springs. Consider these tips:
- Lubricate springs every six months.
- Inspect for wear and tear regularly.
- Balance the door annually to ensure even wear.
Common Mistakes to Avoid
Avoid these common mistakes when rewinding garage door springs:
- Using improper tools
- Ignoring safety precautions
- Over-tightening the springs
Professional Help: When to Call an Expert
Sometimes, DIY isn’t the best option. If you feel unsure or encounter issues, don’t hesitate to call a professional for help.
Conclusion: Benefits of Knowing How to Rewind a Garage Door Spring
Learning how to rewind a garage door spring is empowering. It saves you money and time. Plus, it ensures your garage door operates smoothly. Remember to prioritize safety, use the right tools, and perform regular maintenance.
For more detailed information on garage door maintenance, visit our article on garage door 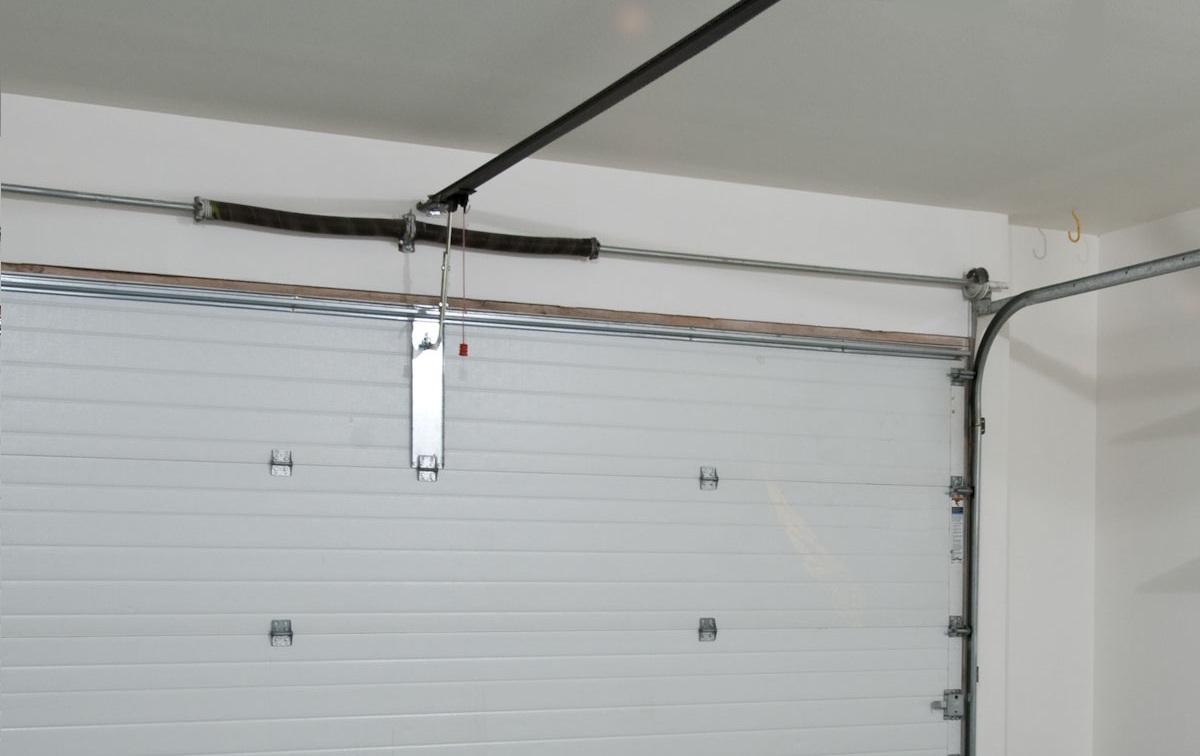 problems. Additionally, check out garage door standards for additional safety recommendations.
FAQ
Q1: How often should I rewind my garage door springs?
It’s typically necessary every 7-9 years, or if you notice signs of wear or difficulty operating the door.
Q2: Can I rewind the springs myself, or should I call a professional?
While it’s possible to do it yourself, if you’re unsure or uncomfortable, it’s best to call a professional to ensure safety.
Q3: What can happen if the springs are not rewound properly?
Improperly rewound springs can cause the door to malfunction, leading to potential safety hazards and further damage.


