Understanding how to identify wire polarity on garage door sensors is essential when installing, troubleshooting, or replacing these safety devices. Incorrect wiring can lead to malfunctioning sensors, causing your garage door to stop working properly or even posing safety risks. This guide will walk you through the basics of wire polarity, explain why it matters, and provide step-by-step instructions for recognizing the correct connections on your garage door safety sensors.
Whether you’re a homeowner tackling a DIY repair or a technician looking for a quick refresher, knowing how to distinguish between positive and negative wires ensures your system operates safely and reliably. If you’re also dealing with issues like sensor mounting on metal studs, you might find this resource on how to fix garage door sensor mounting on metal studs helpful as well.
Understanding Wire Polarity in Garage Door Sensors
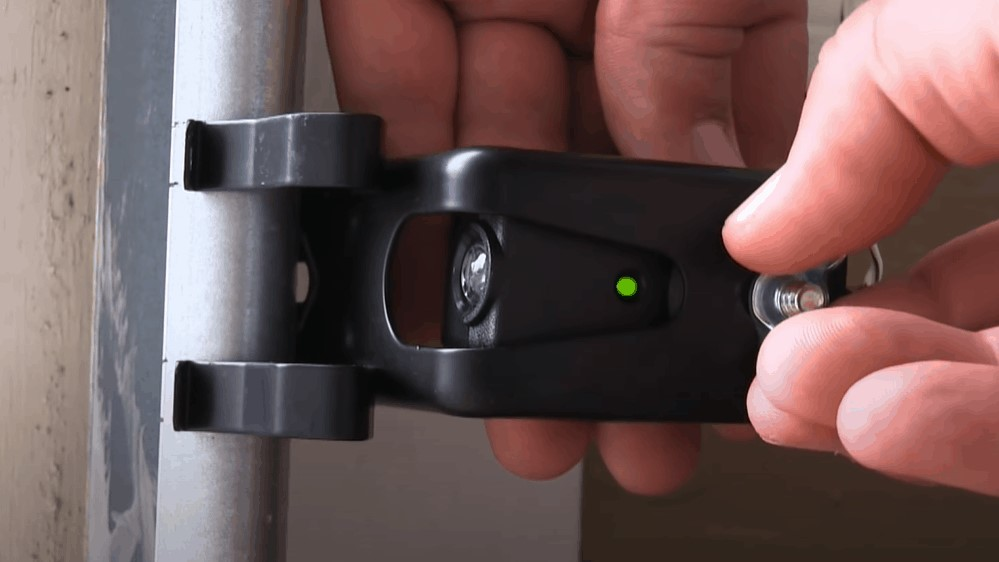
Garage door safety sensors, also known as photo eyes, are installed on both sides of the door near the floor. They use an infrared beam to detect obstructions and prevent the door from closing if something is in the way. These sensors require correct wiring to function, and that’s where wire polarity comes into play.
Wire polarity refers to the direction of electrical current—positive (+) and negative (–)—flowing through the wires. Most garage door sensors operate on low-voltage DC power, making it crucial to connect the wires correctly. Reversing polarity can cause the sensors to malfunction, show error lights, or stop working altogether.
Why Correct Polarity Matters for Garage Door Safety Sensors
Proper wire polarity ensures that the sensor circuit is completed as designed. If the wires are reversed, the sensors may not communicate with the garage door opener, leading to:
- Constantly blinking or unlit sensor lights
- Garage door refusing to close or reversing unexpectedly
- Potential damage to the opener’s control board
- Compromised safety features
Before troubleshooting further, always double-check your wiring to avoid unnecessary repairs or replacements. For more information on sensor light issues, see this guide on why is my garage door sensor light blinking twice.
Visual Clues: How to Spot Positive and Negative Wires
Most garage door sensor wires are color-coded or marked for easy identification. Here are the most common indicators:
- Color Coding: Typically, white or striped wires are negative (–), while solid-colored wires (often black or red) are positive (+).
- Ribbed or Smooth Insulation: Some wires have ribbed insulation for negative and smooth for positive.
- Labeling: Look for “+” or “–” symbols on the sensor housing or terminal block.
- Manufacturer Diagrams: Always consult the wiring diagram in your opener’s manual for specifics.
When in doubt, refer to the installation manual or manufacturer’s website for your specific model. If you notice humming or buzzing noises after wiring, check out this article on how to fix garage door sensor hum or buzz for additional troubleshooting.
Step-by-Step: Identifying Wire Polarity on Your Sensors
-
Turn Off Power:
Before working on any wiring, disconnect power to the garage door opener to prevent electrical shock or accidental operation.
-
Inspect the Wires:
Locate the wires coming from both the sensor and the opener. Look for color differences, stripes, or markings as described above.
-
Check the Sensor Terminals:
Most sensors have two terminals, often labeled “+” and “–” or “white” and “black.” Match the wires accordingly.
-
Use a Multimeter (Optional):
If the wires are not clearly marked, use a multimeter set to DC voltage. The red probe should touch the suspected positive wire, and the black probe should touch the suspected negative. If the reading is positive, your guess is correct; if negative, switch the probes.
-
Connect and Test:
Reconnect the wires to the appropriate terminals. Restore power and test the sensors by closing the garage door. The indicator lights should be steady (not blinking), and the door should reverse if the beam is interrupted.
If you encounter persistent wiring issues, using electrical tape can help secure connections. For tips, see this guide on how to fix garage door sensor wiring using electrical tape.
Common Problems When Polarity Is Incorrect
When the wiring is reversed or not properly connected, you may notice:
- Sensor lights blinking or not turning on
- Garage door opener refusing to operate
- False obstruction signals
- Damage to the sensor or opener electronics
Some openers will display error codes or flash indicator lights. For more on sensor light behaviors, you can check this comprehensive guide to garage door sensor blinking lights.
Troubleshooting Tips for Sensor Wiring
If your sensors still aren’t working after checking polarity, consider these troubleshooting steps:
- Ensure all wire connections are secure and free of corrosion.
- Check for pinched or damaged wires along the garage wall or ceiling.
- Clean the sensor lenses to remove dust or debris.
- Verify that both sensors are aligned and facing each other directly.
- Consult your opener’s manual for model-specific wiring instructions.
If your transmitter appears dead, you may want to review this article on why is my garage door sensor transmitter dead for further diagnosis.
Frequently Asked Questions
What happens if I reverse the wires on my garage door sensors?
If you reverse the wires, the sensors may not function correctly. You might see blinking lights, or the door may not close. In some cases, the opener could display an error code or refuse to operate until the wiring is corrected.
How can I tell which wire is positive and which is negative?
Look for color coding (white or striped for negative, solid color for positive), ribbed insulation, or markings on the sensor terminals. If unsure, consult your opener’s manual or use a multimeter to verify polarity.
Do all garage door sensors have the same wire colors?
No, wire colors can vary by manufacturer. Always check your specific model’s installation guide or look for labels on the sensor housing to ensure correct connections.
Conclusion
Correctly identifying wire polarity on your garage door sensors is a straightforward but crucial step for safe and reliable operation. By following the visual cues, using the right tools, and consulting manufacturer diagrams, you can confidently wire your sensors and avoid common issues. If you run into persistent problems, don’t hesitate to seek professional help or refer to additional troubleshooting resources.