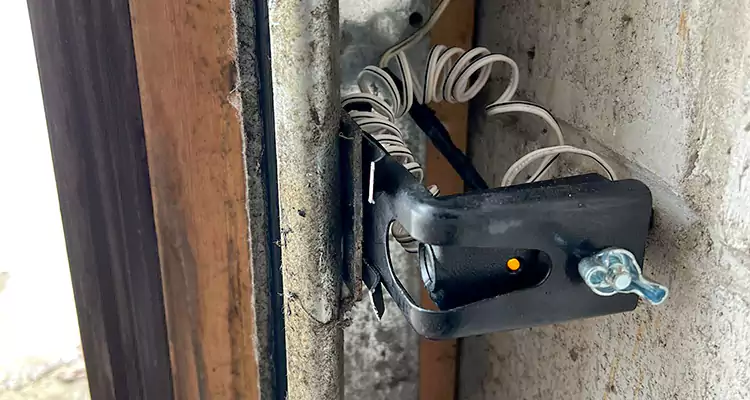
Mounting garage door sensors on metal studs can present unique challenges compared to traditional wood framing. Metal is less forgiving when it comes to drilling, anchoring, and ensuring a secure fit for safety sensors. If your garage is framed with metal studs, you may have already noticed issues like loose sensors, misalignment, or unreliable operation. Addressing these problems is crucial for both the safety and functionality of your garage door system.
This article offers a practical, step-by-step approach to resolving sensor mounting issues on metal framing. We’ll cover the right tools, recommended hardware, and tips for ensuring your sensors remain stable and properly aligned. If you’re also interested in troubleshooting sensor voltage or understanding how the beam path works, you can find more details in our guide on how to check garage door sensor voltage.

Understanding the Challenges of Metal Stud Mounting
Unlike wood, metal studs require specialized fasteners and techniques. Standard wood screws will not grip metal securely, leading to sensors that shift or fall out of alignment. This can cause the garage door to malfunction or refuse to close, as the safety system relies on precise sensor positioning.
Some common issues encountered when attaching sensors to metal framing include:
- Difficulty achieving a tight, stable fit with standard screws
- Sensor brackets slipping or rotating over time
- Electrical grounding concerns if self-tapping screws are not used properly
- Potential for stripped holes if over-tightened
To avoid these problems, it’s important to use the right hardware and installation techniques designed specifically for metal construction.
Essential Tools and Materials for Secure Sensor Installation
Before starting the repair or installation process, gather the following tools and materials. Using the correct items will make the job smoother and ensure a long-lasting result.
- Self-tapping metal screws (preferably #8 or #10 size)
- Drill with metal bits (1/8″ or 3/16″ for pilot holes)
- Magnetic level for sensor alignment
- Metal stud anchors or toggle bolts (for extra support if needed)
- Protective eyewear and gloves
- Measuring tape
- Permanent marker for marking hole locations
If your garage door sensors are exposed to sunlight, consider reading about how to install garage door sensor sun shields to improve accuracy.
Step-by-Step Guide: Fixing Garage Door Sensor Mounting on Metal Studs
Follow these steps to achieve a secure, reliable sensor installation on metal framing:
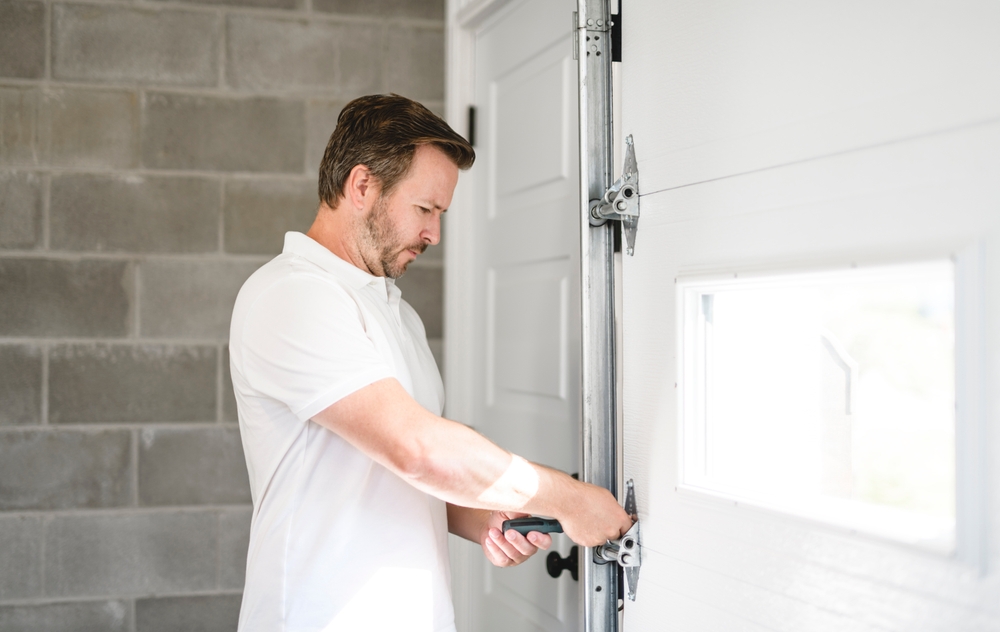
- Mark the Mounting Location: Use a measuring tape to ensure both sensors are at the same height on either side of the door. Mark the spots on the metal studs with a permanent marker.
- Drill Pilot Holes: Using a drill and the appropriate metal bit, create pilot holes at your marked locations. This helps prevent the metal from warping and makes it easier to insert self-tapping screws.
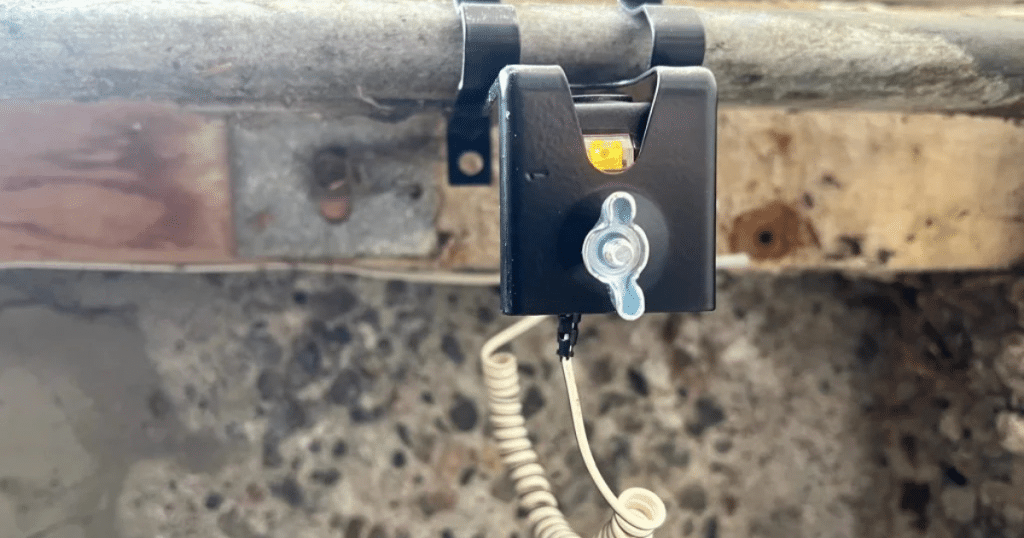
- Attach Sensor Brackets: Position the sensor brackets over the pilot holes. Insert self-tapping metal screws and tighten until the brackets are snug, but avoid over-tightening to prevent stripping the metal.
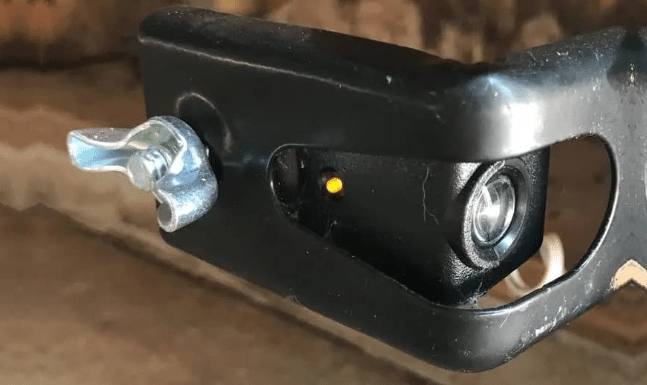
- Check Alignment: Place a magnetic level on the sensor brackets to ensure they are perfectly aligned. Misalignment can cause the safety system to malfunction.
- Install Sensors: Clip or screw the sensors into their brackets. Double-check that the sensors face each other directly across the garage door opening.
- Test Operation: Open and close the garage door to verify that the sensors work correctly. If the door does not close, check for blinking lights or error codes on the sensor units.
- Reinforce if Needed: If the metal is thin or the bracket feels loose, use metal stud anchors or toggle bolts for extra support.
Troubleshooting Common Problems After Mounting
Even with careful installation, you may encounter issues such as blinking sensor lights, intermittent operation, or the garage door refusing to close. Here are some troubleshooting tips:
- Sensor Lights Blinking: This usually indicates misalignment. Adjust the brackets until both sensors display a steady light.
- Loose Brackets: If the brackets wiggle, try using a larger self-tapping screw or a toggle bolt for a firmer hold.
- Interference: Check for any obstructions or reflective surfaces that could disrupt the sensor beam. For more on this, see our explanation of what is the beam path of a garage door sensor.
- Moisture Issues: Metal studs can sometimes cause condensation. If you notice moisture around the sensors, our resource on how to fix garage door sensor moisture problems may help.
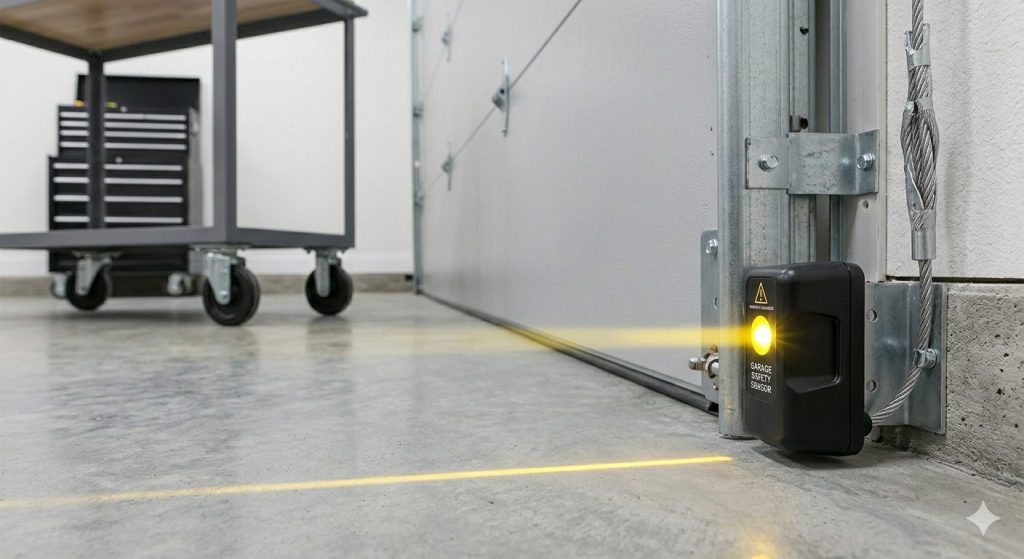
- Yellow Sensor Light: A yellow light may indicate a wiring or alignment issue. Learn more about this in our article on why is my garage door sensor yellow.

Best Practices for Long-Term Reliability
To ensure your garage door sensors remain functional and safe over time, keep these best practices in mind:
- Regularly check sensor alignment and retighten screws if needed.
- Inspect for corrosion on metal fasteners and replace if necessary.
- Keep the sensor lens clean to avoid false triggers.
- Test the system monthly by closing the door and interrupting the sensor beam to confirm the door reverses as expected.
- Upgrade to weather-resistant sensor lights for improved visibility and reliability. For quality options, consider the garage door sensor lights available online.
If you suspect your sensors are faulty, you can learn how to diagnose them with this detailed guide to testing garage door sensors.
FAQ
What screws should I use to mount sensors on metal studs?
Use self-tapping metal screws, typically #8 or #10 size, to ensure a secure fit. These screws are designed to cut into metal and hold the sensor brackets firmly in place.
How do I keep garage door sensors aligned on metal framing?
After mounting, use a magnetic level to check alignment. Tighten the screws just enough to hold the bracket steady, but avoid over-tightening. Periodically check and adjust as needed, especially after any impact or vibration.
Can I use wall anchors with metal studs for extra support?
Yes, metal stud anchors or toggle bolts can provide additional holding power, especially if the metal is thin or the sensor brackets feel loose. Make sure the anchors are rated for metal applications.
Why does my garage door sensor light stay yellow after mounting?
A persistent yellow light often indicates an alignment or wiring issue. Double-check that both sensors are facing each other and that the wiring is intact. For more details, refer to our article on yellow sensor light troubleshooting.