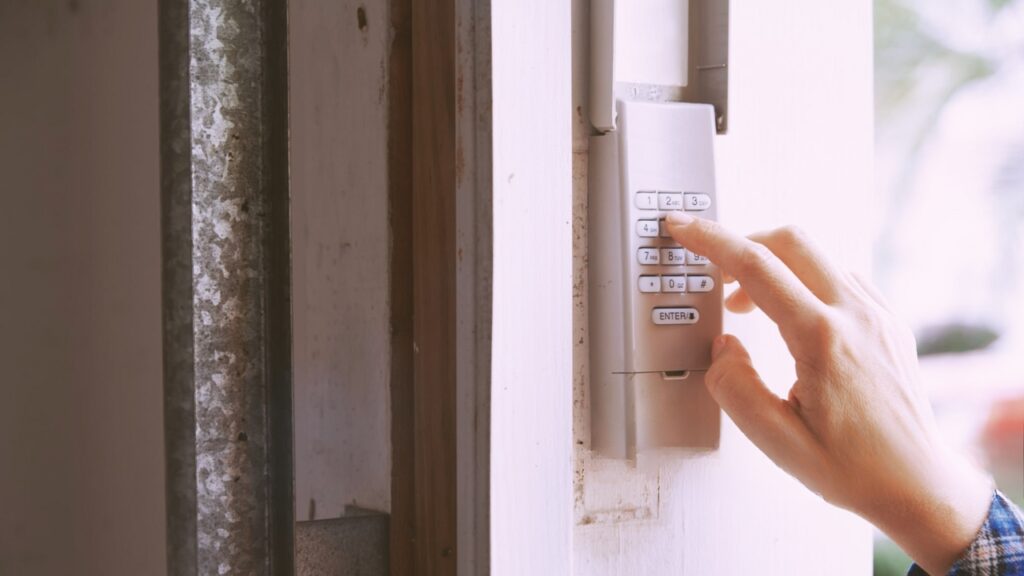
Adding a keypad to your garage door system is a practical upgrade that brings both convenience and enhanced security to your home. With a few tools and some basic know-how, most homeowners can complete the process without professional help. This garage door keypad installation guide will walk you through the steps, highlight important considerations, and answer common questions so you can confidently set up your new keypad.
Before diving in, it’s helpful to understand the benefits of a keypad entry system. Not only does it allow for keyless access, but it also enables you to grant temporary codes to guests or service providers. If you’re troubleshooting other garage door components, you might also find our resource on how to fix garage door sensor mounting on metal studs useful.
Understanding Garage Door Keypad Systems
Keypad entry systems are designed to work with most modern garage door openers. They typically use wireless technology to communicate with the opener, allowing you to enter a secure code to open or close the door. When choosing a keypad, make sure it’s compatible with your opener’s brand and model.
Some keypads offer advanced features like backlit keys, weatherproofing, and the ability to program multiple codes. These options can add further convenience and flexibility for families or households with frequent visitors.
Tools and Materials Needed for Installation
Before starting, gather the following tools and materials:
- Compatible wireless keypad
- Phillips screwdriver
- Drill (if mounting on masonry or brick)
- Mounting screws (usually included with keypad)
- Measuring tape
- Pencil or marker
- Step ladder (if needed)
Having these items ready will help the installation go smoothly and prevent unnecessary interruptions.
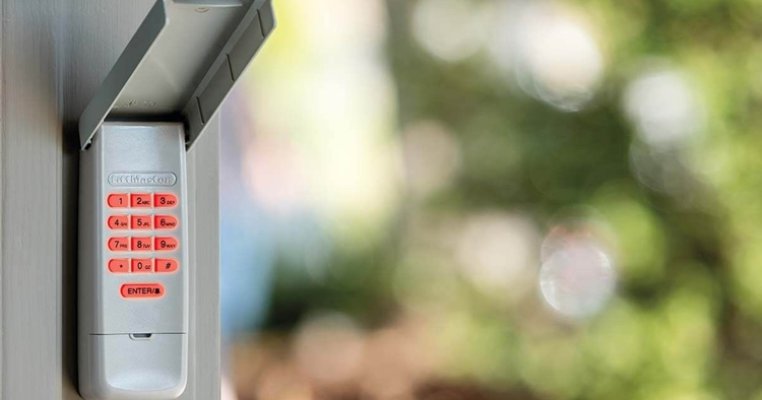
Step-by-Step Instructions for Installing a Garage Door Keypad
1. Choose the Right Location
Mount the keypad near the garage door, typically on the door jamb or wall, at a height that’s easily accessible for all users (usually 5–6 feet from the ground). Make sure the location is sheltered from direct rain and sunlight to prolong the keypad’s lifespan.
2. Mark and Drill Mounting Holes
Hold the keypad against the wall and use a pencil to mark the screw holes. If mounting on wood, you can usually screw directly into the surface. For masonry, use a drill with the appropriate bit and insert wall anchors before attaching the keypad.
3. Secure the Keypad
Align the keypad with the marked holes and fasten it using the provided screws. Ensure it’s firmly attached but avoid overtightening, which could damage the casing.
4. Install Batteries
Most keypads are battery-operated. Open the battery compartment and insert the required batteries, typically AA or AAA. Check the manufacturer’s instructions for battery orientation and type.
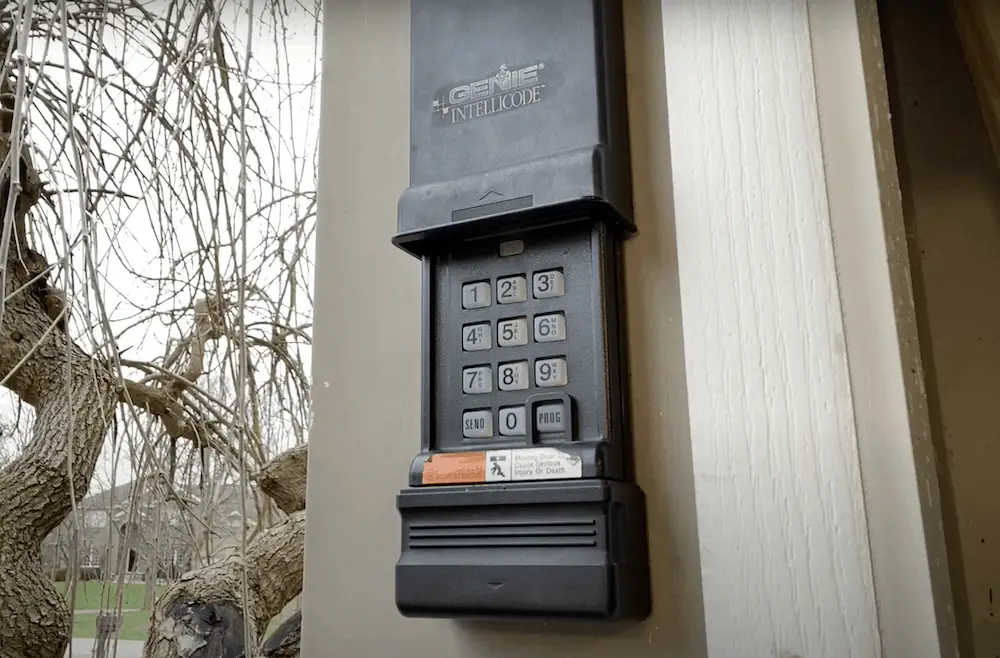
5. Program the Keypad
Programming steps vary by brand, but the general process involves:
- Pressing the “learn” or “program” button on your garage door opener (usually found on the motor unit inside the garage).
- Entering your chosen PIN on the keypad within 30 seconds of pressing the learn button.
- Pressing the “enter” or “send” button to pair the keypad with the opener.
Refer to your keypad’s manual for specific instructions. Some models allow you to program multiple codes or set temporary access for guests.
6. Test the System
After programming, test the keypad by entering your PIN and confirming the garage door responds. If it doesn’t work, repeat the programming steps or consult the troubleshooting section of your manual.
Tips for a Successful Keypad Installation
- Read the instructions thoroughly before starting. Each model may have unique steps.
- If your keypad is not responding, check the battery orientation and ensure the opener is compatible.
- Keep your PIN confidential and change it periodically for added security.
- For homes with metal siding or unusual mounting surfaces, you may need specialized anchors or brackets.
- If you experience issues with the garage door sensors after installation, see our article on why is my garage door sensor indicator light missing for troubleshooting tips.
Choosing the Best Keypad for Your Garage Door
When selecting a keypad, consider compatibility, weather resistance, and ease of programming. Some keypads offer rolling code technology for enhanced security, while others may feature backlit keys for nighttime visibility. For a comparison of top-rated openers and accessories, check out this comprehensive review of the best garage openers for 2025.
Maintenance and Troubleshooting
Regularly check the keypad for signs of wear, corrosion, or battery depletion. Clean the keypad gently with a damp cloth to prevent dirt buildup. If you notice the keypad blinking or failing to operate, replace the batteries and reprogram if necessary. For persistent issues, consult the manufacturer’s support resources or consider professional assistance.
Environmental factors such as extreme temperatures can sometimes affect garage door components. If you notice sensor issues after keypad installation, our guide on how to fix garage door sensor from shifting due to temperature may help resolve related problems.
Frequently Asked Questions
Can I install a garage door keypad myself, or do I need a professional?
Most homeowners can install a keypad with basic tools and by following the included instructions. However, if you encounter wiring issues or compatibility problems, professional help may be beneficial.
What should I do if my keypad stops working?
First, replace the batteries and check for corrosion or debris. If the issue persists, reprogram the keypad according to the manufacturer’s instructions. For more complex problems, consult the manual or contact customer support.
How secure are wireless garage door keypads?
Modern keypads use rolling code technology, making them secure against code grabbing. To maximize security, choose a strong PIN and update it regularly. Always keep your code confidential.
Can I use the same keypad for multiple garage doors?
Some keypads support multiple openers, but this depends on the model. Check the product specifications or manual to confirm if your keypad can control more than one door.
What maintenance does a garage door keypad require?
Regularly check and replace batteries, clean the keypad surface, and inspect for damage. Keeping the keypad in good condition ensures reliable performance and extends its lifespan.
By following the steps and tips in this garage door keypad installation guide, you can enjoy the convenience and security of keyless garage access. With the right preparation and attention to detail, keypad installation is a straightforward project for most homeowners.