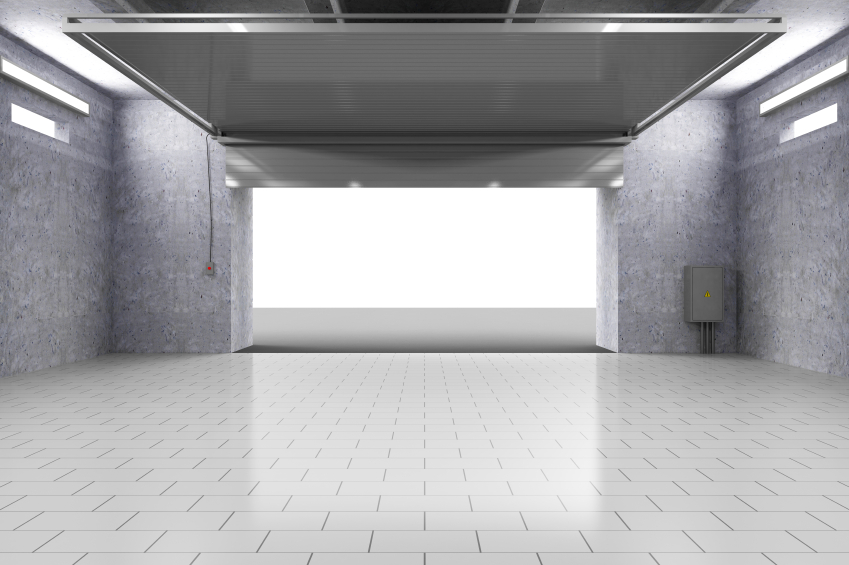
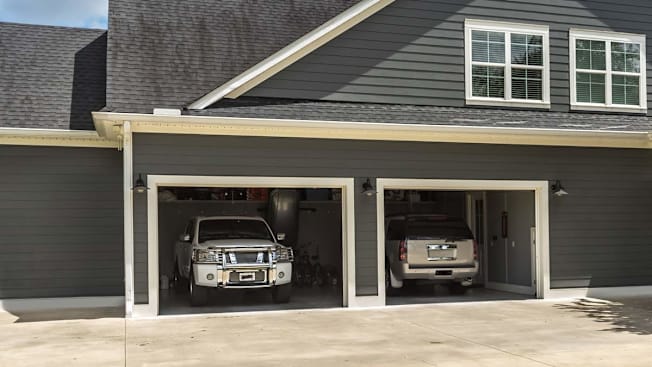
Proper alignment of garage door safety sensors is essential for the safe and reliable operation of your automatic garage door. Misaligned sensors can prevent the door from closing, cause it to reverse unexpectedly, or even pose safety risks. Using a laser level is one of the most accurate and efficient ways to ensure your sensors are perfectly aligned. This guide will walk you through the process step by step, helping you achieve optimal sensor performance and avoid common issues.
Before starting, it’s helpful to understand why precise alignment matters. Garage door sensors are designed to detect obstacles and prevent the door from closing on people, pets, or objects. Even a slight misalignment can disrupt the infrared beam, resulting in malfunction or false safety triggers. By using a laser level, you can achieve a straight, uninterrupted line between the sensors, ensuring maximum safety and reliability.
If you encounter issues such as blinking sensor lights or unexplained door reversals, you may also find it helpful to read about why is my garage door sensor light blinking twice for additional troubleshooting tips.
Why Use a Laser Level for Garage Door Sensor Alignment?
Traditional methods for aligning garage door sensors often involve using string, tape measures, or simply eyeballing the alignment. While these methods can work, they are prone to human error and may not provide the precision needed for trouble-free operation. A laser level projects a perfectly straight line across the garage opening, making it much easier to achieve exact alignment between both sensors.
- Accuracy: Laser levels eliminate guesswork and ensure both sensors are at the same height and angle.
- Efficiency: The process is faster and requires fewer adjustments compared to manual methods.
- Reliability: Properly aligned sensors reduce the risk of false triggers and improve overall door safety.
Tools and Materials Needed
Before you begin, gather the following items:
- Laser level (preferably with a tripod or magnetic base)
- Phillips or flathead screwdriver (depending on your sensor brackets)
- Measuring tape (optional, for double-checking heights)
- Soft cloth (for cleaning sensor lenses)
- Replacement sensor lights (if needed)
Step-by-Step Guide to Aligning Garage Door Sensors With a Laser Level
Follow these steps to align your garage door sensors using a laser level:
1. Prepare the Work Area
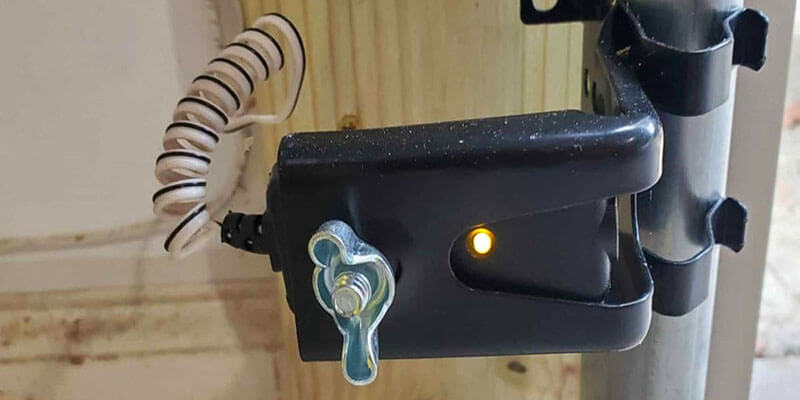
Start by ensuring the garage door is fully open and the power to the opener is turned off. This prevents accidental movement while you work. Clean the area around the sensors and wipe the sensor lenses with a soft cloth to remove dust or debris.
2. Check Sensor Mounting and Wiring
Inspect the sensor brackets and wiring for any signs of damage or looseness. If you notice issues with the mounting, you may want to review how to fix garage door sensor mounting on metal studs for solutions to common installation challenges.

3. Position the Laser Level
Place the laser level on a tripod or a stable surface at the height of one of the sensors. If your laser level has a magnetic base, you can attach it to the metal track near the sensor. Turn on the laser and aim the beam directly at the opposite sensor. Adjust the level so that the laser line passes through the center of both sensor lenses.
4. Adjust the Sensors
Loosen the screws or bolts holding each sensor in place. Carefully move each sensor up or down, left or right, until the laser line is perfectly centered on both lenses. Tighten the screws gently, ensuring the sensors do not shift out of alignment.
5. Confirm Alignment and Test Operation
Once both sensors are aligned with the laser, restore power to the garage door opener. Close the garage door using the wall button or remote. Observe the sensor indicator lights—both should be solid (not blinking), indicating a clear beam path. If the door closes smoothly and the lights remain steady, your alignment is successful.
If you still experience issues, such as the door reversing or the sensor lights blinking, consult how to fix garage door sensor wiring using electrical tape for guidance on addressing potential wiring problems.
Common Issues and Troubleshooting Tips
Even with careful alignment, you may encounter some common problems:
- Blinking Sensor Lights: This usually indicates a misalignment or obstruction. Double-check that the laser line passes through both sensors and that nothing is blocking the beam.
- Door Won’t Close: If the door refuses to close, ensure both sensors are powered and the indicator lights are solid. Clean the lenses and check for loose wires.
- Intermittent Operation: Fluctuating sensor performance can be caused by vibration, loose brackets, or wiring issues. Tighten all hardware and secure any loose wires.
For more in-depth troubleshooting, you can refer to resources like how to test if your garage door sensors are faulty for step-by-step diagnostic methods.
Maintenance Tips for Long-Term Sensor Performance
To keep your garage door sensors functioning reliably after alignment:
- Clean the sensor lenses regularly with a soft, dry cloth.
- Inspect brackets and mounting hardware for signs of loosening or corrosion.
- Check wiring for wear, fraying, or disconnection.
- Test the door’s safety reversal feature monthly to ensure sensors respond correctly.
- Replace sensor lights or covers if they become damaged or faded.
Staying proactive with maintenance will help prevent future misalignment and keep your garage door operating safely.
Frequently Asked Questions
How do I know if my garage door sensors are out of alignment?
Signs of misaligned sensors include blinking indicator lights, the door refusing to close, or the door reversing unexpectedly. If you notice any of these symptoms, check the alignment and clean the sensor lenses before making adjustments.
Can I align garage door sensors without a laser level?
Yes, you can use a string or tape measure to align sensors, but a laser level provides greater accuracy and is less prone to human error. Manual methods may require more trial and error to achieve perfect alignment.
What should I do if my sensors are aligned but the door still won’t close?
If alignment is correct but problems persist, check for wiring issues, dirty lenses, or faulty sensor lights. For wiring repairs, see how to fix garage door sensor wiring using electrical tape. If the issue continues, the sensors themselves may need replacement.
Conclusion
Aligning your garage door sensors with a laser level is a straightforward process that can greatly improve the safety and reliability of your garage door system. By following the steps outlined above and performing regular maintenance, you can prevent common sensor issues and ensure smooth operation for years to come. For additional troubleshooting or advanced repairs, explore related guides such as how to fix garage door sensor hum or buzz and other resources available on this site.