Garage door sensors are a crucial safety feature, preventing the door from closing on objects, pets, or people. When these sensors malfunction, the most common culprits are wiring issues such as damage or electrical shorts. Learning how to check garage door sensor wiring for damage can help you quickly diagnose problems and restore your garage door’s safe operation.
This guide will walk you through the process of inspecting sensor wiring, identifying signs of trouble, and understanding what steps to take if you find issues. Whether you’re troubleshooting a non-responsive door or dealing with blinking sensor lights, a careful wiring check is often the best place to start.
If you notice your garage door sensor lights are blinking or the door refuses to close, you may also want to review this guide on how to fix garage door sensor blinking green for additional troubleshooting tips.
Understanding Garage Door Sensor Wiring and Common Issues
Garage door sensors, also known as photo eyes, rely on a pair of wires for power and communication with the opener. These wires are typically low-voltage and run from each sensor to the main opener unit. Over time, several factors can cause problems:
- Physical damage from impacts, rodents, or tools in the garage.
- Wear and tear due to age, vibration, or repeated movement.
- Electrical shorts caused by exposed wires touching each other or metal surfaces.
- Loose connections at the sensor or opener terminals.
Recognizing these issues early can prevent bigger problems, such as a garage door that won’t close or opens unexpectedly.
Step-by-Step Guide: Inspecting Garage Door Sensor Wiring
To effectively check garage door sensor wiring for damage, follow these practical steps:
1. Disconnect Power for Safety
Before you begin, always unplug the garage door opener or switch off the circuit breaker. This prevents accidental activation and protects you from electrical hazards.
2. Visually Inspect the Sensor Wires
Start at the sensors mounted near the bottom of each garage door track. Look for visible signs of trouble:
- Cuts, nicks, or abrasions on the wire insulation
- Pinched or flattened sections where wires may have been caught under objects
- Chew marks from rodents or pets
- Corrosion or discoloration at the connectors
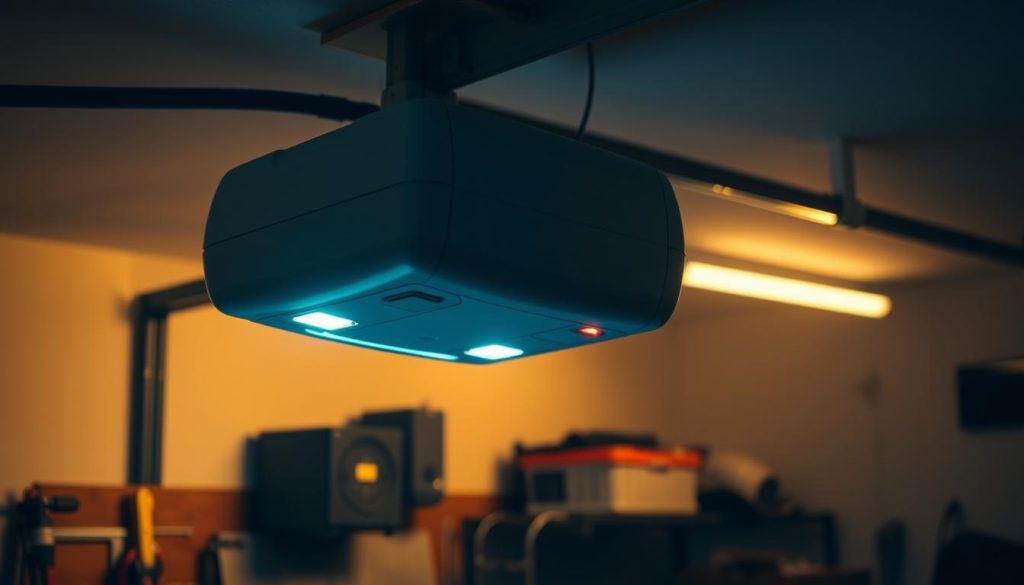
3. Trace the Wires Back to the Opener
Follow the wiring from each sensor along the garage wall or ceiling, all the way to the opener unit. Check for:
- Staples or fasteners that may have pierced the insulation
- Sections where the wire is hanging loose or has been pulled tight
- Areas exposed to moisture or extreme temperatures
If you find any damaged sections, mark them for repair or replacement.
4. Examine the Terminal Connections
At the opener, locate the terminals where the sensor wires connect. Gently tug each wire to check for looseness. If you see corrosion, frayed ends, or wires that easily pull out, disconnect and trim the wire, then re-strip the insulation and reattach securely.
5. Test for Electrical Shorts
Using a multimeter set to continuity mode, test between the two sensor wires. If the meter beeps or shows continuity when the wires are not connected to the opener, there may be a short. Also, test each wire to ground (such as a metal garage door track); any continuity here indicates a wire is touching metal and needs repair.
What to Do If You Find Damaged or Shorted Wires
If your inspection reveals problems, here’s how to address them:
- Minor nicks or abrasions: Wrap the area with electrical tape to insulate the wire.
- Severed or badly damaged sections: Cut out the damaged part and splice in new wire using wire nuts or crimp connectors. Always use wire rated for low-voltage garage door sensors.
- Corroded terminals: Clean with a wire brush and reconnect, or replace the terminal if necessary.
- Persistent shorts: Replace the entire wire run if shorts cannot be located and repaired.
After repairs, reconnect power and test the sensors. The indicator lights should be steady (not blinking), and the door should operate normally. If problems persist, consider reviewing this resource on troubleshooting garage door sensor lights for more in-depth diagnostics.
Tips for Preventing Future Wiring Problems
- Secure wires along walls or ceilings using insulated staples; avoid pinching the insulation.
- Keep wires out of high-traffic areas and away from moving objects.
- Check wiring annually for signs of wear, especially after moving or reorganizing garage contents.
- If you notice unusual sensor light patterns, review this guide explaining garage door sensor light colors to help interpret what your sensors are telling you.
When to Call a Professional
While many wiring issues can be resolved with basic tools and patience, some situations require expert help:
- Wires are deeply embedded in walls or ceilings and not easily accessible.
- There is evidence of electrical burning, melting, or repeated shorts.
- Sensor problems persist after replacing wires and sensors.
In these cases, a qualified garage door technician can safely diagnose and repair complex wiring faults.
Additional Resources
For more detailed troubleshooting, you might find this comprehensive troubleshooting guide for garage door sensors helpful.
Frequently Asked Questions
How do I know if my garage door sensor wires are damaged?
Common signs include blinking sensor lights, the garage door refusing to close, or visible damage such as cuts, frays, or chew marks on the wires. A multimeter test can also reveal electrical shorts or broken connections.
Can I repair garage door sensor wiring myself?
Yes, many homeowners can handle minor repairs like taping nicks or replacing short wire sections. However, if the damage is extensive or you’re unsure, it’s safer to consult a professional.
What tools do I need to check for wiring damage?
Basic tools include a flashlight, wire cutters/strippers, electrical tape, and a multimeter for testing continuity and shorts. Always disconnect power before working on any wiring.
Why do my garage door sensors keep blinking even after fixing the wires?
Persistent blinking could indicate misalignment, dirty lenses, or faulty sensors. For cleaning tips, see this guide to cleaning garage door sensor lenses.