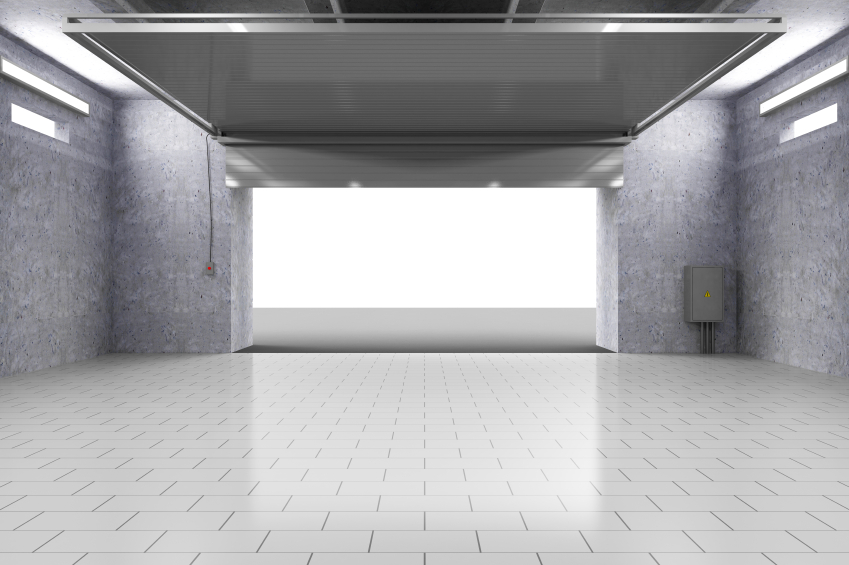
Installing safety sensors for your garage door is essential for protecting your family and property. However, when your garage walls are not perfectly flat, aligning and securing these sensors can become a real challenge. Uneven surfaces can cause misalignment, false signals, or unreliable operation, making it crucial to approach the installation with the right techniques and tools. This guide provides practical tips for mounting garage door sensors on uneven walls, helping you achieve a stable, reliable setup even when your garage construction isn’t ideal.
Whether you’re a homeowner tackling a DIY project or a professional installer, understanding how to compensate for wall irregularities will ensure your sensors function as intended. Before diving into the step-by-step process, it’s helpful to be aware of related troubleshooting topics, such as how to fix garage door sensor mounting on metal studs, which can present similar alignment challenges.
Understanding the Challenges of Uneven Garage Walls
Many garages, especially in older homes or those with unfinished interiors, have walls that are not perfectly straight or level. These irregularities can make it difficult to align safety sensors, which must face each other directly to function properly. Even a small misalignment can cause the door to stop working or reverse unexpectedly. Recognizing the specific issues posed by uneven surfaces is the first step toward a successful installation.
- Surface bumps or dips can prevent brackets from sitting flush.
- Out-of-plumb framing may cause sensors to point in different directions.
- Textured or unfinished walls can make it hard to secure mounting hardware.
Essential Tools and Materials for Sensor Installation
Before starting, gather the necessary tools and supplies. Having the right equipment will make it easier to adapt your installation to an uneven wall surface.
- Garage door sensor kit (with mounting brackets and hardware)
- Drill and appropriate drill bits
- Level (preferably a laser level for best accuracy)
- Measuring tape
- Shims or washers (for adjusting bracket position)
- Screwdriver
- Optional: Double-sided mounting tape or adhesive pads
Step-by-Step Guide: Aligning Sensors on Irregular Walls
Follow these steps to ensure your safety sensors are properly aligned, even when the mounting surface is less than perfect.
1. Mark the Sensor Height Accurately
Use a measuring tape to mark the same height on both sides of the garage opening, typically 4–6 inches above the floor. A level or laser line helps ensure both marks are perfectly even, compensating for any floor slope or wall irregularity.
2. Position the Mounting Brackets
Hold each bracket against the wall at the marked height. If the wall is uneven, you may notice gaps between the bracket and the surface. This is where shims or washers come in handy. Place them behind the bracket to fill gaps and create a stable, level mounting point.
3. Secure the Brackets Firmly
Drill pilot holes and use the provided screws to attach the brackets. If the wall material is especially rough or crumbly, consider using longer screws or wall anchors for extra support. Double-check that the brackets are level before tightening the screws completely.

4. Use Shims or Washers for Fine Adjustment
When the wall is especially uneven, stack shims or washers behind the bracket until the sensor faces directly across the garage opening. Tighten the screws gradually, checking the alignment as you go. This technique allows you to compensate for dips, bulges, or angled surfaces.
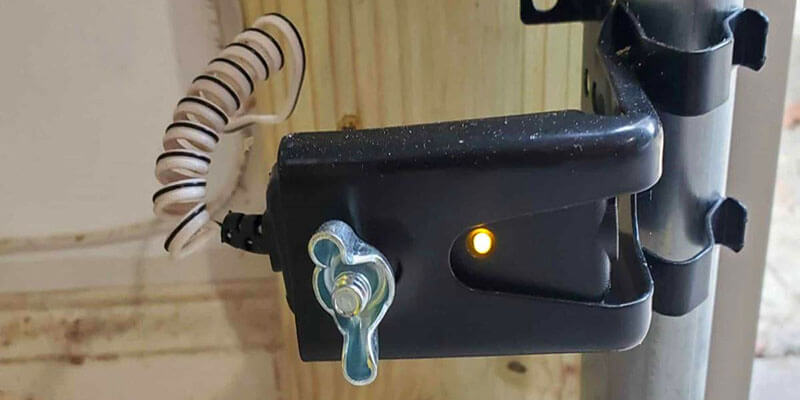
5. Attach and Align the Sensors
Mount the sensors onto the brackets. Use a level to ensure they are pointing directly at each other. Many sensors have indicator lights that glow steadily when properly aligned. If the light blinks or stays off, adjust the sensor position or add/remove shims until the alignment is correct.
6. Secure Wiring and Test Operation
Route the sensor wires neatly along the wall, securing them with clips or cable staples. Avoid sharp bends or pinching the wires, especially on uneven surfaces. Once everything is connected, test the garage door operation. If the door won’t close or reverses unexpectedly, double-check the sensor alignment and bracket stability.
Additional Strategies for Difficult Installations
Some garages present unique challenges, such as walls made from metal, exposed brick, or concrete. In these cases, you may need to adapt your approach:
- For metal surfaces, use self-tapping screws or specialized anchors. For more details, see how to fix garage door sensor mounting on metal studs.
- On rough masonry, use masonry anchors and consider adhesive pads for additional support.
- If the wall is extremely uneven, mount a small piece of wood or plastic as a flat base, then attach the bracket to this surface.
Common Mistakes to Avoid When Installing Sensors
Even with the right tools and preparation, some common pitfalls can undermine your installation:
- Failing to use a level or laser line, resulting in misalignment.
- Over-tightening screws, which can crack brackets or strip anchors in soft material.
- Neglecting to check the indicator lights after installation.
- Leaving wires loose or exposed, increasing the risk of accidental disconnection.
If you encounter persistent issues, such as blinking sensor lights or the door refusing to close, consult troubleshooting resources like why is my garage door sensor light blinking twice for targeted solutions.
Testing and Maintaining Your Sensor Setup
Once your sensors are mounted and aligned, regular testing is essential to ensure ongoing safety. Place an object in the path of the door and attempt to close it; the door should reverse or refuse to close. If the sensors fail to detect the obstruction, recheck the alignment and mounting stability.
Over time, vibrations, temperature changes, or accidental bumps can shift the sensors. Periodically inspect the brackets, shims, and wiring to confirm everything remains secure. For more detailed troubleshooting, refer to guides like how to test if your garage door sensors are faulty.
FAQ: Mounting Garage Door Sensors on Uneven Surfaces
How do I know if my garage door sensors are misaligned?
Most sensors have indicator lights that should glow steadily when properly aligned. If the light is blinking or off, or if the door refuses to close, the sensors may not be facing each other correctly. Use a level and adjust the brackets or shims as needed.
What can I use as shims for sensor brackets?
Plastic or wooden shims, washers, or even folded cardboard can be used to fill gaps behind the bracket. The key is to create a stable, level surface for the sensor to mount against, compensating for any irregularities in the wall.
Can I use adhesive instead of screws to mount sensors?
Adhesive pads or double-sided mounting tape can help in situations where drilling is difficult, but they should be used with caution. For long-term reliability, especially in garages with temperature changes or humidity, mechanical fasteners are recommended.
Why does my garage door reverse even after aligning the sensors?
If the door still reverses, check for obstructions, dirty sensor lenses, or loose wiring. Persistent issues may require checking the sensor wiring or reviewing guides like how to fix garage door sensor wiring using electrical tape for further troubleshooting.
Conclusion
Mounting garage door sensors on uneven walls requires patience, the right materials, and careful adjustment. By using shims, checking alignment with a level, and securing all hardware properly, you can ensure your sensors operate safely and reliably. Regular maintenance and prompt troubleshooting will help keep your garage door system working smoothly for years to come.