A properly functioning garage door relies on several key components, and the cable drum is one of the most critical. Over time, wear and tear or accidental damage can cause the cable drum to malfunction, which may lead to uneven lifting, noisy operation, or even a stuck door. If you’re experiencing these issues, it might be time to consider a garage door cable drum replacement.
This guide will walk you through the process of replacing a cable drum, covering essential safety tips, required tools, and step-by-step instructions. Whether you’re a seasoned DIYer or simply want to understand the process before calling a professional, you’ll find practical advice here. For those looking to deepen their understanding of cable systems, the garage door cable professional guide offers additional technical insights and specifications.
Understanding the Role of the Cable Drum
The cable drum is a grooved wheel located at the end of the torsion bar above your garage door. Its main job is to wind and unwind the lifting cables as the door opens and closes. When the drum is damaged or worn out, it can cause the cables to slip, fray, or become misaligned, putting extra strain on the entire system.
Common signs that you may need to replace the cable drum include:
- Visible cracks or chips on the drum
- Cables slipping out of the groove or becoming tangled
- Unusual noises during operation
- Uneven door movement or the door getting stuck
Addressing these issues quickly can prevent further damage and help you avoid more expensive repairs down the line. For ongoing care, you may also want to review garage door cable prevention tips to keep your system running smoothly.
Tools and Materials Needed for Cable Drum Replacement
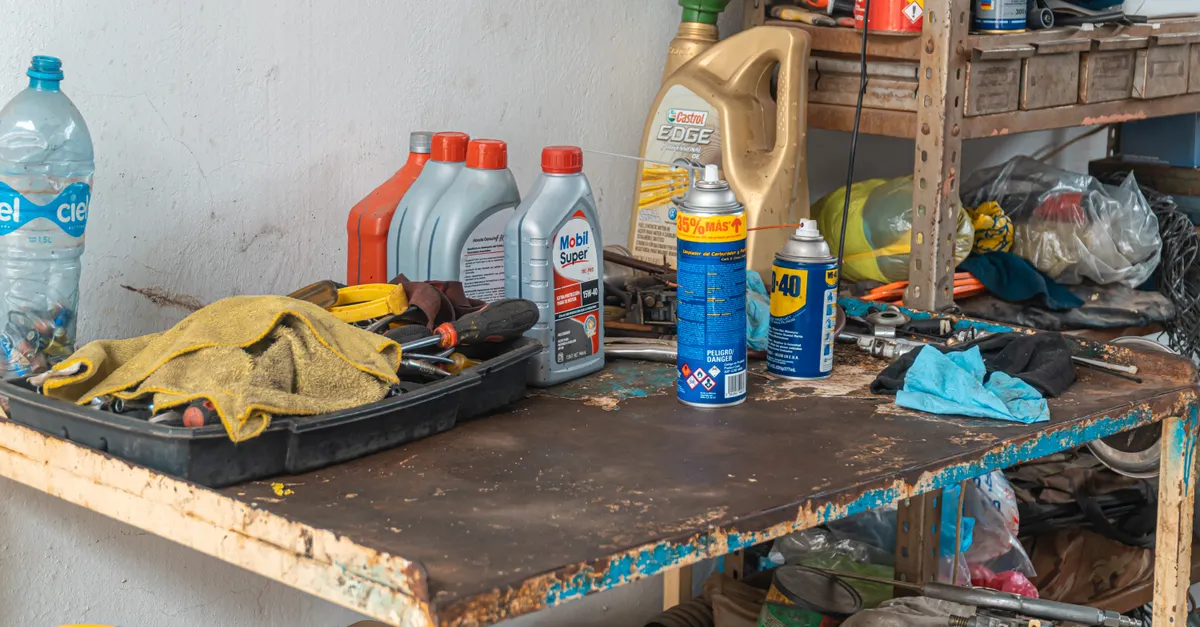
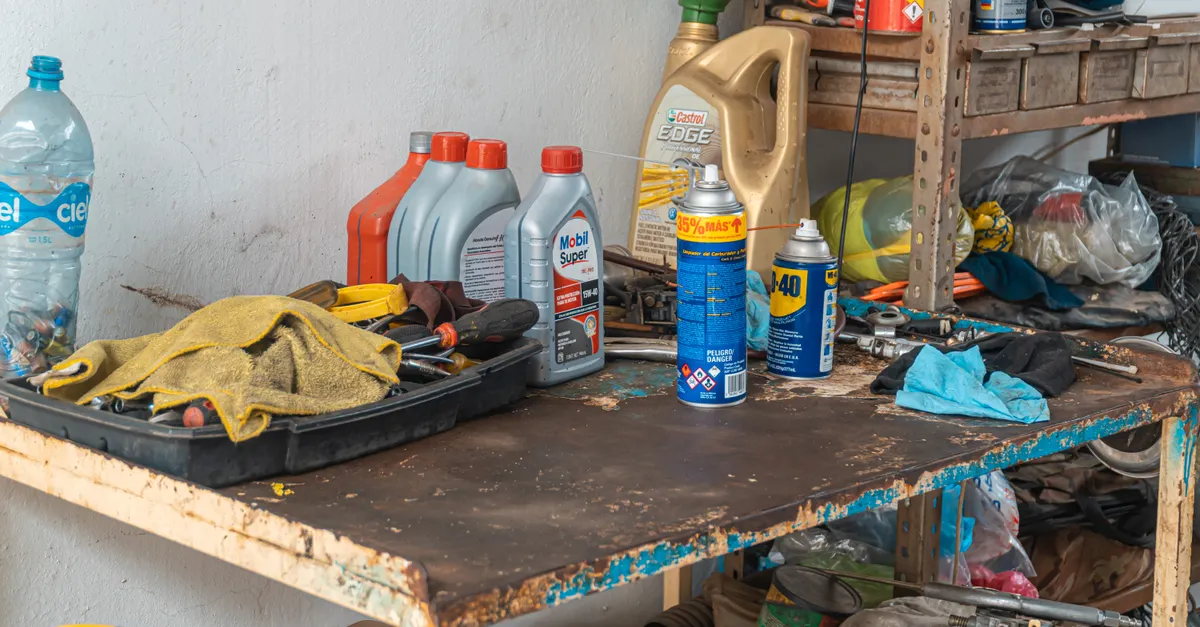
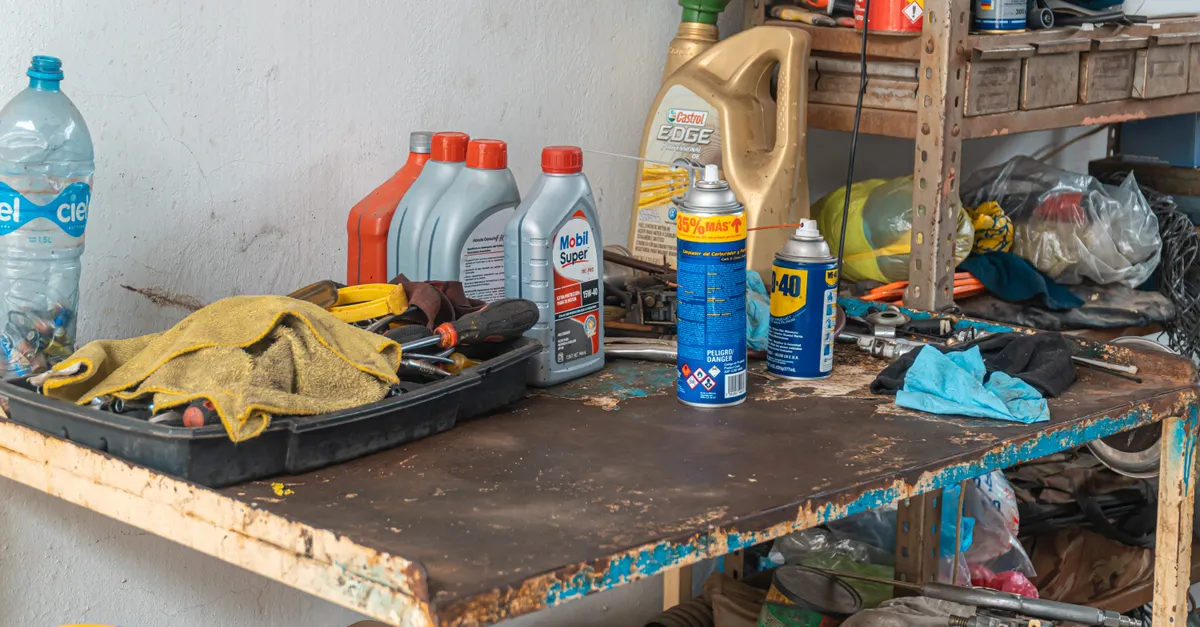
Before starting, gather the following tools and materials to ensure a safe and efficient process:
- Replacement cable drum (ensure it matches your door’s specifications)
- Winding bars (for torsion spring adjustment)
- Adjustable wrench and socket set
- Locking pliers (vise grips)
- Flathead screwdriver
- Safety glasses and gloves
- Stepladder
Having the right tools on hand is crucial for both safety and efficiency. If you’re unsure about the compatibility of parts, consult your garage door’s manual or seek advice from a professional.
Safety Precautions Before Starting the Job
Replacing a cable drum involves working with the torsion spring system, which is under high tension. Improper handling can result in serious injury. Always follow these safety guidelines:
- Disconnect the garage door opener and ensure the door is fully closed.
- Wear protective gloves and safety glasses at all times.
- Use only proper winding bars for adjusting torsion springs; never use screwdrivers or makeshift tools.
- If you feel unsure at any step, consider hiring a professional technician.
For more on preventing cable-related hazards, see the garage door cable corrosion prevention guide.
Step-by-Step Instructions for Replacing the Cable Drum
1. Prepare the Work Area
Clear the area around the garage door and set up your ladder securely. Make sure you have all your tools within reach.
2. Release Tension from the Torsion Spring
Insert the winding bars into the winding cone of the torsion spring. Carefully unwind the spring to release tension. This is a critical safety step—take your time and never rush.
3. Remove the Old Cable Drum
Loosen the set screws on the cable drum using your wrench. Slide the drum off the torsion bar. Inspect the cable for fraying or damage; replace it if necessary.
4. Install the New Drum
Slide the new cable drum onto the torsion bar, aligning it with the grooves. Thread the cable into the drum’s groove, ensuring it sits snugly and evenly.
5. Secure and Adjust
Tighten the set screws on the new drum. Rewind the torsion spring using the winding bars, restoring the correct tension. Double-check that the cables are properly seated and that the drum rotates smoothly.
6. Test the Door
Reconnect the garage door opener and test the door’s operation several times. Listen for unusual noises and watch for smooth, even movement. If the door is not balanced or the cables slip, repeat the adjustment steps.

Tips for a Successful Cable Drum Change
- Always double-check the compatibility of the new drum with your garage door model.
- Replace both drums if one is damaged, as uneven wear can cause future problems.
- Lubricate moving parts after installation to reduce friction and noise.
- Keep an eye on cable condition; if in doubt, replace cables along with the drum.
If you’re considering a broader upgrade, the garage door cable system upgrade guide discusses modern options for improved performance and durability.
When to Call a Professional
While many homeowners can handle a cable drum replacement with the right tools and instructions, there are situations where professional help is the safest choice. If your garage door uses a complex spring system, if you notice significant rust or structural damage, or if you feel uncomfortable working with high-tension springs, contact a certified technician.
For a detailed look at cable installation and spring systems, refer to this comprehensive guide on installing garage door springs and cables.
Maintenance After Replacing the Drum
Regular maintenance can extend the life of your new cable drum and keep your garage door operating smoothly. Here are a few tips:
- Inspect cables and drums every six months for signs of wear or corrosion.
- Lubricate all moving parts with a silicone-based spray.
- Check door balance periodically and adjust tension if needed.
- Address any moisture issues promptly to prevent rust. For more on this, see garage door cable moisture damage solutions.
Frequently Asked Questions
How do I know if my garage door cable drum needs to be replaced?
Common signs include visible cracks, chips, or warping on the drum, cables slipping out of the grooves, or the door moving unevenly. If you notice any of these issues, inspect the drum closely and consider replacing it to avoid further damage.
Can I replace a cable drum myself, or should I hire a professional?
Many homeowners with basic mechanical skills can replace a cable drum by following safety precautions and step-by-step instructions. However, if you are uncomfortable working with high-tension springs or encounter unexpected issues, hiring a professional is recommended.
What tools are required for a cable drum replacement?
You’ll need winding bars, an adjustable wrench, locking pliers, a socket set, a screwdriver, safety gear, and a stepladder. Always use the correct tools to ensure safety and a successful installation.
How often should I inspect or replace my garage door cable drum?
It’s best to inspect the cable drum and cables every six months. Replace the drum if you spot any signs of damage or excessive wear to maintain safe and smooth operation.