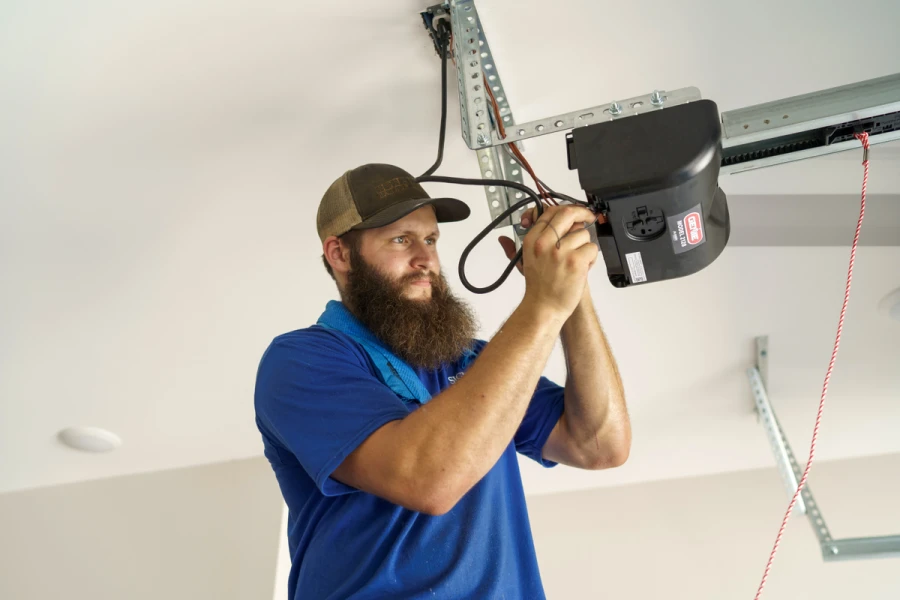
Proper garage door cable installation is essential for the safety and smooth operation of any residential or commercial garage door. Cables play a critical role in lifting and lowering the door, working in tandem with springs and pulleys to ensure balanced movement. Over time, these cables can fray, snap, or lose tension, making replacement a necessary maintenance task for many homeowners. Tackling this project yourself can save money, but it’s important to follow a safe, methodical approach to avoid injury or damage to your door system.
This article provides a comprehensive walkthrough for replacing garage door cables, including the tools you’ll need, safety precautions, and detailed steps for both torsion and extension spring systems. If you’re experiencing recurring issues, you might also want to review garage door cable common problems for troubleshooting tips before starting the replacement process.
Understanding the Role of Garage Door Cables
Garage door cables are responsible for transferring the force from the springs to the door, allowing it to open and close smoothly. There are two main types of spring systems:
- Torsion spring systems use cables wound around drums at the top corners of the door.
- Extension spring systems use cables that run along pulleys and attach to the bottom brackets.
When cables wear out or break, the door can become unbalanced or inoperable. For more on how cables affect your door’s performance, see this overview of cable safety and functionality.
Safety Precautions Before Replacing Garage Door Cables
Working with garage door cables and springs can be hazardous. The tension stored in these components can cause serious injury if released unexpectedly. Always follow these safety guidelines:
- Disconnect the garage door opener and unplug it from power.
- Ensure the door is fully closed before starting work.
- Wear safety glasses and gloves to protect against sharp edges and sudden movements.
- Use only the correct tools for your door type.
- If you’re unsure or uncomfortable, contact a professional technician.
For additional advice on keeping your cables in top condition, check out these garage door cable prevention tips.

Tools and Materials Needed for Cable Replacement
Before starting, gather the following items:
- Replacement cables (matched to your door type and size)
- Winding bars (for torsion springs)
- Adjustable wrench and socket set
- Locking pliers or C-clamps
- Flathead screwdriver
- Stepladder
- Safety gear (gloves, glasses)
Having the right tools on hand will make the process safer and more efficient.
Step-by-Step Garage Door Cable Installation for Torsion Spring Systems
Follow these instructions to replace cables on a torsion spring system:
- Disconnect power to the opener and lock the door in the down position using C-clamps on the tracks.
- Release spring tension by inserting winding bars into the winding cone and slowly unwinding the springs. Never use screwdrivers or makeshift tools for this step.
- Remove old cables by loosening the set screws on the cable drum and sliding the cable free.
- Install new cables by threading them through the bottom bracket and up to the drum. Ensure the cable sits properly in the drum grooves.
- Re-tighten the cable drum set screws and double-check cable alignment.
- Reapply spring tension using winding bars, following the manufacturer’s specifications for the number of turns.
- Test the door manually for smooth operation before reconnecting the opener.
For more technical details and troubleshooting, see the garage door cable professional guide.
Replacing Cables on Extension Spring Garage Doors
Extension spring systems are common on older or lighter garage doors. Here’s how to replace the cables:
- Disconnect the opener and secure the door in the down position.
- Release spring tension by removing the safety cable or carefully detaching the spring from the track support.
- Unhook the old cable from the bottom bracket and pulley system.
- Thread the new cable through the pulley and attach it to the bottom bracket.
- Reconnect the spring and safety cable, ensuring all connections are tight.
- Test the door manually to confirm smooth, balanced movement.
Regular inspection and timely replacement of cables can help maintain garage door cable efficiency and prevent unexpected breakdowns.
Tips for a Smooth and Safe Cable Replacement
- Always replace both cables at the same time, even if only one is damaged.
- Check for signs of wear on pulleys, drums, and brackets, replacing them if necessary.
- Lubricate moving parts after installation for quieter operation.
- Double-check all fasteners and cable routing before restoring power to the opener.
- Keep children and pets away from the work area during installation.
When to Call a Professional
While many homeowners can handle cable replacement with patience and the right tools, some situations require expert help:
- High-tension torsion springs that are difficult to unwind safely
- Unusual door sizes or custom hardware
- Persistent balance or alignment issues after installation
- Lack of proper tools or experience
Professional technicians have the training and equipment to handle complex repairs safely and efficiently. If you’re unsure at any point, it’s better to consult a specialist than risk injury or property damage.
Frequently Asked Questions
How often should garage door cables be replaced?
Most cables last between 7 and 15 years, depending on usage and environmental conditions. Inspect them annually for fraying, rust, or kinks, and replace them at the first sign of significant wear.
Can I use any cable for my garage door?
No, always use cables rated for your specific door type and weight. Using the wrong cable can lead to premature failure or unsafe operation. Refer to your door’s manual or consult a professional for guidance.
What are the signs that my garage door cables need replacement?
Common signs include visible fraying, loose or dangling cables, uneven door movement, or the door not opening/closing smoothly. If you notice these symptoms, replace the cables promptly to avoid further damage.
Conclusion
Proper installation of garage door cables is crucial for the safety and reliability of your garage door system. By following these step-by-step instructions and observing all safety measures, you can restore smooth, balanced operation to your door. Regular maintenance and prompt replacement of worn components will help prevent costly repairs and extend the life of your garage door. For more advanced tips or troubleshooting, explore related resources and consider reaching out to a professional if needed.