When a garage door stops midway, it’s more than just an inconvenience—it can signal underlying problems that may compromise safety or lead to costly repairs. This garage door halfway diagnostic guide is designed to help homeowners and DIYers systematically identify why a door won’t open or close fully, and offer practical steps to resolve the most common causes. Whether you’re dealing with a stuck door for the first time or troubleshooting recurring issues, understanding the mechanics and typical failure points is essential for a safe, smoothly operating garage.
Before diving into diagnostics, always ensure your safety by disconnecting the opener and keeping hands clear of moving parts. If you’re ever unsure, consult a professional. For those experiencing sensor-related problems, you might also find our resource on why is my garage door sensor indicator light missing helpful for further troubleshooting.
Common Reasons a Garage Door Stops Midway
When a garage door halts partway, the root cause is often mechanical or electrical. Here are the most frequent culprits:
- Obstructed Tracks: Dirt, debris, or physical damage can prevent smooth movement.
- Sensor Misalignment: Safety sensors may be blocked or out of alignment, triggering a stop.
- Spring or Cable Issues: Broken or worn springs and cables can’t support the door’s weight.
- Opener Limit Settings: Incorrectly set travel limits can cause the opener to stop prematurely.
- Lack of Lubrication: Dry rollers and hinges increase friction, making it hard for the door to move.
- Electrical or Wiring Problems: Faulty connections or power interruptions can halt operation.
Pinpointing the exact cause is the first step toward a lasting solution. In this garage door halfway diagnostic guide, we’ll break down each issue and how to address it.
Troubleshooting Steps for a Door That Stops Halfway
Follow these steps to systematically diagnose and resolve the issue:
-
Inspect the Tracks
- Look for debris, dents, or bends along the tracks.
- Clear any obstructions and gently tap out minor bends with a rubber mallet.
- Ensure tracks are properly aligned and securely fastened to the wall.
-
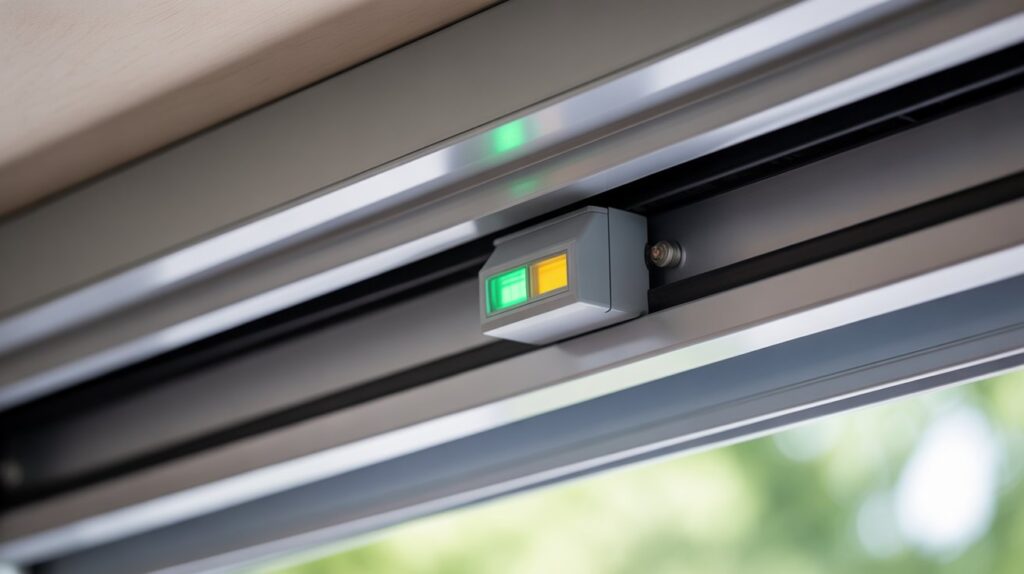
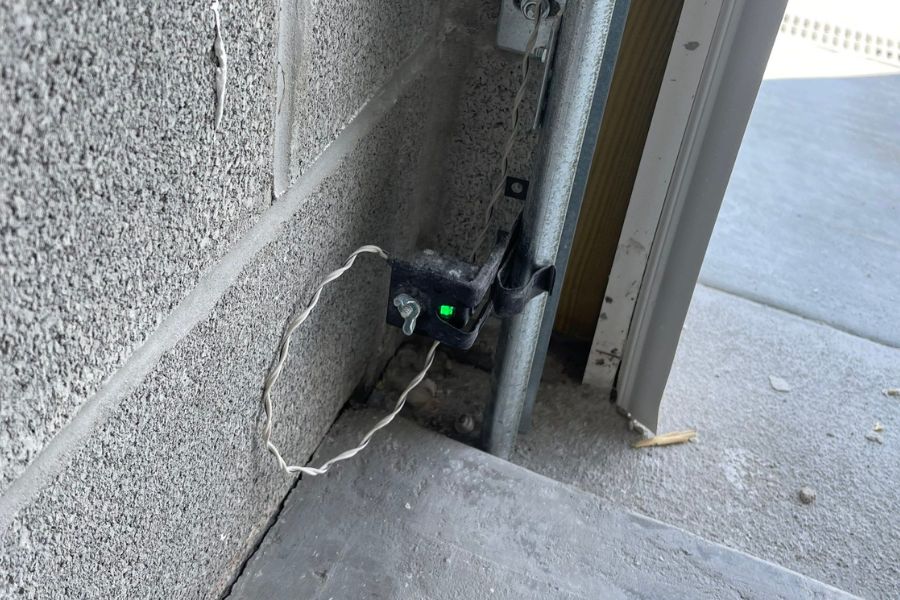
Check the Safety Sensors
- Wipe the sensor lenses clean.
- Verify both sensors are aligned and facing each other.
- If the indicator lights are off or blinking, realign until steady.
- For deeper sensor issues, see our guides on how to fix garage door sensor mounting on metal studs or how to fix garage door sensor bracket bending.
-
Examine the Springs and Cables
- Look for visible gaps in torsion springs or frayed cables.
- Do not attempt to repair springs or cables yourself—these are under high tension and require a professional.
-
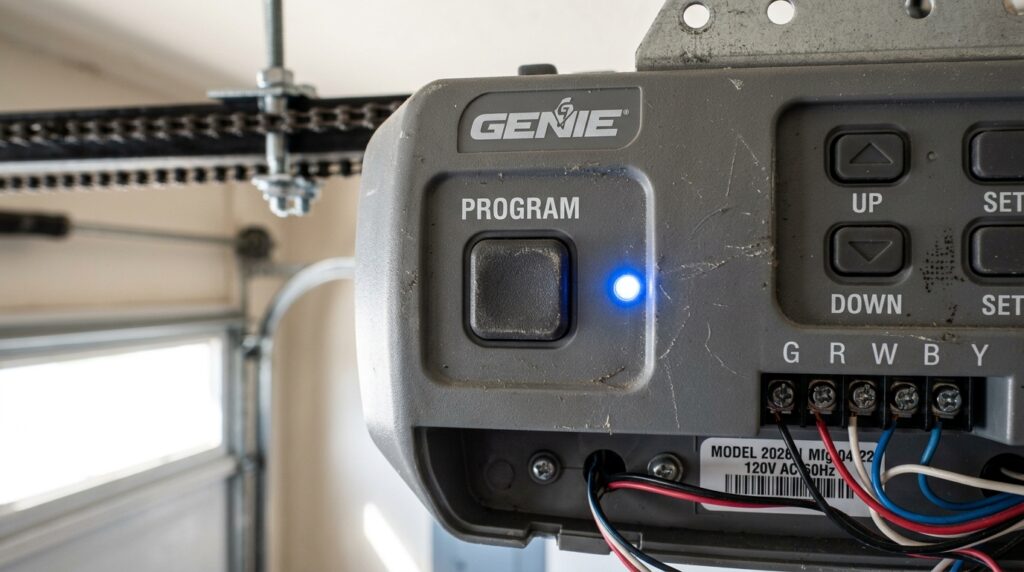
Test the Opener’s Limit Settings
- Locate the up and down travel limit screws on your opener.
- Adjust incrementally and test the door after each change.
- Refer to your opener’s manual for precise instructions.
-
Lubricate Moving Parts
- Apply a garage door lubricant spray to rollers, hinges, and springs.
- Avoid using grease, as it attracts dirt and can gum up the mechanism.
-
Check Electrical Connections
- Ensure the opener is plugged in and the circuit breaker hasn’t tripped.
- Inspect visible wiring for signs of wear or damage.
If these steps don’t resolve the issue, consult a technician. Persistent problems may indicate a failing opener or structural issues with the door itself.
Advanced Diagnostic Tips for Persistent Problems
Some garage doors may continue to stop halfway even after basic troubleshooting. Here are further steps to consider:
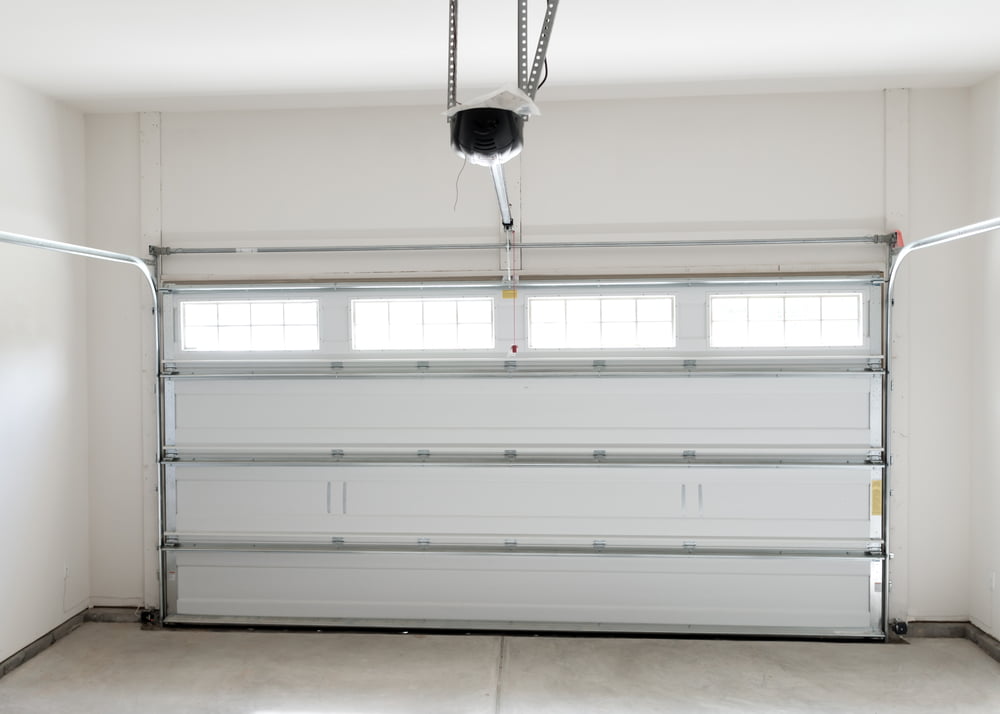
- Test Manual Operation: Disconnect the opener and lift the door by hand. If it’s heavy or sticks, the problem is likely mechanical.
- Observe for Uneven Movement: If one side rises faster than the other, check for cable or spring imbalance.
- Listen for Unusual Sounds: Grinding, squeaking, or popping noises can indicate worn rollers or misaligned tracks.
- Review Sensor Wiring: Inspect the wires leading to the sensors for loose connections or breaks. For more on sensor wiring, see our article on how to fix garage door sensor from shifting due to temperature.
For a comprehensive overview of why doors stop midway and advanced fixes, see this detailed explanation of garage door halfway stops from industry experts.

Preventive Maintenance to Avoid Future Issues
Regular upkeep is key to preventing your garage door from getting stuck halfway. Here’s what you can do:
- Monthly Inspection: Check tracks, rollers, and cables for wear or damage.
- Lubrication: Apply lubricant to all moving parts every three to six months.
- Test Safety Features: Periodically test the auto-reverse and sensor systems.
- Tighten Hardware: Use a wrench to ensure all bolts and brackets are secure.
- Professional Tune-Up: Schedule annual maintenance with a qualified technician.
Staying proactive with these steps can help you avoid unexpected breakdowns and extend the life of your garage door system.
FAQ: Diagnosing and Fixing Garage Doors That Stop Halfway
Why does my garage door only open or close halfway?
This is commonly due to sensor misalignment, blocked tracks, worn springs, or incorrect opener settings. Start by checking for obstructions and ensuring sensors are clean and aligned. If the problem persists, inspect the springs and opener limits.
Can I fix a garage door that stops halfway myself?
Many issues, such as cleaning tracks or realigning sensors, can be addressed by homeowners. However, repairs involving springs, cables, or complex electrical components should be handled by professionals to avoid injury.
How often should I maintain my garage door to prevent it from getting stuck?
Inspect and lubricate your garage door every three to six months. Test safety features monthly and schedule a professional inspection at least once a year for optimal performance and safety.