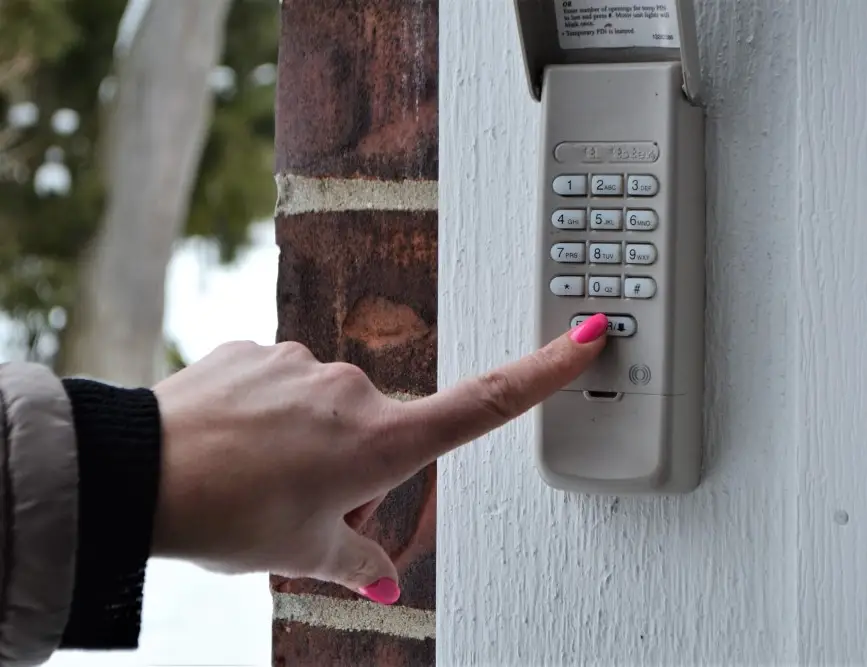
Garage door keypads are a convenient and secure way to access your garage without a remote or key. Over time, however, the faceplate of your keypad can become worn, cracked, or unresponsive due to weather, frequent use, or accidental damage. Understanding how to address these issues can save you time and money, and help you restore reliable access to your garage.
This guide covers the essentials of garage door keypad faceplate repair, including common symptoms, step-by-step repair instructions, and tips for maintaining your keypad for long-term performance. If you’re dealing with related garage door sensor issues, you may also find helpful information in our article on how to fix garage door sensor mounting on metal studs.
Recognizing When Your Keypad Faceplate Needs Attention
Before attempting any repairs, it’s important to identify the signs that your keypad’s faceplate is causing problems. Some common indicators include:
- Buttons that stick, don’t respond, or require excessive force to press
- Cracks, chips, or visible wear on the faceplate surface
- Faded or missing numbers, making code entry difficult
- Intermittent or complete failure to activate the garage door opener
Weather exposure, especially in extreme climates, can accelerate faceplate deterioration. If you notice these symptoms, it’s time to consider a keypad faceplate repair or replacement.
Tools and Materials Needed for Keypad Faceplate Fixes
Most keypad faceplate repairs are straightforward and require only basic tools. Here’s what you’ll typically need:
- Small Phillips or flathead screwdriver
- Replacement faceplate (compatible with your keypad model)
- Soft cloth and mild cleaner for cleaning contacts
- New batteries (if needed)
Always check your keypad’s manufacturer instructions for any model-specific requirements before starting the repair process.
Step-by-Step Guide to Garage Door Keypad Faceplate Repair
Follow these steps to restore your keypad’s functionality:
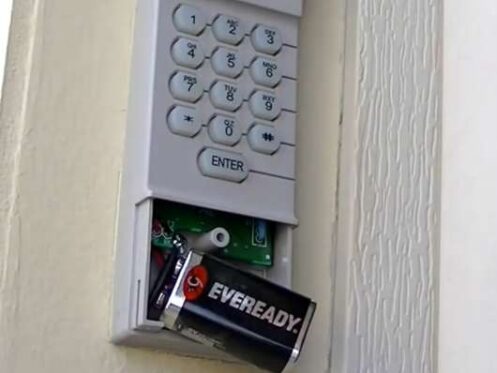
- Disconnect Power: Remove the keypad from its mounting and take out the batteries to prevent accidental activation.
- Remove the Old Faceplate: Use a screwdriver to loosen any screws or clips holding the faceplate in place. Gently lift the faceplate off, taking care not to damage internal components.
- Inspect the Keypad: Check for dirt, corrosion, or debris on the keypad contacts. Clean gently with a soft cloth and mild cleaner if needed.
- Install the New Faceplate: Align the replacement faceplate with the keypad and secure it using the original screws or clips. Ensure all buttons move freely and are properly aligned.
- Replace Batteries: Insert fresh batteries before remounting the keypad. This is a good opportunity to ensure optimal performance.
- Test the Keypad: Reattach the keypad to its mount, then enter your code to confirm that all buttons function correctly and the garage door responds as expected.
Common Issues After Faceplate Replacement
Sometimes, even after replacing the faceplate, you might encounter issues such as:
- Buttons still not responding (possible internal damage or worn contacts)
- Keypad not syncing with the opener (may require reprogramming)
- Backlight not working (check battery orientation or LED connections)
If problems persist, consult your keypad’s manual or contact the manufacturer for troubleshooting tips. For more on related sensor issues, see our resource on why is my garage door sensor indicator light missing.
Preventing Future Faceplate Damage
To extend the life of your keypad and minimize the need for frequent repairs, consider these tips:
- Install a weatherproof cover to shield the keypad from rain, snow, and sun
- Clean the keypad regularly with a soft, damp cloth to prevent dirt buildup
- Replace batteries annually to avoid leakage and corrosion
- Teach family members to use the keypad gently to prevent excessive wear
Routine maintenance can help you avoid the inconvenience of unexpected keypad failures.
When to Replace Instead of Repair
While many faceplate issues can be fixed with a simple replacement, there are times when a full keypad replacement is the better option. Consider replacing your keypad if:
- The internal circuit board is damaged or corroded
- Multiple buttons are unresponsive even after cleaning
- The keypad is outdated and incompatible with newer openers
- Security features are lacking compared to modern models
Upgrading to a new keypad can provide improved reliability, enhanced security, and better weather resistance. For a wide selection of compatible devices, check out our recommended garage door opener keypads.
Compatibility and Programming Tips
When purchasing a replacement faceplate or keypad, always verify compatibility with your garage door opener brand and model. Most manufacturers provide compatibility charts or lists. If you’re unsure, consult your opener’s manual or visit resources like different types of garage door openers for more information.
After installing a new keypad or faceplate, you may need to reprogram your access code. The process typically involves:
- Pressing the “Learn” button on your garage door opener motor unit
- Entering a new code on the keypad within 30 seconds
- Testing the code to ensure successful programming
Refer to your keypad’s manual for detailed instructions, as steps can vary between brands.
Additional Resources for Garage Door Maintenance
Maintaining your garage door system goes beyond just the keypad. For more troubleshooting and repair tips, explore our guides on topics such as how to fix garage door sensor bracket bending and why is my garage door sensor light turning off and on. Staying proactive with maintenance can help you avoid costly repairs and keep your garage secure.
Frequently Asked Questions
How do I know if my garage keypad faceplate is the problem?
If your keypad buttons are sticky, unresponsive, or the numbers are faded, the faceplate may be worn or damaged. Physical cracks or visible wear are also strong indicators that a faceplate repair or replacement is needed.
Can I replace just the faceplate, or do I need a whole new keypad?
In many cases, you can replace just the faceplate if the internal electronics are still functioning. However, if the keypad remains unresponsive after replacing the faceplate and cleaning the contacts, a full keypad replacement may be necessary.
Will I need to reprogram my keypad after replacing the faceplate?
Usually, replacing the faceplate does not affect your keypad’s programming. However, if you remove the batteries or reset the unit during the process, you may need to re-enter your access code. Always test the keypad after repair to ensure it works correctly.