Welcome, homeowners! Have you ever faced issues with your garage door sensor lights not aligning properly? You’re not alone. This can be a common problem and can sometimes seem daunting to fix. Luckily, its much easier than you might think. In this article, I will guide you through the process of aligning your garage door sensor lights. Read on to become your own garage door technician!
Understanding Garage Door Sensor Lights
Before we dive into the alignment process, let’s first understand what garage door sensor lights are and why they are essential for homeowners. These sensors are a critical part of the garage door system. They are responsible for ensuring the door does not close on anything or anyone. Misaligned sensors can cause the door to malfunction, putting your safety at risk. This article aims to equip you with all the necessary information to fix this common problem.
Signs That Your Garage Door Sensors Are Misaligned
One of the telltale signs that your garage door sensors are misaligned is a blinking light. Additionally, if your door reverses when you try to close it, that’s a clear indicator. Here are some other signs:
- The garage door opens but won’t close.
- Strange noises when the door is operating.
- The door moves unevenly.
Tools Youll Need
Before you start the alignment process, make sure you have the following tools:
- Phillips Head Screwdriver
- Levels
- String
- Tape Measure
Step-by-Step Guide to Aligning Your Sensor Lights
Now, lets get into the detailed steps:
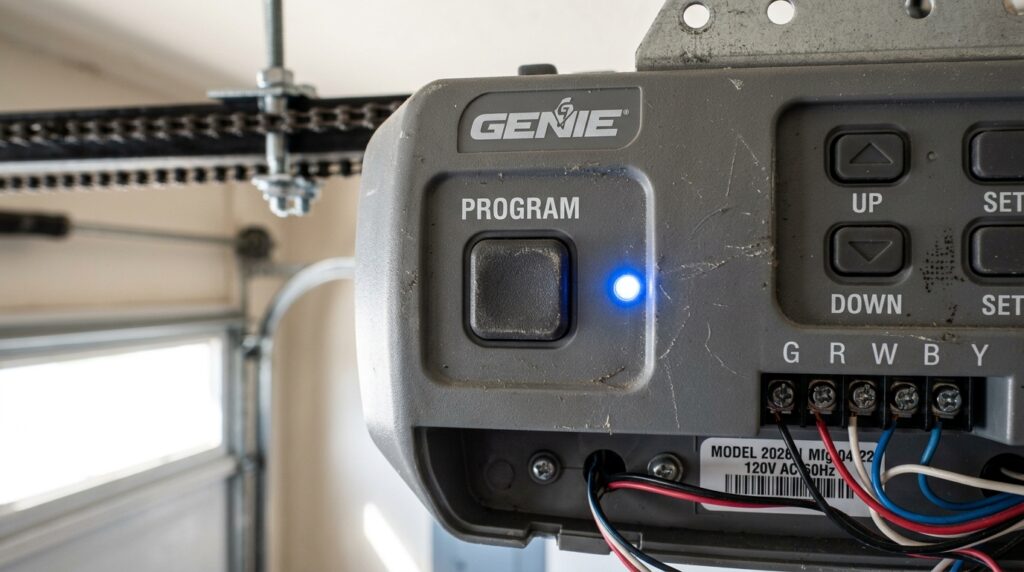
Step 1: Turn Off the Power
Safety should always come first. Make sure to turn off the power to your garage door opener. This will prevent any accidental opening or closing while you’re working on it.
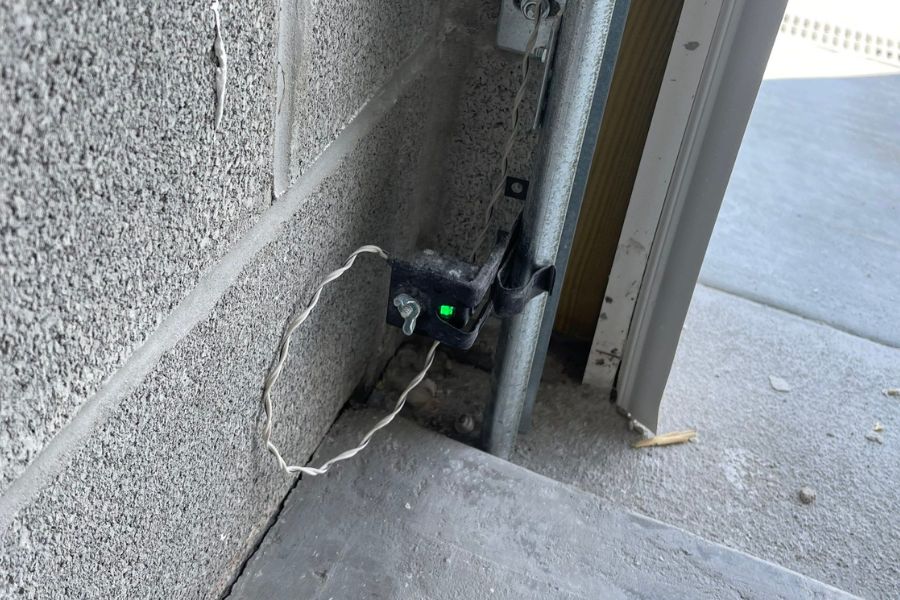
Step 2: Locate the Sensors
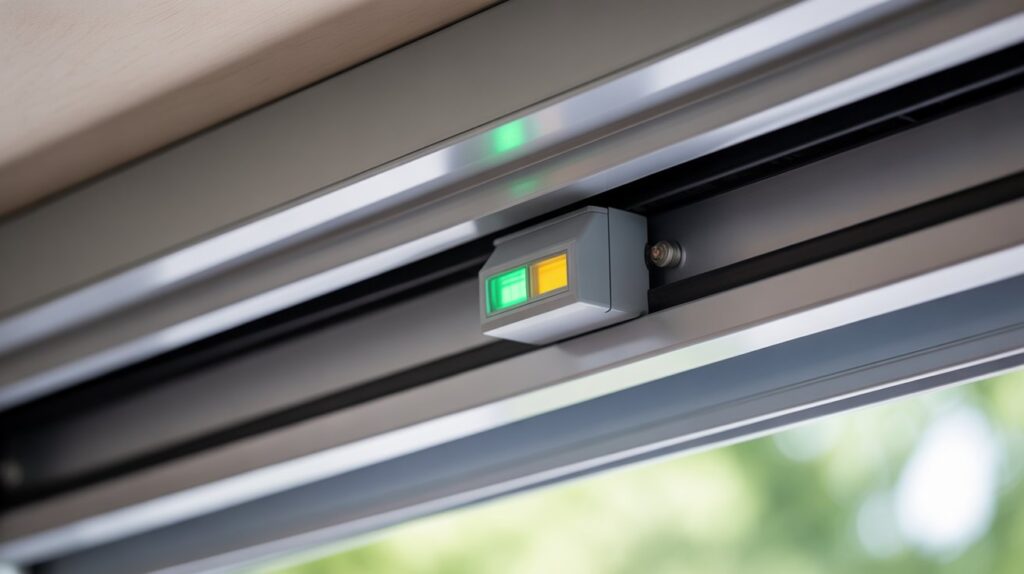
Your sensors are usually located on both sides of the door, about six inches from the ground. They are small plastic boxes with LED lights.
Step 3: Check the LED Lights
The LED lights on the sensors can tell you a lot. If one of the lights is blinking or completely off, you have an alignment issue.
Step 4: Loosen the Screws
Use your Phillips Head Screwdriver to loosen the screws that hold the sensors in place. This will make it easier to move them around for proper alignment.
Step 5: Align the Sensors
Using a string and a level, align the sensors so that they are directly facing each other. Tape the string to one sensor and stretch it to the other to ensure they are level.
Step 6: Tighten the Screws
Once the sensors are aligned, tighten the screws to keep them in place. Double-check with the level to ensure they didnt move during tightening.
Step 7: Turn On the Power
After youve tightened the screws and ensured the sensors are aligned, turn the power back on. Test the garage door to make sure its operating smoothly.
Common Mistakes to Avoid
Here are some common mistakes to avoid while aligning your sensor lights:
- Not turning off the power before starting.
- Over-tightening the screws, causing the sensors to move.
- Ignoring the blinking LED light.
Why Proper Sensor Alignment is Crucial
Proper sensor alignment ensures your garage door operates safely and efficiently. Misaligned sensors can pose a safety risk and may even damage your garage door opener. For more details, you can check out this external link.
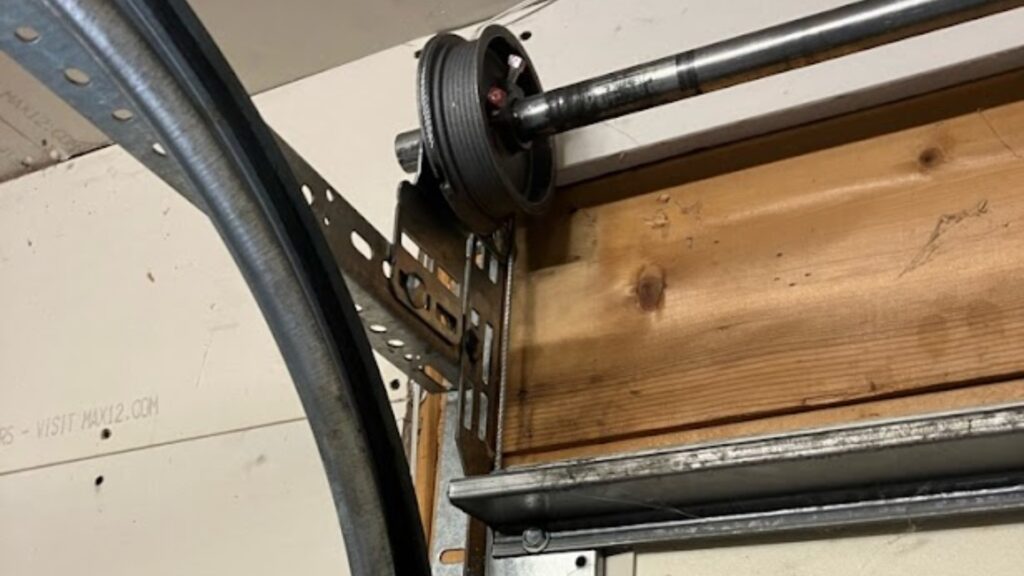
Maintenance Tips for Your Garage Door
Regular maintenance of your garage door is vital for its longevity. For more information, refer to this helpful maintenance guide.
Additionally, familiarize yourself with