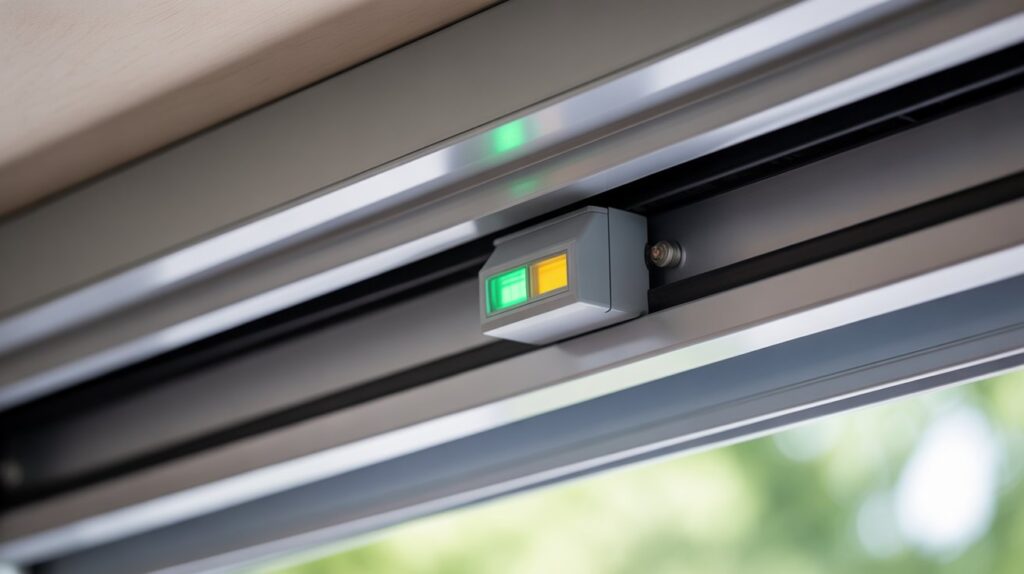
Garage door sensors are essential for the safety and smooth operation of any automatic garage door system. These small devices, typically installed near the bottom of the door tracks, detect obstacles and prevent the door from closing on people, pets, or objects. However, due to their low placement, they are vulnerable to accidental bumps, knocks, and hits from vehicles, bikes, tools, or even children and pets. Over time, repeated impacts can misalign or damage the sensors, leading to malfunctions or safety hazards.
This guide shares practical tips for protecting garage door sensors from bumps and accidental impacts. By understanding the common causes of sensor damage and implementing simple protective measures, you can extend the life of your sensors and maintain reliable operation. For those dealing with specific sensor mounting challenges, such as installing on metal studs, you may find this resource on how to fix garage door sensor mounting on metal studs especially helpful.
Understanding Why Garage Door Sensors Get Hit
Before exploring the best tips for protecting garage door sensors from bumps, it’s important to know why these devices are so prone to damage:
- Low Placement: Sensors are typically installed just a few inches above the ground, making them easy targets for tires, feet, toys, or equipment.
- High-Traffic Areas: Garage doors are busy zones, with vehicles, bikes, and people moving in and out frequently.
- Storage Clutter: Items stored near the door, such as bins or lawn tools, can accidentally shift and strike the sensors.
- Pets and Children: Curious kids or pets may bump or play with the sensors, causing misalignment or damage.
Understanding these risks helps you take proactive steps to shield your garage door sensors from everyday hazards.
Effective Ways to Shield Garage Door Sensors
Protecting your sensors doesn’t require expensive equipment or complicated installations. Here are some proven strategies to reduce the risk of accidental hits:
Install Protective Covers or Shields
One of the most effective tips for protecting garage door sensors from bumps is to use physical barriers. Protective covers or shields are designed to deflect impacts away from the sensor lens and housing. You can purchase ready-made sensor guards or create DIY shields using PVC pipe, small brackets, or even sturdy plastic. The key is to ensure the shield does not obstruct the sensor’s beam.
Mark the Sensor Area Clearly
Visibility is a simple but powerful deterrent. Use bright tape, floor paint, or small cones to mark the area around your sensors. This visual cue reminds drivers and family members to steer clear, reducing the chance of accidental contact. For garages with frequent foot traffic, consider placing a small mat or barrier in front of the sensors to signal their location.
Adjust Sensor Placement When Possible
While sensors must be low enough to detect obstacles, some models allow for slight height adjustments. Raising the sensors by an inch or two (while staying within manufacturer guidelines) can help keep them out of the direct path of tires and feet. Always ensure the sensors remain aligned and functional after any adjustment. If you’re dealing with wiring challenges, the article on how to fix garage door sensor wiring using electrical tape offers practical solutions.
Regular Maintenance and Inspection
Even with the best protective measures, regular checks are crucial for keeping your sensors in top shape. Here’s what to include in your routine:
- Visual Inspection: Check for cracks, misalignment, or dirt buildup on the sensor lenses.
- Test Operation: Close the garage door and wave an object in front of the sensors to ensure they stop the door as intended.
- Clean the Lenses: Use a soft cloth to gently wipe away dust or debris that could interfere with the sensor beam.
- Check Mounting Hardware: Tighten any loose screws or brackets to prevent the sensors from shifting.
If you notice persistent issues, such as blinking lights or humming noises, you may want to review guides like why is my garage door sensor light blinking twice or how to fix garage door sensor hum or buzz for troubleshooting tips.
Smart Storage and Organization
Clutter is a common culprit in accidental sensor damage. Keeping the area around your garage door clear and organized can significantly reduce the risk of bumps. Here are a few organizational strategies:
- Wall-Mounted Racks: Store bikes, tools, and sports equipment off the ground and away from the door tracks.
- Designated Parking Guides: Use parking mats or laser guides to help drivers stop before reaching the sensor area.
- Storage Bins: Place bins or containers at least a foot away from the door tracks to prevent them from sliding into the sensors.
Good organization not only protects your sensors but also makes your garage safer and more functional overall.
When to Replace or Repair Sensors
Despite your best efforts, sensors may eventually need repair or replacement due to repeated impacts or age. Signs that it’s time to act include:
- The garage door won’t close, or reverses unexpectedly.
- The sensor lights are off, blinking, or show error codes.
- Physical damage to the sensor housing or lens.
For step-by-step repair advice, visit this comprehensive guide on fixing garage door sensors. If your sensor transmitter seems completely unresponsive, you might also want to check out why is my garage door sensor transmitter dead for further troubleshooting.
Frequently Asked Questions
How can I tell if my garage door sensors are misaligned after a bump?
Common signs include the garage door refusing to close, blinking sensor lights, or the door reversing unexpectedly. Visually inspect the sensors to ensure both are facing each other and the indicator lights are steady. If needed, gently adjust the sensors until the lights remain solid.
What is the best way to clean garage door sensors?
Use a soft, dry cloth to wipe the sensor lenses. Avoid using water or harsh chemicals, as moisture or residue can interfere with the sensor’s operation. Regular cleaning helps maintain clear beams and reliable function.
Can I install additional protection without affecting sensor performance?
Yes, as long as the protective cover or shield does not block the infrared beam between the sensors. Use open-ended shields or guards that deflect impacts but allow the sensors to “see” each other clearly. Always test the door after installation to confirm proper operation.
How often should I inspect my garage door sensors?
It’s a good idea to check your sensors monthly for alignment, cleanliness, and secure mounting. Regular inspections help catch small issues before they become major problems.
Conclusion
Protecting your garage door sensors from accidental bumps and hits is a straightforward process that pays off in reliability and safety. By installing shields, marking sensor zones, keeping the area organized, and performing regular maintenance, you can minimize damage and avoid costly repairs. For more detailed troubleshooting or installation advice, make use of the linked resources throughout this article. With these proactive steps, your garage door system will remain safe and operational for years to come.