A non-responsive garage door keypad can be a real inconvenience, especially when you rely on it for daily access. In most cases, the culprit is a depleted battery. Learning how to replace garage door keypad battery is a straightforward task that can restore your keypad’s function in minutes. This article will walk you through the process step by step, highlight safety tips, and answer common questions about keypad maintenance.
Before you begin, it’s important to understand that different keypad models may have slightly different battery compartments and requirements. However, the general process remains similar across most brands. If you’re experiencing other garage door issues, such as sensor problems, you might also find our guide on how to fix garage door sensor mounting on metal studs useful.
Why and When to Change Your Garage Keypad Battery
Garage keypads are designed for convenience and security, but their batteries don’t last forever. Most units use standard 9V or AA batteries, which typically last 1–2 years depending on usage and climate. Signs that your keypad battery needs replacing include:
- Keypad is unresponsive or only works intermittently
- Dim or flickering backlight
- Garage door only opens with remote, not keypad
- Keypad beeps or flashes to indicate low battery
Replacing the battery at the first sign of trouble can prevent lockouts and ensure your garage remains accessible and secure.
Tools and Materials Needed for Battery Replacement
You don’t need specialized tools for this task. Gather the following before starting:
- Replacement battery (check your keypad’s manual for the correct type, usually 9V or AA)
- Small flathead screwdriver (if your keypad has a screw-secured cover)
- Clean cloth (optional, for wiping battery contacts)
- Step stool (if your keypad is mounted high)
Step-by-Step Guide: Changing the Battery in Your Garage Door Keypad
Follow these steps to safely and efficiently change your keypad battery:
-
Locate the Battery Compartment:
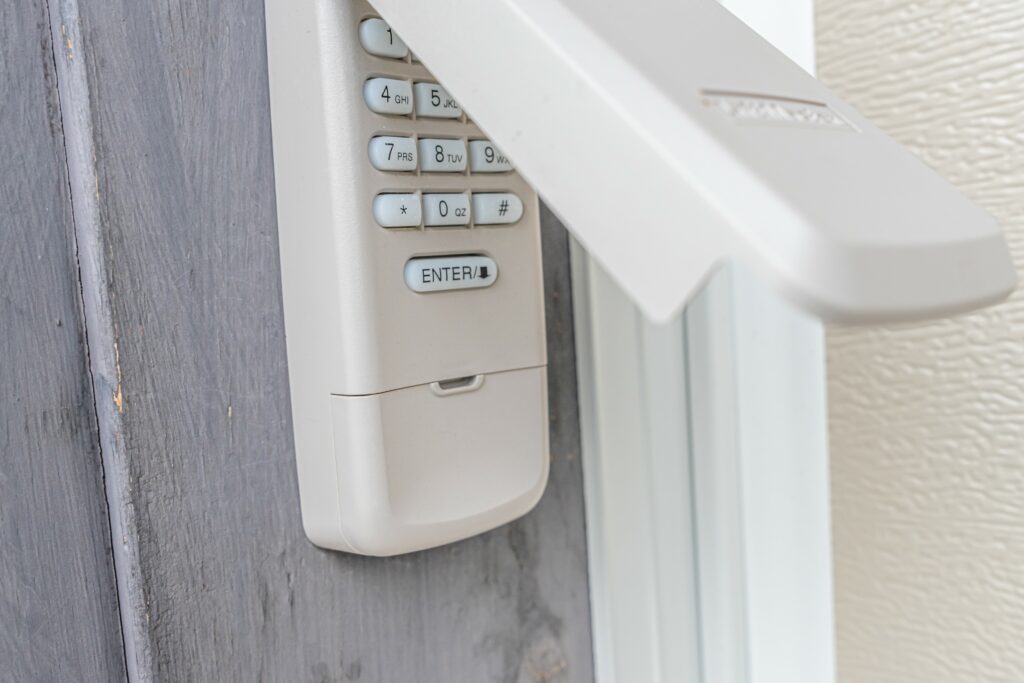
Most keypads have a battery compartment on the bottom or behind the faceplate. Some models require you to slide the keypad up and off its mounting plate, while others have a hinged cover.
-
Open the Compartment:
If there’s a screw, use a small flathead screwdriver to remove it. Gently open or slide off the cover to reveal the battery.
-
Remove the Old Battery:
Carefully disconnect the old battery. If it’s corroded, use a clean cloth to wipe the contacts. Avoid touching the terminals with your bare hands to prevent corrosion.
-
Insert the New Battery:
Align the new battery’s terminals with the connectors and press firmly into place. Double-check the polarity (+/-) to avoid installation errors.
-
Close the Compartment:
Replace the cover and secure any screws. Make sure the cover is flush and secure to keep out moisture and dirt.
-
Test the Keypad:
Enter your code to ensure the keypad is working. If it doesn’t respond, double-check the battery orientation and connections.
Safety Tips for Replacing Garage Keypad Batteries
While swapping a battery is generally safe, keep these precautions in mind:
- Use only the recommended battery type and brand for your keypad
- Dispose of old batteries properly—never throw them in the trash
- If you notice corrosion or damage to the battery compartment, consult your keypad’s manual or a professional
- Keep batteries out of reach of children and pets
If your keypad still doesn’t work after replacing the battery, you may need to reset the code or check for other issues. For more on garage door opener types and troubleshooting, see this comprehensive guide to garage door openers.
Common Issues After Battery Replacement
Sometimes, a keypad may not function even after a fresh battery is installed. Here are a few troubleshooting tips:
- Keypad Needs Reprogramming: Some models lose their code when the battery is removed. Refer to your manual for reprogramming instructions.
- Dirty or Corroded Contacts: Clean the battery terminals with a dry cloth if you see residue.
- Worn Out Keypad: If your keypad is several years old, the internal circuitry may be failing. Consider replacing the unit.
If you’re troubleshooting other garage door issues, such as sensor lights or bracket problems, you might find these resources helpful:
Maintaining Your Garage Door Keypad for Longevity
Regular maintenance can extend the life of your keypad and reduce the frequency of battery changes. Here are some best practices:
- Check and replace the battery annually, even if the keypad is still working
- Keep the keypad clean and free of dust or moisture
- Inspect the mounting and wiring for signs of wear
- Update your keypad code periodically for security
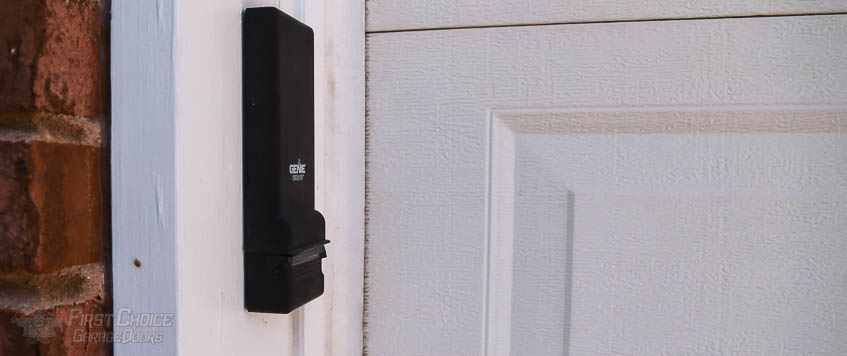
If you notice your keypad is exposed to extreme temperatures or direct sunlight, consider installing a protective cover to shield it from the elements. For issues related to temperature shifts and sensor alignment, our article on how to fix garage door sensor from shifting due to temperature may offer helpful insights.
FAQ: Garage Door Keypad Battery Replacement
How often should I change my garage door keypad battery?
Most batteries last 1–2 years, but it’s wise to replace them annually or whenever you notice reduced keypad performance.
What type of battery does my keypad use?
Most keypads use a 9V or AA battery. Check your keypad’s manual or open the compartment to confirm the correct type.
Will I need to reprogram my keypad after changing the battery?
Some keypads retain their codes, while others may require reprogramming after a battery change. Refer to your manufacturer’s instructions for details.
What should I do if my keypad still doesn’t work after replacing the battery?
Double-check the battery orientation and ensure the contacts are clean. If it still fails, try reprogramming the keypad or consult a professional for further diagnosis.
Can I use rechargeable batteries in my garage keypad?
It’s generally recommended to use standard alkaline batteries, as rechargeable types may not provide consistent voltage or longevity for keypad use.
Regularly replacing your garage keypad battery is a simple way to maintain reliable access and security. By following these steps and tips, you can keep your entry system running smoothly and avoid unexpected lockouts.