Garage door sensors are a crucial safety feature, preventing the door from closing if something is in its path. When these sensors are misaligned, your garage door may refuse to close, leaving your home exposed or causing daily frustration. Fortunately, you don’t need expensive tools or professional help to fix this issue. Using a simple string, you can realign your sensors accurately and restore your garage door’s proper function.
This guide explains how to align garage door sensors with a string step by step, including tips for troubleshooting and maintaining your system. Whether you’re a seasoned DIYer or tackling this for the first time, you’ll find practical advice to get your garage door back on track.
If you’re dealing with mounting issues or sensor lights that won’t behave, you might also find help in resources like how to fix garage door sensor mounting on metal studs or troubleshooting guides for indicator lights and brackets. These can provide additional context if your alignment attempts don’t resolve the problem.
Understanding Garage Door Sensor Alignment
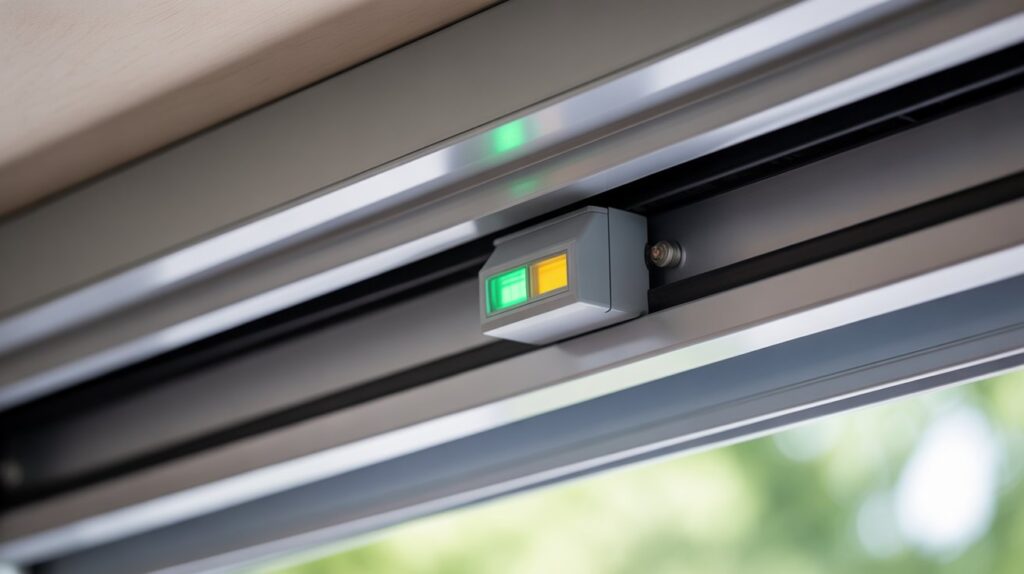
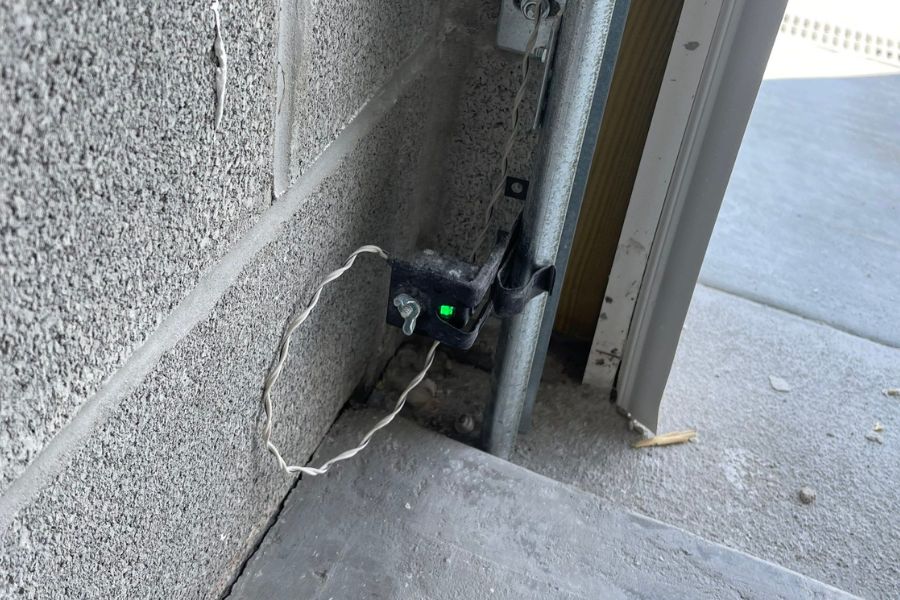
Garage door sensors, often called photo eyes, are installed on both sides of the door, a few inches above the ground. They work by sending an invisible beam between them. If the beam is interrupted or the sensors are not perfectly aligned, the door won’t close for safety reasons.
Common symptoms of misaligned sensors include:
- The door reverses immediately after attempting to close.
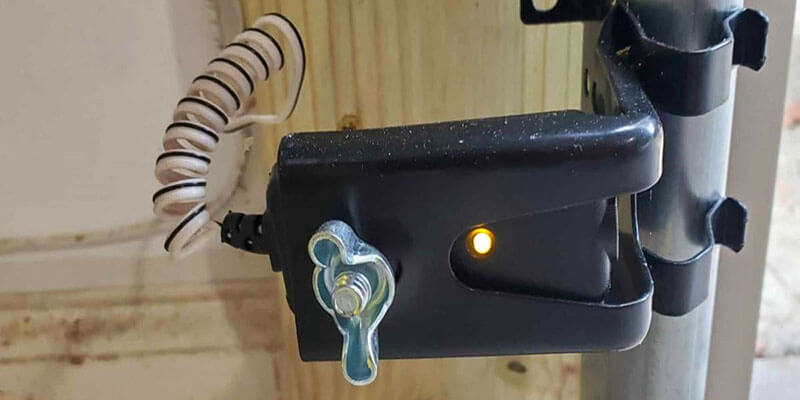
- Indicator lights on the sensors blink or are off.
- The door only closes when you hold down the wall button.
Proper alignment ensures the beam travels straight from one sensor to the other, allowing the door to operate safely and reliably.
Why Use a String for Sensor Alignment?
While some people try to eyeball sensor alignment, this can lead to small errors that prevent the sensors from working correctly. Using a string is a simple, effective, and precise method. By stretching a string tightly between the two sensors, you create a visual guide that helps you adjust both sensors to the exact same height and angle.
This DIY hack is especially useful if your sensors have been bumped, brackets are bent, or you’ve recently replaced parts of your garage door system. If you’re experiencing persistent issues, such as the sensor bracket bending, you might want to review how to fix garage door sensor bracket bending for more targeted solutions.
Step-by-Step Guide: Aligning Garage Door Sensors With a String
Follow these steps to realign your garage door sensors using a string:
-
Gather Your Materials:
- Sturdy string or twine (at least as long as the width of your garage door)
- Measuring tape
- Level (optional, but helpful)
- Screwdriver or wrench (to adjust sensor brackets)
-
Disconnect Power for Safety:
Unplug your garage door opener or switch off the breaker to prevent accidental operation while you work.
-
Loosen Sensor Brackets:
On both sides of the door, gently loosen the mounting brackets holding the sensors. This will allow you to move them up, down, or side to side as needed.
-
Attach the String:
Tie one end of the string around the sensor bracket on one side. Stretch the string tightly across the opening and tie it to the bracket on the opposite side, making sure the string is straight and taut.
-
Check Sensor Height:
Use a measuring tape to ensure both sensors are the same distance from the floor. Adjust as needed so the string touches the center of each sensor lens.
-
Align the Sensors:
With the string as your guide, adjust each sensor so the lens is perfectly in line with the string. You can use a level to double-check that the string is horizontal, but the most important thing is that both sensors are aligned with each other.
-
Tighten the Brackets:
Once you’re satisfied with the alignment, carefully tighten the sensor brackets. Avoid over-tightening, which could shift the sensors out of position.
-
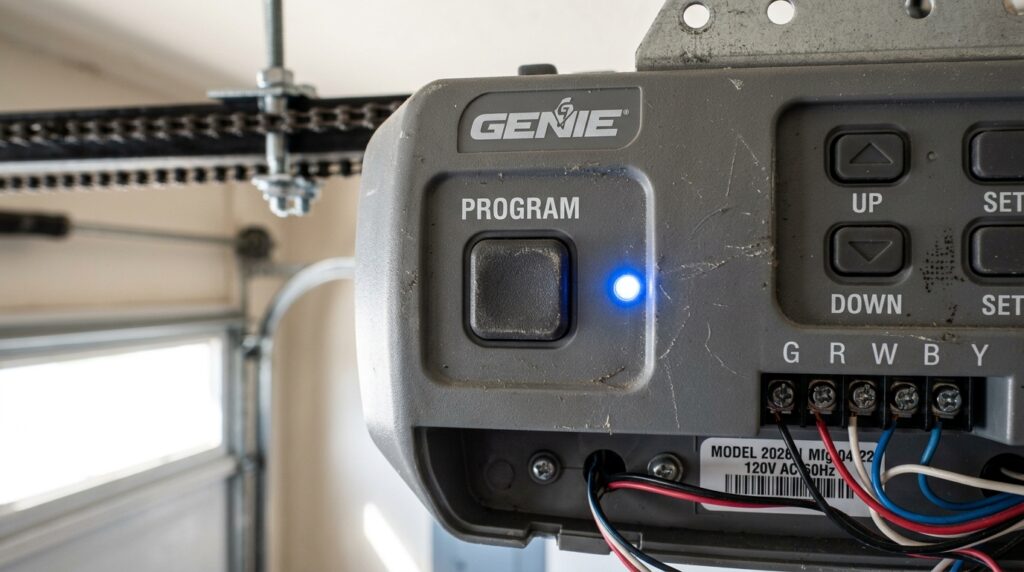
Restore Power and Test:
Plug the opener back in or turn the breaker on. Test the door by closing it. The indicator lights on both sensors should be solid (not blinking), and the door should close smoothly. If not, repeat the alignment process.

Troubleshooting Common Sensor Alignment Issues
Even after aligning your sensors, you may encounter problems such as blinking lights or the door still refusing to close. Here are some troubleshooting tips:
- Dirty Lenses: Dust, spider webs, or debris can block the sensor beam. Clean the lenses gently with a soft cloth.
- Loose Wiring: Check the wires connected to each sensor. Make sure they’re secure and undamaged.
- Bracket Damage: If the brackets are bent or broken, alignment won’t hold. Learn more about fixing this in this guide on sensor bracket bending.
- Sunlight Interference: Direct sunlight can sometimes interfere with the sensor beam. Try shading the sensors or adjusting their angle slightly.
- Indicator Light Issues: If the sensor light is missing or keeps turning off and on, see why is my garage door sensor indicator light missing and why is my garage door sensor light turning off and on for more help.
If you suspect a faulty sensor, you can follow a detailed process to test if your garage door sensors are faulty before replacing them.
Preventing Future Sensor Misalignment
Once your sensors are properly aligned, a few simple habits can help keep them that way:
- Avoid Bumping: Remind family members and guests to avoid hitting the sensors or brackets with bikes, tools, or other objects.
- Check Regularly: Inspect the sensors every few months to ensure they’re still aligned and free of debris.
- Secure Mounting: If your garage is subject to temperature swings, you may notice the sensors shift over time. For tips on stabilizing them, see how to fix garage door sensor from shifting due to temperature.
By staying proactive, you can avoid the hassle of frequent realignments and keep your garage door operating smoothly.
FAQ
How do I know if my garage door sensors are out of alignment?
Common signs include the garage door reversing when you try to close it, blinking or off indicator lights on the sensors, or the door only closing when you hold the wall button. Visually, if the sensors are not facing each other directly or are at different heights, they likely need adjustment.
Can I align garage door sensors without a string?
While it’s possible to align sensors by eye, using a string provides a much more accurate reference. This reduces the chance of small misalignments that can cause intermittent problems. A string ensures both sensors are at the same height and perfectly parallel.
What should I do if my sensors won’t stay aligned?
If your sensors keep shifting out of place, check for loose or damaged brackets. Tighten all hardware and consider reinforcing the mounting points. If the bracket is bent or the wall is unstable, you may need to repair or replace those parts. For persistent issues, review guides on fixing sensor mounting or bracket bending for more detailed solutions.
Do I need to replace my sensors if alignment doesn’t fix the problem?
Not necessarily. First, check for dirt, wiring issues, or bracket damage. If the sensors are clean, securely wired, and properly aligned but still don’t work, they may be faulty. You can test your sensors to confirm before replacing them.
Conclusion
Aligning your garage door sensors with a string is a straightforward and effective way to restore your door’s safety features. By following the steps outlined above, you can ensure your sensors are perfectly positioned, minimizing downtime and frustration. Remember to check your sensors regularly, keep the area clear, and consult troubleshooting resources if problems persist. With a little attention, your garage door system will stay safe and reliable for years to come.