
Changing a panel on a wooden garage door can seem like a daunting task. However, with the right guidance and tools, it’s completely manageable. Whether you’ve experienced damage or wear and tear, replacing a wooden panel can restore both the functionality and aesthetics of your garage door. In this guide, we’ll walk you through the steps of replacing a wooden panel on your garage door.
In this guide, we will cover:
- Introduction to wooden garage door panels
- Why you might need to change a wooden panel
- Tools and materials required
- Safety precautions
- Step-by-step guide to removing the damaged panel
- Step-by-step guide to installing the new panel
- Post-installation checks
- Maintenance tips for wooden garage door panels
- Common issues and how to address them
- FAQs
Introduction to Wooden Garage Door Panels
Wooden panels are a popular choice for garage doors because of their classic look and durability. However, like all materials, they can suffer from damage over time due to weather, accidents, or general wear and tear. Knowing how to change a panel on a garage door wooden panel can save you time and money, and keep your garage door looking great.
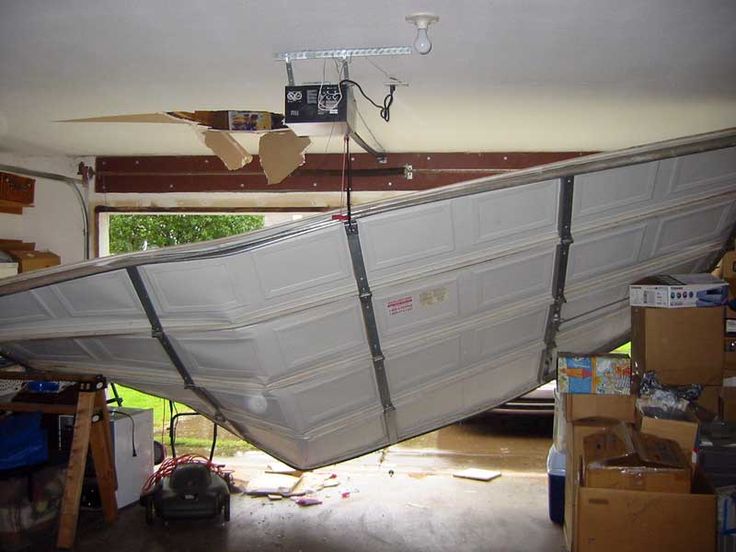
Why You Might Need to Change a Wooden Panel
There are several reasons you might need to change a wooden panel on your garage door:
- Damage from accidents such as bumps or knocks
- Wear and tear from weather exposure
- Rot or decay from moisture
- Cracked or split wood
Tools and Materials Required
Before you begin the process, ensure you have the following tools and materials ready:
- New wooden panel
- Screwdriver
- Hammer
- Chisel
- Wood glue
- Nails and screws
- Measuring tape
Safety Precautions
Working on a garage door can be dangerous. Here are some safety tips to keep in mind:
- Wear safety goggles and gloves
- Ensure the garage door is fully secured and cannot move while you work on it
- Use sturdy ladders or step stools
- If in doubt, seek professional assistance
Step-by-Step Guide to Removing the Damaged Panel
Step 1: Secure the garage door in an open position.
Step 2: Remove any hardware around the damaged panel.
Step 3: Carefully pry the damaged panel out of place using a chisel.
Step-by-Step Guide to Installing the New Panel
Step 1: Measure the new panel to ensure it fits.
Step 2: Apply wood glue to the edges of the panel.
Step 3: Slide the new panel into place and secure with nails and screws.
Step 4: Reattach any hardware.
Post-Installation Checks
After you’ve installed the new panel, check to ensure:
- The panel is securely in place
- All hardware is reattached properly
- The garage door operates smoothly
Maintenance Tips for Wooden Garage Door Panels
To prolong the life of your wooden panels:
- Regularly inspect for damage
- Keep the door clean and free from debris
- Apply a wood
 sealant annually
Common Issues and How to Address Them
Some common issues you may encounter with wooden garage door panels include:
- Warping from moisture – Address with proper sealing
- Cracks or splits – Repair with wood filler
- Rot – Replace the affected panels
FAQs
Q1: Can I replace a garage door panel myself?
A1: Yes, if you have the right tools and follow safety precautions.
Q2: How much does it cost to replace a wooden panel?
A2: It depends on the type of wood and labor costs, but it typically ranges from $100 to $300.
Q3: How long will a new wooden panel last?
A3: With proper maintenance, a new wooden panel can last many years.
For more information on common garage door problems, click here.
For additional tips on maintaining your garage door, click here.
For guidance on garage door opener programming, click here.
For more details on garage door safety, click here.


