
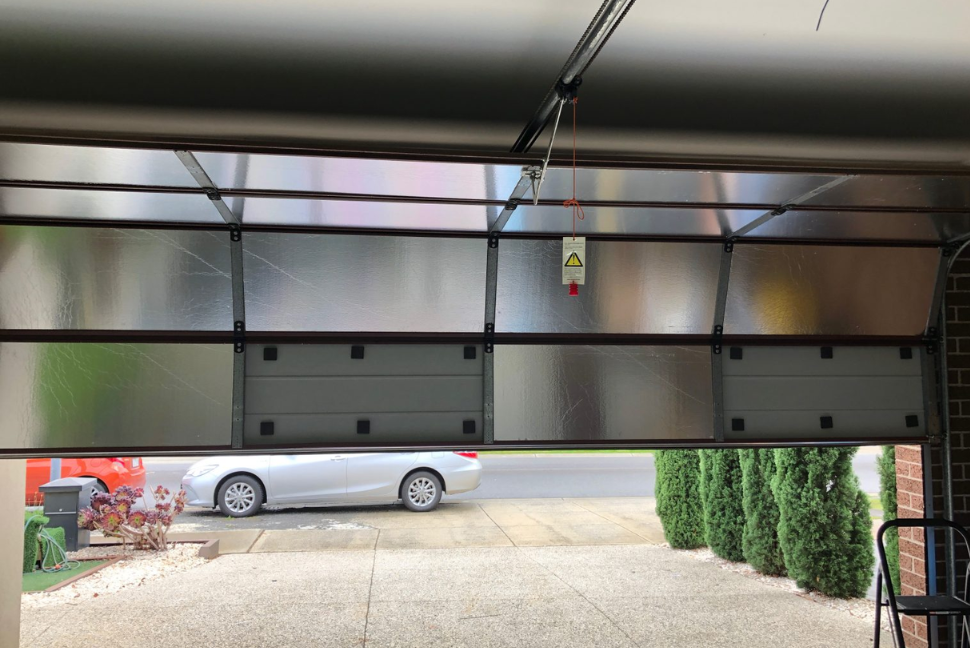
Ensuring the safety of your garage door is paramount. One of the crucial steps to achieving this is installing a safety sensor. Today, we’ll guide you through the process in a way that’s not only informative but also easy to follow for every homeowner. With the right technology and tools, this can be a simple DIY project.
Before we delve into the details, let’s understand why a garage door safety sensor is essential. The primary function of the safety sensor is to prevent accidents by stopping the door from closing if an obstacle is detected in its path. This feature ensures that children, pets, and property remain unharmed.
What is a Garage Door Safety Sensor?
The garage door safety sensor is a device that detects obstructions in the path of the garage door. It typically consists of two sensors placed on either side of the door, near the ground. They create an invisible beam, and if this beam is interrupted, the door will not close.
Tools and Materials Needed for Installation
- Screwdriver
- Drill
- Mounting brackets
- Wire strippers
- Measuring tape
- Level
- Safety sensors kit
Step-by-Step Guide to Installing a Garage Door Safety Sensor
Step 1: Turn Off the Power
Before starting any electrical work, make sure to turn off the power to your garage door. This is crucial to ensure safety during the installation process.
Step 2: Position the Sensors
Position the safety sensors on either side of the garage door, making sure they are no more than 6 inches above the ground. Use a level to ensure they are aligned properly.
Step 3: Mount the Sensors
Attach the sensors to the mounting brackets and secure them in place with screws. Make sure they are firmly attached and do not move out of alignment.
Step 4: Connect the Wiring
Using the wire strippers, carefully strip the ends of the wires from both the sensors and the garage door opener. Connect the wires according to the manufacturer’s instructions, ensuring each wire is securely connected.
Step 5: Secure the Wires
Once the wires are connected, use cable ties or clips to secure them along the walls and ceiling of the garage. This will help prevent any damage or interference with the sensors.
Step 6: Test the Sensors
After everything is connected and secured, turn the power back on to the garage door. Test the sensors by placing an object in the path of the door and attempting to close it. The door should stop and reverse direction if the sensors are working correctly.
Troubleshooting Common Issues
Sensor Alignment
If your garage door does not close properly, one of the most common issues is sensor alignment. Ensure both sensors are directly facing each other and are level.
Wiring Problems
Check for any loose or damaged wires. Even a small issue with the wiring can prevent the sensors from functioning correctly.
Maintenance Tips
Regular maintenance of your garage door safety sensor is essential. Clean the sensors regularly to ensure there is no dirt or debris obstructing the beam. Check the wiring periodically for any signs of wear and tear.
For more detailed information, you can always refer to these reasons, maintenance tips, and solutions for common garage door problems.
Additional Resources
For mo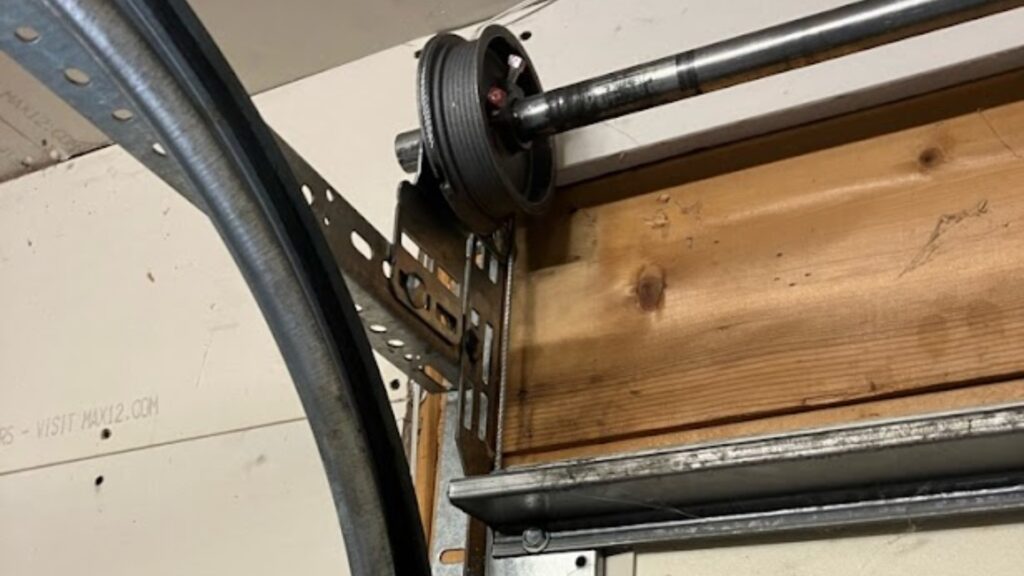 re information on garage door safety and regulations, refer to the Federal Register.
FAQ
How often should I clean the sensors?
It is recommended to clean the sensors at least once every three months.
What should I do if the door doesn’t stop despite the sensor being installed?
Recheck the alignment and wiring of the sensors. If everything seems fine, consult a professional.
Can I install the sensors myself, or do I need a professional?
This guide provides step-by-step instructions for DIY installation. However, if you are not comfortable, it’s always a good idea to hire a professional.


