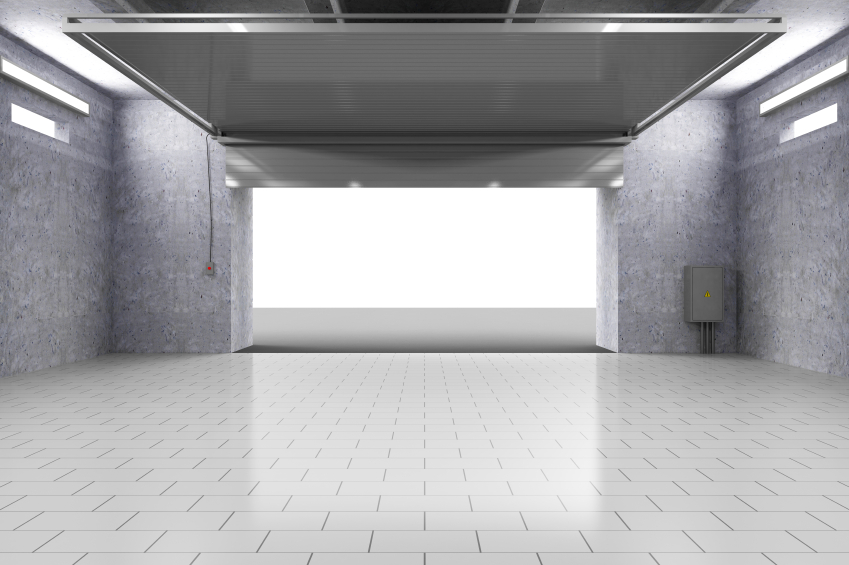
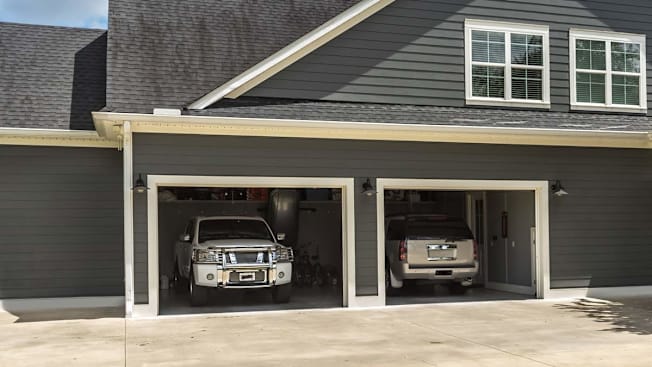
Properly aligned garage door sensors are essential for the safe and reliable operation of your garage door. If your door refuses to close or reverses unexpectedly, misaligned sensors are a common culprit. Fortunately, you can check the alignment of these safety devices without needing any special equipment. This guide will walk you through practical steps to visually inspect and test your garage door sensors, helping you identify alignment issues and restore normal function.
Understanding how to test garage door sensor alignment without tools is especially helpful for homeowners who want to troubleshoot before calling a professional. By following a few straightforward checks, you can often pinpoint the problem and decide on the next steps. If you encounter related issues, such as how to fix garage door sensor mounting on metal studs, there are additional resources available to guide you through more complex repairs.
Why Sensor Alignment Matters for Garage Doors
Garage door sensors, also known as photo-eye sensors, are safety devices installed near the base of the door tracks. They use an infrared beam to detect obstructions in the door’s path. If the sensors are not facing each other directly, the beam is interrupted, and the door will not close. This feature prevents accidents and property damage but can also cause frustration if the sensors are misaligned.
Common symptoms of misalignment include:
- The garage door starts to close but reverses immediately.
- Flashing or steady indicator lights on the sensors.
- The door only closes when you hold down the wall button.
Knowing how to check sensor alignment without any tools can save you time and help you avoid unnecessary service calls.
Visual Inspection: The First Step in Testing Sensor Alignment
Begin by examining the position of both sensors. They are usually mounted on either side of the garage door, about six inches above the floor. Here’s how to proceed:
- Check the mounting brackets. Ensure both sensors are firmly attached and not loose or wobbly.
- Look for obvious obstructions. Remove any debris, cobwebs, or objects that could block the sensor beam.
- Compare sensor heights. Both sensors should be at the same height and directly facing each other.
- Inspect for physical damage. Cracked or dirty lenses can interfere with operation. Gently clean the lenses with a soft cloth if needed.
Even a slight misalignment can cause the sensors to malfunction. If you notice that one sensor is angled differently, try to gently adjust it by hand until both appear parallel.

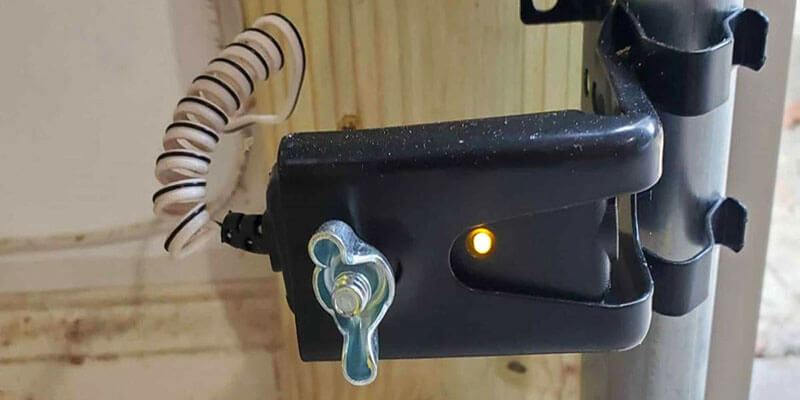
Using Sensor Indicator Lights to Test Alignment
Most modern garage door sensors have LED indicator lights that provide clues about their status. Here’s how to interpret them:
- Solid light: Indicates the sensor is receiving the beam and is likely aligned correctly.
- Blinking or off: Suggests the sensor is not detecting the beam, which could mean misalignment or another issue.
To test alignment without tools:
- Observe the indicator lights on both sensors while the door is open.
- If one or both lights are blinking or off, gently nudge the sensor until the light turns solid.
- Once both lights are steady, the sensors are aligned.
Some sensors use different colored lights for sending and receiving units. Refer to your manufacturer’s manual if you’re unsure, but the principle remains the same: both lights should be steady when properly aligned.
If the lights remain off or blinking after adjustment, consider checking for wiring issues. For more on this, see how to fix garage door sensor wiring using electrical tape.
Testing Door Operation After Adjusting Sensors
After visually aligning the sensors and confirming the indicator lights are steady, test the garage door’s operation:
- Close the garage door using the remote or wall button.
- Observe whether the door closes smoothly without reversing.
- If the door still reverses, double-check the sensor alignment and look for any new obstructions.
Sometimes, environmental factors like sunlight or LED lighting can interfere with sensor operation. If you suspect interference, you may find solutions in resources such as how to fix garage door sensor interference from LED bulbs.
Other Causes of Sensor Malfunction
While misalignment is a common issue, other factors can prevent your garage door from closing properly:
- Dirty sensor lenses: Dust or spider webs can block the infrared beam. Clean the lenses gently with a soft cloth.
- Damaged wiring: Inspect the wires for signs of wear or disconnection. If you find damage, repair or replace as needed.
- Faulty sensor units: If alignment and cleaning do not resolve the issue, the sensors themselves may be defective.
- Power supply issues: Ensure the opener and sensors are receiving power. Check for tripped breakers or unplugged units.
For troubleshooting dead transmitters, you can refer to why is my garage door sensor transmitter dead for more detailed guidance.
When to Seek Professional Help
If you have followed all the above steps and your garage door sensors still do not work properly, it may be time to consult a professional. Persistent problems could indicate deeper electrical or mechanical issues. Additionally, if you are uncomfortable working with electrical components or suspect a wiring fault, professional service is the safest option.
For advanced troubleshooting, such as syncing smart sensors or integrating with home automation, see how to troubleshoot smart garage door sensor apps.
Additional Tips for Maintaining Sensor Alignment
- Periodically check sensor brackets for looseness, especially after accidental bumps or vibrations.
- Keep the area around the sensors clean and free of clutter.
- Test the door’s safety reversal system monthly to ensure sensors are functioning correctly.
- Consider replacing old or unreliable sensors with modern, more robust models for improved safety.
If you want to learn more about identifying faulty sensors, this guide to testing faulty garage door sensors offers additional insights.
Frequently Asked Questions
What are the signs that my garage door sensors are misaligned?
Common indicators include the garage door reversing when closing, blinking or unlit sensor indicator lights, and the need to hold down the wall button to close the door. Visual inspection and checking the sensor lights can help confirm misalignment.
Can sunlight or lighting affect garage door sensor alignment?
Yes, strong sunlight or certain artificial lights, such as some LED bulbs, can interfere with the infrared beam. If you suspect interference, try shading the sensors or repositioning lights to see if the problem resolves.
Do I need any special tools to realign my garage door sensors?
No tools are required for basic alignment. Most adjustments can be made by hand. However, if the mounting brackets are loose or damaged, you may need a screwdriver to secure them properly.
How often should I check my garage door sensor alignment?
It’s a good idea to inspect sensor alignment and function at least once a month, or whenever you notice irregular door operation. Regular checks help maintain safety and prevent unexpected issues.