Garage door sensors play a crucial role in ensuring the safety and functionality of your garage door system. These small devices detect obstacles in the door’s path, preventing accidents and property damage. However, over time, sensor range and alignment can degrade, leading to unreliable operation or unexpected malfunctions. Understanding how to test garage door sensor range is essential for homeowners who want to maintain optimal performance and safety.
This guide covers the practical steps for evaluating sensor range, recognizing common issues, and troubleshooting problems. Whether you’re experiencing intermittent door reversals or simply want to perform routine maintenance, you’ll find clear instructions and actionable tips here. For those dealing with mounting challenges, you may also find it helpful to review how to fix garage door sensor mounting on metal studs for additional insight.
Understanding Garage Door Sensor Technology
Most modern garage doors use photoelectric sensors, also known as safety eyes. These devices are installed on either side of the door, typically six inches above the ground. One sensor emits an infrared beam, while the other receives it. If the beam is interrupted, the door will stop closing and reverse direction. This mechanism is designed to protect people, pets, and property from accidental injury or damage.
Sensor range refers to the effective distance over which the infrared beam can reliably travel and be detected. If the range is compromised, the sensors may fail to detect obstacles or may trigger false reversals. Factors such as dirt, misalignment, wiring issues, or even sunlight interference can impact sensor performance.
Why Testing Sensor Range Matters
Regularly checking the operational range of your garage door sensors is important for several reasons:
- Safety: Faulty sensors can fail to detect objects, increasing the risk of accidents.
- Reliability: Ensuring the sensors work as intended prevents unnecessary door reversals or stoppages.
- Compliance: Many local building codes require functioning safety sensors on automatic garage doors.
- Longevity: Early detection of sensor issues can prevent more costly repairs down the line.
Step-by-Step Guide: Testing Garage Door Sensor Range
Follow these steps to evaluate and optimize your garage door sensor’s range:
1. Inspect and Clean the Sensors
Before testing, visually inspect both the sending and receiving units. Dust, cobwebs, or debris on the sensor lens can block the infrared beam. Use a soft, dry cloth to gently clean the lenses. If you notice condensation or moisture, allow the sensors to dry completely before proceeding.

2. Check Sensor Alignment
Misaligned sensors are a leading cause of range issues. Both units must face each other directly, with their lenses parallel. Most sensors have indicator lights: a steady light usually means proper alignment, while a blinking or off light indicates a problem. Adjust the sensors by loosening the mounting brackets and gently repositioning them until the lights are steady. For more on alignment issues, see why is my garage door sensor indicator light missing.
3. Test the Sensor Beam Range
With the door open, press the wall button or remote to close the door. As the door begins to close, wave a long object (such as a broomstick) through the sensor beam at various points along its path. The door should immediately stop and reverse when the beam is interrupted. If the door fails to respond, the sensor range may be insufficient or the units may be out of alignment.
Repeat this test at different heights and distances to ensure the beam covers the entire space between the sensors. If you notice inconsistent results, further troubleshooting may be necessary.
4. Evaluate for Interference and Obstructions
Sunlight, reflective surfaces, or nearby electronic devices can interfere with the infrared beam. If your garage receives direct sunlight, consider shading the sensors or adjusting their angle slightly. Remove any objects near the sensors that could reflect or block the beam. For persistent issues, check for damaged wiring or loose connections.
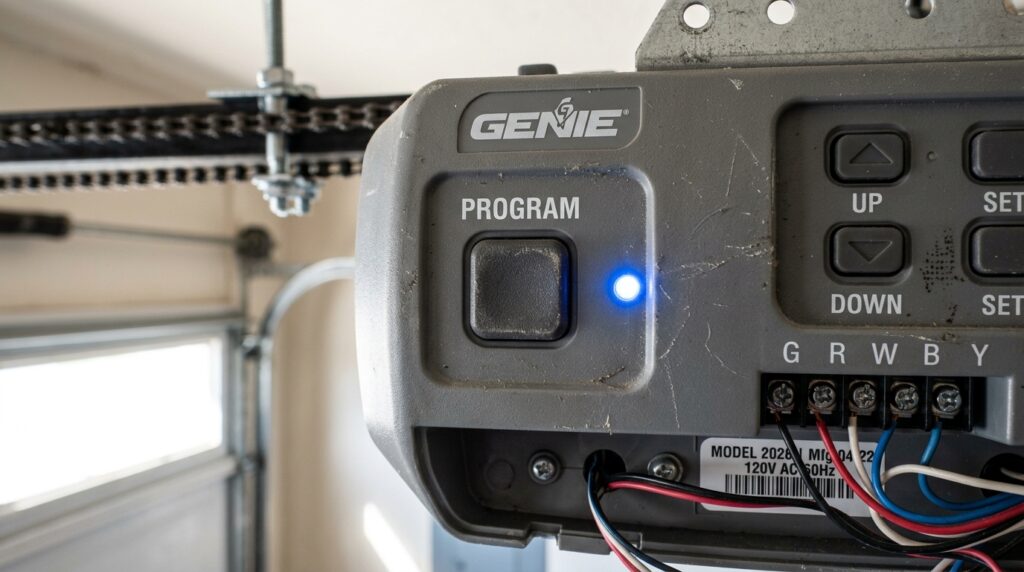
5. Confirm Sensor Functionality with the Opener
Some garage door openers have diagnostic features or indicator lights that provide additional information about sensor status. Refer to your opener’s manual for details. If the opener’s light blinks or you hear a series of beeps, this may indicate a sensor fault. For more advanced troubleshooting, you can consult resources like how to reset garage door sensors for step-by-step instructions.
Common Problems Affecting Sensor Range
Several issues can reduce the effective range of your garage door sensors:
- Dirt and Debris: Dust or cobwebs on the lens can block the beam.
- Misalignment: Sensors not facing each other will not communicate properly.
- Electrical Interference: Nearby devices or faulty wiring can disrupt the signal.
- Physical Damage: Cracked lenses or bent brackets can impair function. For more on this, see how to fix garage door sensor bracket bending.
- Temperature Fluctuations: Extreme heat or cold may cause sensors to shift or malfunction. Learn more about this issue in how to fix garage door sensor from shifting due to temperature.
Tips for Maximizing Sensor Performance
- Clean the sensor lenses regularly to prevent dust buildup.
- Check alignment after any impact or if the door is not operating correctly.
- Secure all wiring and inspect for signs of wear or corrosion.
- Install sun shields or reposition sensors if sunlight interference is suspected.
- Test the system monthly to ensure reliable operation.
If you notice the sensor light turning off and on unexpectedly, refer to why is my garage door sensor light turning off and on for targeted troubleshooting tips.
When to Replace or Upgrade Your Sensors
If repeated testing and troubleshooting do not resolve range issues, it may be time to replace your sensors. Modern sensors are more resistant to interference and offer improved reliability. Upgrading to a new set can restore safety and convenience, especially if your current units are over a decade old or show visible signs of damage.
Always purchase sensors compatible with your garage door opener model. Consult your manufacturer’s documentation or contact a professional installer if you are unsure about compatibility.
Frequently Asked Questions
How often should I test my garage door sensors?
It’s recommended to test your sensors at least once a month, or anytime you notice irregular door operation. Regular checks help ensure ongoing safety and compliance with local regulations.
What should I do if my sensors are aligned but the door still won’t close?
If alignment is correct and lenses are clean, inspect the wiring for damage and check for interference from sunlight or nearby electronics. If the problem persists, resetting the sensors or consulting a professional may be necessary.
Can weather affect garage door sensor range?
Yes, extreme temperatures, humidity, or direct sunlight can impact sensor performance. Temperature changes may cause brackets to shift, while moisture can fog the lenses. Regular maintenance and proper installation help minimize these effects.
Are all garage door sensors interchangeable?
No, sensors are typically designed to work with specific opener models and brands. Always verify compatibility before purchasing replacements.
Conclusion
Maintaining the proper range and alignment of your garage door sensors is essential for safety and reliable operation. By following the steps outlined in this guide, you can confidently evaluate, test, and optimize your system. Regular maintenance and prompt attention to issues will help keep your garage door functioning smoothly for years to come.


