Garage door safety sensors are essential for the reliable and safe operation of any automated garage system. When these sensors malfunction, the door may refuse to close, reverse unexpectedly, or display confusing error lights. For professionals and advanced DIYers, understanding how to troubleshoot Guardian garage door sensors is crucial for efficient repairs and customer satisfaction.
This guide provides a comprehensive approach to diagnosing and resolving common issues with Guardian safety sensors. From interpreting LED indicators to checking wiring and alignment, each step is designed to help you restore full functionality quickly and safely. If you’re dealing with mounting challenges, sensor wiring, or interference problems, you’ll also find helpful resources linked throughout this article, such as guidance on how to fix garage door sensor mounting on metal studs.
Understanding Guardian Sensor Operation and Error Indicators
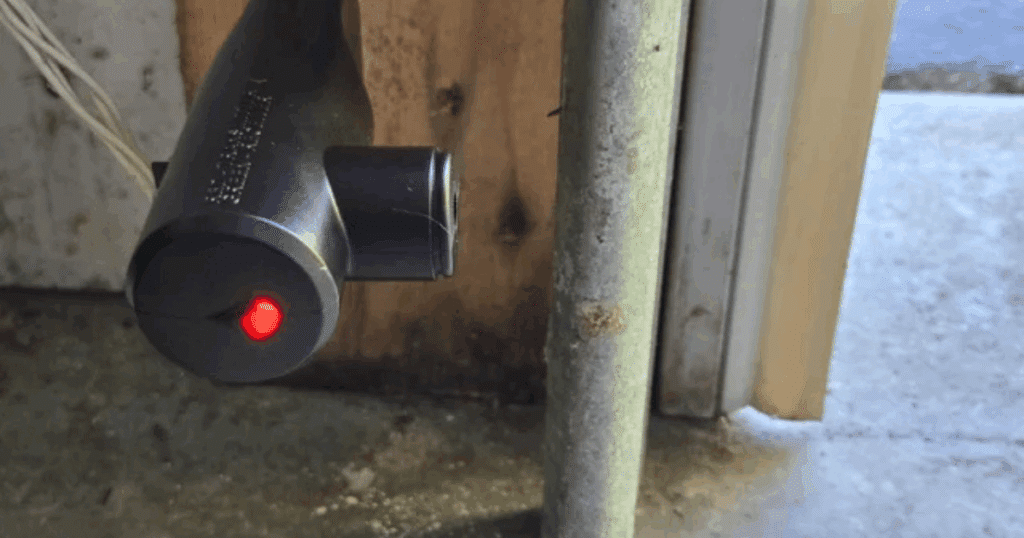
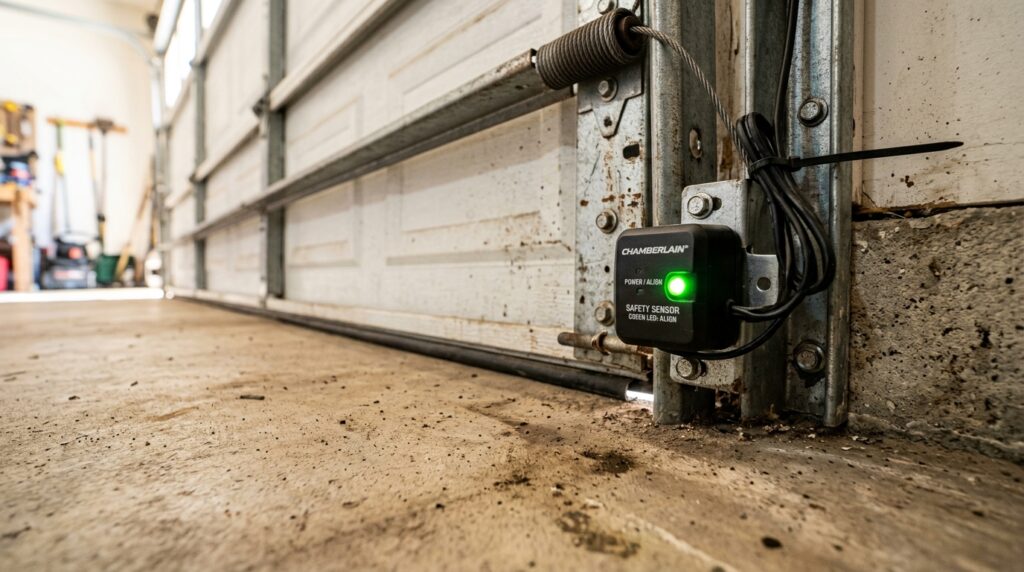
Guardian garage door sensors operate using an infrared beam between two units mounted on either side of the door. If the beam is interrupted or the sensors lose alignment, the opener will prevent the door from closing, ensuring safety. The sensors typically feature LED indicators—one green and one red—to communicate their status. Recognizing what these lights mean is the first step in diagnosing sensor problems:
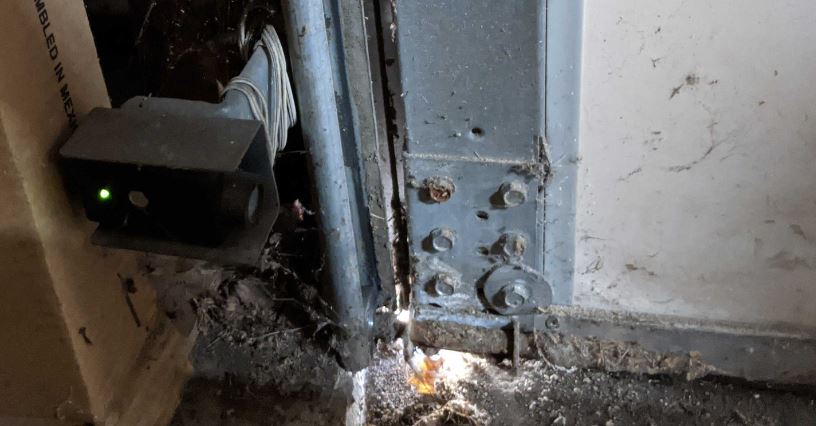
- Solid Green LED: The sensor is powered and aligned correctly.
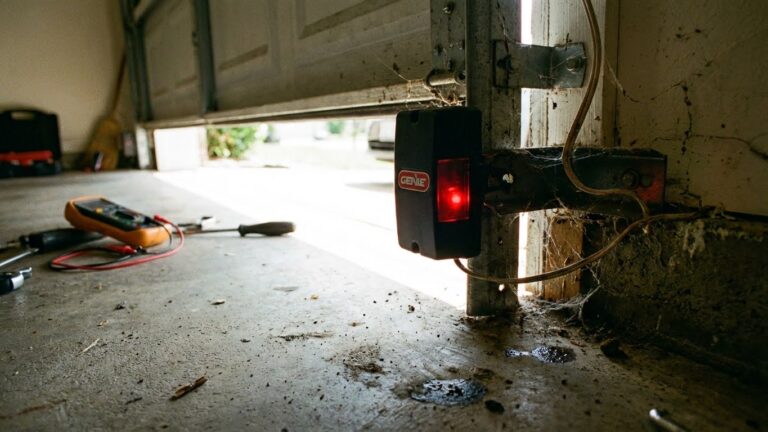
- Solid Red LED: The receiving sensor is aligned and the beam is unbroken.
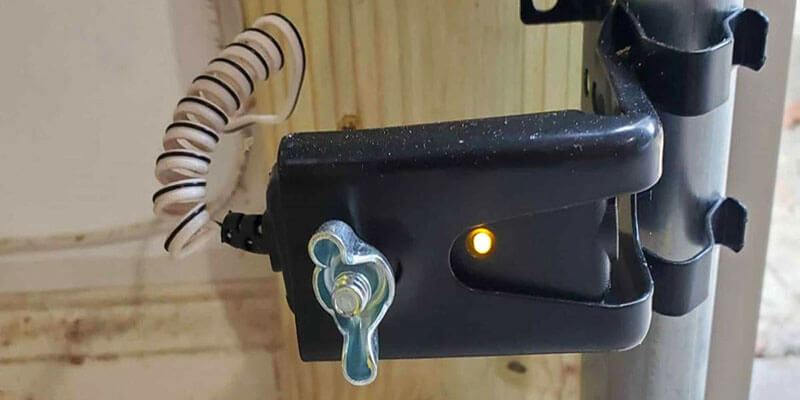
- Blinking Red or Green LED: Indicates misalignment, obstruction, or wiring issues.
- No LED: Power loss or severe wiring fault.
Understanding these signals will help you pinpoint the root cause before moving on to more advanced troubleshooting steps.
Initial Troubleshooting: Visual Inspection and Basic Tests
Start with a thorough visual inspection. Remove any obvious obstructions—such as leaves, cobwebs, or debris—from the sensor path. Check that both sensors are firmly mounted and facing each other directly. Even a slight bump or vibration can knock them out of alignment, causing the system to malfunction.
Next, gently clean the sensor lenses with a soft, dry cloth. Dirt or condensation on the lens can block the infrared beam, resulting in a blinking LED or a non-responsive sensor. If the sensors are mounted on metal studs or brackets, ensure that there is no corrosion or loose hardware. For more details on mounting solutions, refer to this guide on how to fix garage door sensor mounting on metal studs.
Checking Sensor Alignment and LED Status
Proper alignment is critical for Guardian sensors. Both units must be at the same height and aimed directly at each other. To verify alignment:
- Observe the LED indicators. If either light is blinking, gently adjust the sensor until the light turns solid.
- Tighten the mounting hardware once alignment is achieved to prevent future movement.
- If the LED does not stabilize, check for subtle obstructions or reflective surfaces that could interfere with the beam.
For a hands-on method to check alignment without specialized tools, see this resource on how to test garage door sensor alignment without tools.
Wiring and Power Issues: Advanced Troubleshooting Steps
If alignment and cleaning do not resolve the issue, the next step is to inspect the wiring. Guardian sensors are connected to the opener via low-voltage wires, which can become loose, frayed, or corroded over time. Follow these steps:
- Turn off power to the opener before handling any wires.
- Check the connections at both the sensor and opener terminals. Tighten any loose screws and ensure wires are fully inserted.
- Look for visible damage, such as nicks or cuts in the insulation. If found, repair using appropriate connectors or electrical tape. For guidance, see how to fix garage door sensor wiring using electrical tape.
- If the wiring appears intact but the sensor still does not power up, test the voltage at the sensor terminals using a multimeter. A reading below the expected range indicates a power supply issue.
In some cases, wire nuts or connectors may be the culprit. Learn more about addressing these issues in the article on how to fix garage door sensor wire nuts.
Addressing Sensor Interference and Environmental Factors
Interference from external sources can disrupt Guardian sensor performance. LED bulbs, direct sunlight, or nearby electrical equipment may cause erratic behavior or false error signals. To minimize interference:
- Position sensors away from strong light sources or shield them with small hoods.
- Replace nearby LED bulbs with garage-rated alternatives if interference is suspected. For more on this, visit the guide on how to fix garage door sensor interference from LED bulbs.
- Ensure that sensor wiring is routed separately from high-voltage lines to avoid electrical noise.
Environmental factors such as extreme temperatures or moisture can also affect sensor reliability. Ensure that all connections are dry and protected from the elements.
When to Replace Guardian Garage Door Sensors
If all troubleshooting steps fail and the sensors still do not function correctly, replacement may be necessary. Common signs that indicate a sensor has failed include:
- No LED activity despite confirmed power and wiring
- Persistent blinking or error codes after realignment and cleaning
- Physical damage to the sensor housing or lens
When replacing sensors, always use compatible Guardian parts and follow the manufacturer’s installation instructions for best results. For professionals, keeping spare sensor lights on hand can minimize downtime and improve service efficiency.
Additional Resources and Professional Tips
Professionals can benefit from staying updated on the latest troubleshooting techniques and product updates. For further reading, consider the in-depth guide on advanced troubleshooting for garage door sensor issues. Regular maintenance, such as periodic cleaning and inspection, can prevent many common problems before they escalate.
Documenting each step of your troubleshooting process not only helps with future repairs but also builds trust with clients by demonstrating thoroughness and expertise.
Frequently Asked Questions
What does a blinking red light on a Guardian garage door sensor mean?
A blinking red LED typically indicates that the sensors are misaligned, the infrared beam is blocked, or there is a wiring issue. Realign the sensors and clear any obstructions. If the problem persists, inspect the wiring for damage or loose connections.
Can LED bulbs interfere with Guardian garage door sensors?
Yes, certain LED bulbs can emit electromagnetic interference that disrupts sensor operation. If you notice erratic sensor behavior after installing new bulbs, try switching to garage-rated LEDs or relocating the bulbs away from the sensor path.
How can I test Guardian sensor alignment without special tools?
You can check alignment by observing the sensor LEDs. Adjust the sensors until both lights are solid (not blinking). For a step-by-step method, refer to this article on testing garage door sensor alignment without tools.