Garage door sensors are a crucial safety feature, preventing accidents and ensuring your door operates smoothly. When these sensors malfunction, it can leave your garage door stuck open or closed, creating both inconvenience and security concerns. Understanding how to troubleshoot Raynor garage door sensors can help you quickly identify and resolve common issues, saving you time and potentially avoiding costly service calls.
This guide will walk you through the most effective steps for diagnosing and fixing problems with Raynor garage door sensors. Whether your door refuses to close, the sensor lights are blinking, or you suspect misalignment, the following information will help you restore proper function. For those dealing with unique installation challenges, such as mounting sensors on metal studs, you may also find our resource on how to fix garage door sensor mounting on metal studs useful.
Understanding Raynor Garage Door Sensors
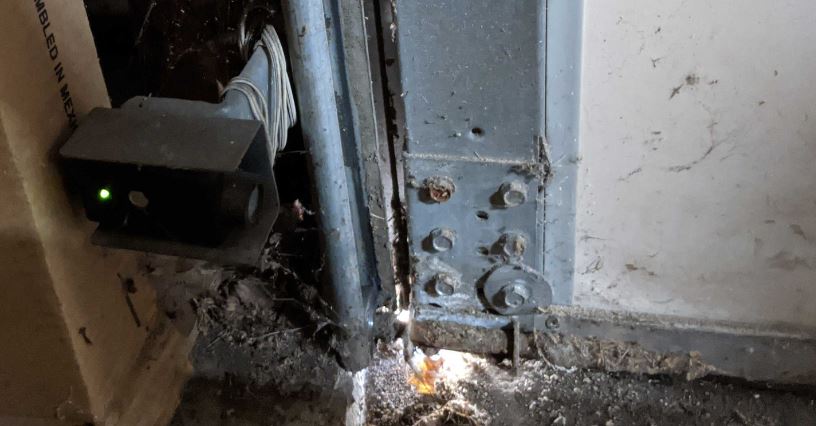
Raynor garage door sensors, often referred to as “photo eyes,” are positioned on either side of the garage door, a few inches above the ground. Their primary function is to detect obstructions in the door’s path. If the sensors do not detect a clear line of sight, the door will not close, preventing potential accidents.
Each sensor typically has an LED indicator. A steady light means the sensor is working properly, while a blinking or off light indicates a problem. Knowing what these signals mean is the first step in resolving sensor issues.
Common Signs of Sensor Problems
Before diving into troubleshooting Raynor garage door sensors, it’s important to recognize the symptoms of a malfunction:
- The garage door won’t close or reverses immediately after attempting to close.
- The sensor lights are blinking or not illuminated at all.
- You hear a beeping sound from the opener, indicating a sensor error.
- The door operates normally when you press and hold the wall button, but not with the remote.
Identifying these symptoms early can help you focus your troubleshooting efforts and avoid unnecessary repairs.
Step-by-Step Guide to Diagnosing Sensor Issues
Follow these steps to systematically address the most frequent sensor problems:
1. Inspect for Physical Obstructions
Start by checking for any objects, dirt, or debris blocking the sensor’s path. Even a small spider web or leaf can disrupt the infrared beam, causing the system to malfunction. Gently clean the sensor lenses with a soft, dry cloth.
2. Check Sensor Alignment
Misalignment is a common cause of sensor failure. Both sensors must face each other directly for the beam to function. If the LED on one or both sensors is blinking, try adjusting their position until both lights remain steady. Tighten the mounting brackets once aligned to prevent them from shifting out of place.
3. Examine Sensor Wiring
Loose or damaged wires can interrupt the signal between the sensors and the garage door opener. Inspect the wiring at the sensors and along the wall to the opener. If you notice frayed or disconnected wires, you may need to repair or replace them. For tips on handling wiring issues, see our article on how to fix garage door sensor wiring using electrical tape.
4. Test for Sunlight Interference
Direct sunlight can sometimes interfere with the sensor’s infrared beam, especially during certain times of day. If you notice that the door only malfunctions when the sun is low, consider shielding the sensors or repositioning them slightly. For more details, review our resource on how to fix garage door sensor when the sun is low.
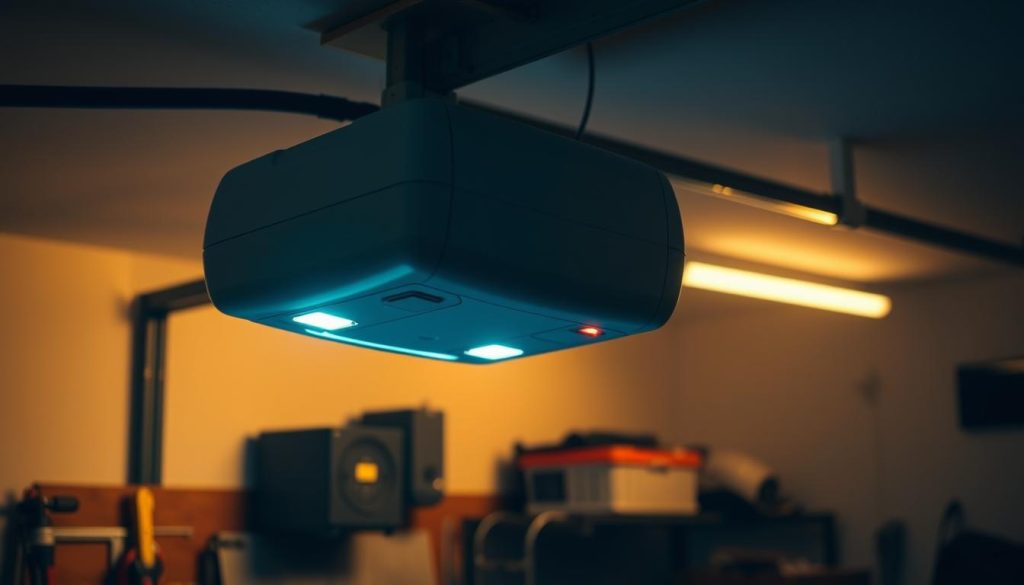
5. Confirm Power Supply
If neither sensor light is on, check that the opener is receiving power. Inspect the outlet, circuit breaker, and any fuses. Sometimes, simply resetting the opener by unplugging it for a minute can resolve minor electrical glitches.
Advanced Troubleshooting Tips
If the basic steps above do not resolve your issue, consider these additional strategies:
- Swap the sensors: If you have access to another set of compatible sensors, try swapping them to determine if the issue is with the sensor or the wiring.
- Check the opener’s logic board: A faulty logic board can mimic sensor problems. If all else fails, consult your opener’s manual or contact a professional for diagnosis.
- Look for moisture damage: Water exposure can corrode sensor components. If you notice condensation or rust, replacing the sensors may be necessary.
For older models, troubleshooting steps may differ. If you have a legacy system, our article on how to troubleshoot older garage door sensor models provides tailored advice.
When to Replace Your Sensors
Sometimes, sensors are simply beyond repair. If you’ve tried all the above steps and the problem persists, it may be time to invest in new sensors. Signs that replacement is necessary include:
- Physical damage to the sensor housing or lens
- Persistent blinking or no lights despite proper wiring and alignment
- Intermittent operation that cannot be resolved with cleaning or adjustment
Upgrading to a new set can restore reliable operation and enhance safety. If you’re considering an upgrade, make sure to select sensors compatible with your Raynor opener model.

Additional Resources for Sensor Troubleshooting
For more in-depth troubleshooting, you may want to consult manufacturer documentation or seek advice from professionals. There are also comprehensive guides available online, such as this detailed overview of garage door sensor troubleshooting, which covers a variety of brands and common issues.
If you’re experiencing synchronization problems between units, our article on how to fix garage door sensor sync issues may provide the solution you need.
Frequently Asked Questions
Why is my Raynor garage door sensor light blinking?
A blinking sensor light usually indicates misalignment or an obstruction. Clean the lenses and adjust the sensors until both lights are steady. If the issue persists, check the wiring for damage.
Can sunlight affect my garage door sensors?
Yes, direct sunlight can interfere with the infrared beam, especially during sunrise or sunset. If you suspect sunlight is causing issues, try shading the sensors or adjusting their position.
What should I do if cleaning and aligning the sensors doesn’t fix the problem?
If basic troubleshooting does not resolve the issue, inspect the wiring and power supply. If the sensors are old or damaged, replacement may be necessary. For persistent problems, consider consulting a professional technician.
Is it safe to bypass the sensors temporarily?
While some openers allow you to override the sensors by holding the wall button, this is not a permanent solution and can compromise safety. Always address the root cause of the sensor issue as soon as possible.
Conclusion
Knowing how to troubleshoot Raynor garage door sensors empowers you to address common problems quickly and safely. By following the steps outlined above—cleaning, aligning, checking wiring, and considering environmental factors—you can restore your garage door’s functionality and ensure continued safety. For persistent or complex issues, don’t hesitate to consult a professional or refer to additional resources for guidance.