Accurate garage door cable measurement is essential for safe and effective repairs or replacements. Whether you’re a homeowner tackling a DIY project or a technician looking for a refresher, understanding how to measure garage door cables correctly can save time, money, and prevent potential hazards. This article provides a clear, practical walkthrough for measuring cables on both torsion and extension spring systems, including tips for choosing the right replacement and maintaining cable health.
Before diving into the steps, it’s important to note that working with garage door cables involves tensioned components. Always prioritize safety, and if you’re unsure, consult a professional. For those interested in maximizing cable lifespan, check out these garage door cable best practices for additional tips.
Why Proper Cable Sizing Matters
Garage door cables are responsible for lifting and lowering the door smoothly. If the cable is the wrong length or thickness, it can cause uneven movement, premature wear, or even dangerous failures. Accurate measurement ensures:
- The door operates safely and efficiently
- Replacement cables fit perfectly, reducing installation issues
- Longer lifespan for both cables and other door components
For a deeper look at common cable issues and how to address them, see this guide on garage door cable problems.
Tools and Safety Gear Needed
Before starting your cable measurement, gather the following:
- Tape measure (preferably flexible and at least 10 feet long)
- Caliper or micrometer (for measuring cable diameter)
- Gloves and safety glasses
- Pen and notepad for recording measurements
Always disconnect the garage door opener and ensure the door is in the down position before working on cables. If you’re dealing with a broken or frayed cable, avoid operating the door until repairs are complete.
Identifying Your Garage Door Cable Type
Garage doors typically use one of two cable systems:
- Torsion spring cables: Found on doors with torsion springs mounted above the door. These cables attach to the bottom bracket and wrap around a drum as the door opens.
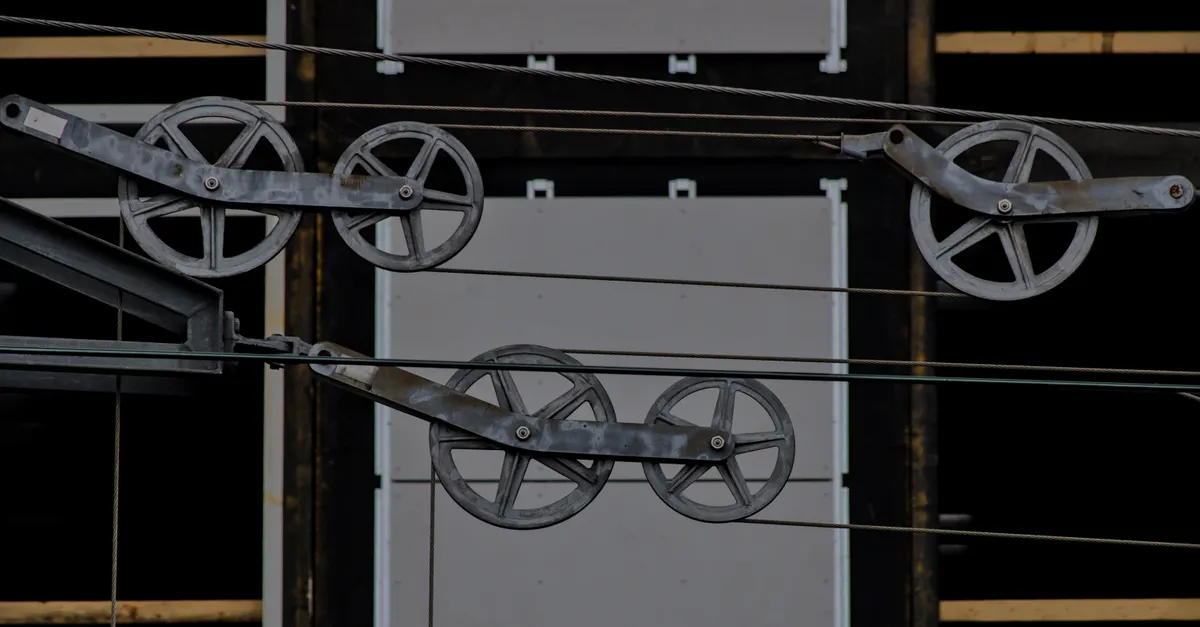
- Extension spring cables: Used with extension springs located along the horizontal tracks. These cables run through pulleys and attach to the springs and door bottom.
Knowing your system type is crucial, as measurement methods and cable specifications differ between the two.
Step-by-Step Cable Measurement for Torsion Spring Systems
For torsion spring setups, follow these steps to measure your cable accurately:
-
Lower the Door Completely
Ensure the garage door is fully closed and secured. Disconnect the opener to prevent accidental movement. -
Remove the Old Cable (If Necessary)
If you’re replacing an existing cable, carefully detach it from the bottom bracket and drum. Wear gloves to protect your hands from frayed wires. -
Measure the Cable Length
Lay the cable flat and use a tape measure to determine its total length from end to end. If the cable is broken, measure both pieces and add the lengths together. -
Check the Cable Diameter
Use a caliper or micrometer to measure the thickness of the cable. Common diameters are 1/8″, 3/32″, or 5/32″. -
Record the Drum and Door Height
Note the drum size (often stamped on the drum itself) and the height of your garage door. These factors influence the correct cable length.
For most residential doors, the cable length is usually the door height plus 18 inches. However, always verify with your door’s specifications or manufacturer guidelines.
Extension Spring Cable Measurement Process
Extension spring systems use a slightly different approach:
-
Secure the Door
Make sure the door is fully closed and clamped in place. -
Remove and Straighten the Cable
Detach the cable from the bottom bracket and pulley. Lay it out straight for accurate measuring. -
Measure the Full Length
Use your tape measure to determine the total length, including any loops or stops at the ends. -
Determine Cable Thickness
Measure the diameter as with torsion cables.
Extension spring cables are typically longer than torsion cables, often matching the full length of the horizontal track plus a few extra inches for proper tensioning.

Choosing the Right Replacement Cable
Once you have your measurements, selecting the correct cable is straightforward. Match the length and diameter to your original cable, and ensure the ends (loops, stops, or fittings) are compatible with your door hardware. If you’re unsure, consult your garage door’s manual or contact the manufacturer.
For those looking to prevent future issues, regular inspection and maintenance are key. Learn more about garage door cable corrosion prevention to keep your system in top shape.
Tips for Accurate Garage Door Cable Measurement
- Always measure with the cable fully straightened, not while it’s still installed or coiled.
- If your cable is frayed or broken, measure both pieces and add the lengths together.
- Double-check cable diameter with a caliper for precision.
- Record all measurements before discarding the old cable.
- When in doubt, bring your old cable to a hardware store for comparison.
Safety and Maintenance Considerations
Handling garage door cables can be hazardous due to the high tension involved. If you’re not comfortable with the process, it’s best to hire a professional. For those who want to attempt their own repairs, follow safety protocols and use the right tools.
Routine maintenance, such as lubricating pulleys and inspecting for wear, can extend the life of your cables. If you encounter persistent issues, refer to this resource on how to fix garage door cable for troubleshooting and repair advice.
Additional Resources and Expert Advice
For a comprehensive breakdown of cable types, installation tips, and troubleshooting, see this in-depth guide to garage door cables. Staying informed helps you make the best decisions for your home and safety.
Frequently Asked Questions
How do I know if I have a torsion or extension spring system?
Torsion springs are mounted above the garage door and use cables that wrap around a drum. Extension springs run parallel to the horizontal tracks and use pulleys. Identifying your system helps determine the correct cable measurement process.
What happens if my replacement cable is too short or too long?
If the cable is too short, the door may not close fully or could become unbalanced. If it’s too long, the cable may slacken, causing improper operation or safety risks. Always use precise measurements for best results.
Can I reuse old garage door cables?
It’s not recommended to reuse old cables, as they may have hidden damage or wear. Always replace with new, properly sized cables to ensure safe and reliable operation.
How often should I inspect my garage door cables?
Inspect cables at least twice a year for signs of fraying, rust, or wear. Regular maintenance and timely replacement help prevent unexpected failures and extend the life of your garage door system.