Painting your garage can give the space a fresh, clean look, but it can also lead to unexpected issues with your garage door sensors. Many homeowners find that after a painting project, their garage door refuses to close properly or the sensor lights start blinking. This is a common problem, and it’s often caused by paint or debris interfering with the sensor’s operation. Understanding how to fix garage door sensor after painting is essential for restoring your garage door’s safety and convenience.
In this guide, we’ll walk through the most effective steps to diagnose and resolve sensor issues that arise after painting. We’ll also highlight common mistakes, offer troubleshooting tips, and point you to additional resources for more complex repairs. If you’re dealing with related challenges, such as how to fix garage door sensor mounting on metal studs, you’ll find helpful information on our site as well.
Why Painting Can Affect Garage Door Sensors
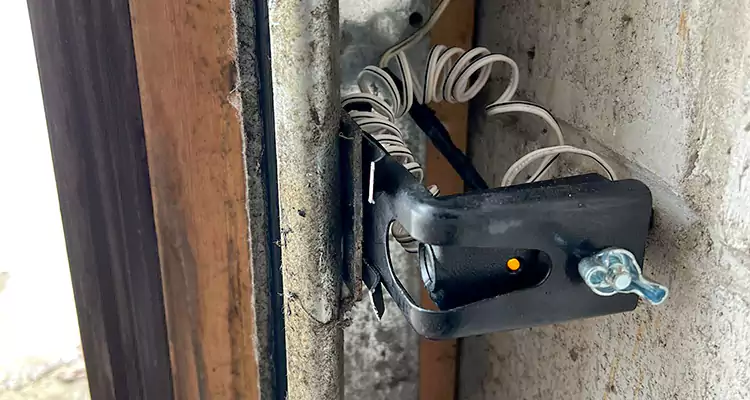
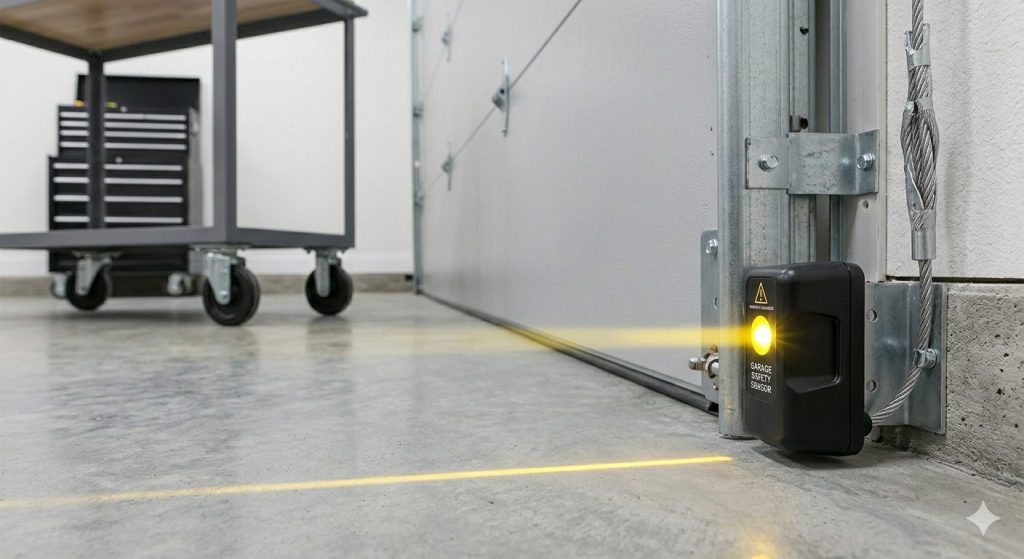
Garage door sensors are designed to detect obstacles and prevent the door from closing if something is in the way. These sensors use an infrared beam that travels between two units, typically mounted near the bottom of the door tracks. When you paint your garage, several issues can arise:
- Paint splatter or overspray can coat the sensor lens, blocking the infrared beam.
- Masking tape or painter’s tape left on the sensor can obstruct its view.
- Accidental bumps or movement during painting can misalign the sensors.
- Dust, debris, or paint chips may settle on the sensors, interfering with their function.
These problems can cause the garage door to stop working correctly, with the opener refusing to close the door or the sensor lights blinking as a warning.
Step-by-Step Guide: Restoring Sensor Function After Painting
Follow these steps to get your garage door sensors working again after a painting project:
1. Inspect the Sensor Lenses for Paint or Debris
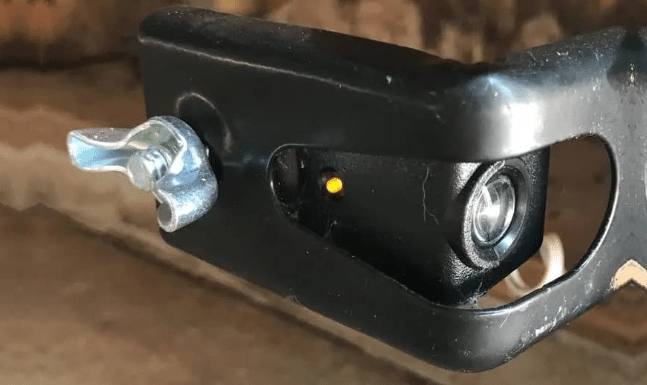
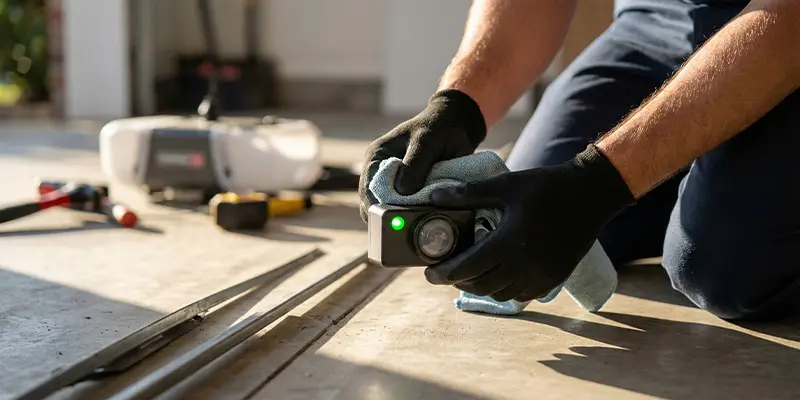
The most common issue after painting is a blocked lens. Carefully examine both sensor units for any visible paint, dust, or residue. Use a soft, dry cloth to gently wipe the lenses. If paint has dried on the lens, dampen the cloth slightly with water and gently rub until the lens is clear. Avoid using harsh chemicals, as they can damage the sensor.
2. Remove Any Tape or Masking Materials
Sometimes, painter’s tape is used to protect sensors during a paint job. If tape is left on or near the sensors, remove it completely. Even a small piece can block the sensor’s beam and prevent the door from closing.
3. Check and Realign the Sensors
Painting often involves moving ladders, tools, or other objects around the garage. This can accidentally bump the sensors out of alignment. Both sensors should face each other directly, with their lenses at the same height. Most sensors have indicator lights that show if they are aligned (usually a steady green or amber light). If the light is blinking or off, gently adjust the sensors until the light stays solid.
For more details on sensor alignment and troubleshooting, see this comprehensive guide to garage door sensor troubleshooting.
4. Clean the Area Around the Sensors
Paint dust and debris can accumulate around the sensor brackets. Use a vacuum or a soft brush to clear away any particles that might interfere with the sensor’s operation. Make sure nothing is blocking the path between the two sensors.
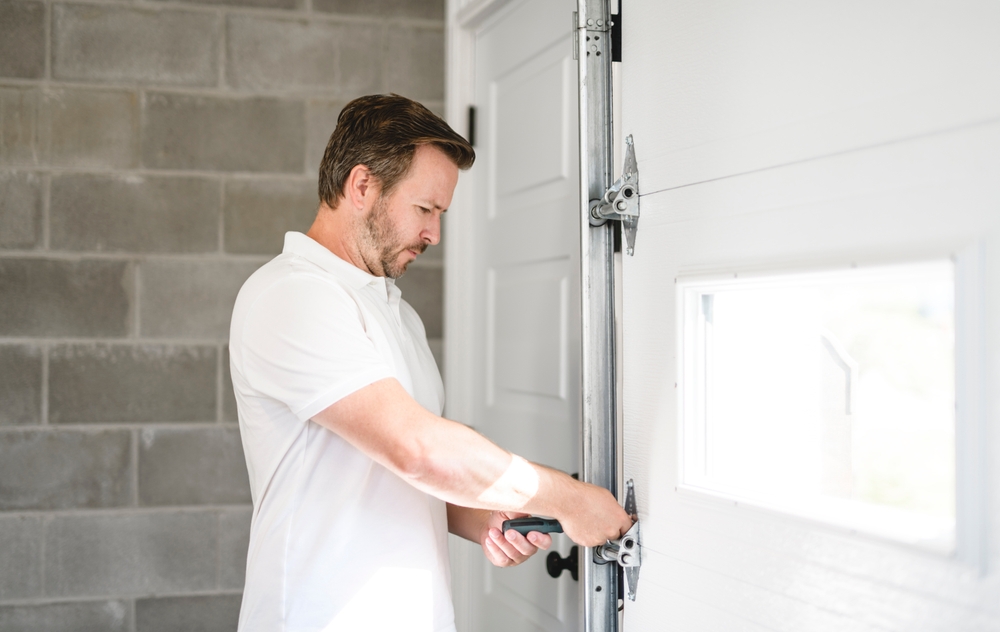
5. Test the Garage Door
After cleaning and realigning the sensors, test the garage door by pressing the wall button or remote. The door should close smoothly. If the problem persists, check the sensor lights again and repeat the cleaning and alignment steps if necessary.
If you notice the sensor light blinking twice, you may want to consult our article on why is my garage door sensor light blinking twice for more targeted troubleshooting.
Advanced Troubleshooting for Persistent Sensor Issues
If you’ve followed the steps above and your garage door sensors are still not working, there may be a deeper issue. Consider these additional troubleshooting tips:
- Check the wiring: Painting projects sometimes disturb or loosen sensor wires. Inspect the wires for any visible damage or loose connections. If you find an issue, you might benefit from our guide on how to fix garage door sensor wiring using electrical tape.
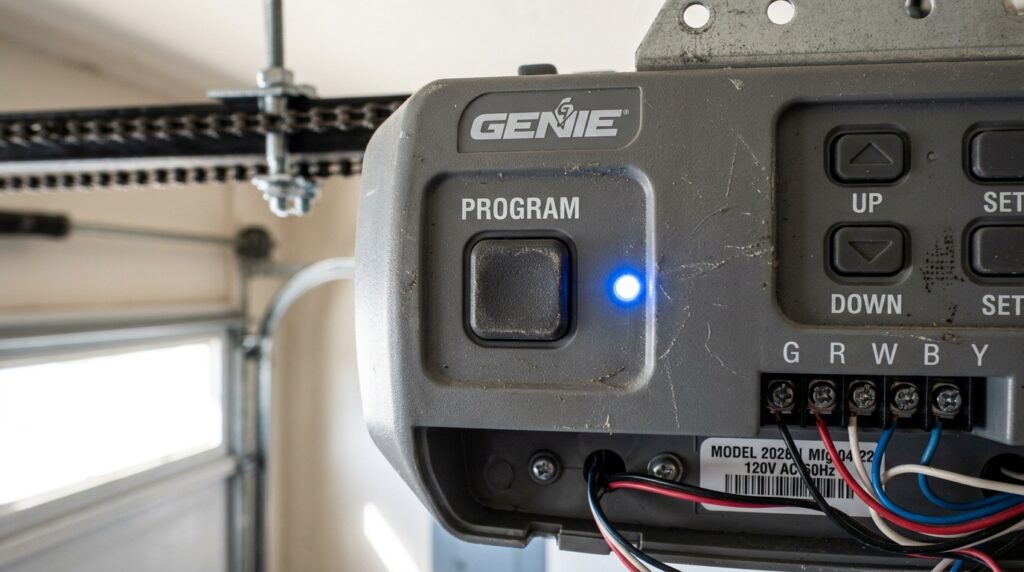
- Look for sensor light patterns: Many sensors use blinking patterns to indicate specific problems. Refer to your garage door opener’s manual or our article on why is my garage door sensor transmitter dead for more information on interpreting these signals.
- Listen for unusual noises: A humming or buzzing sound from the sensor could indicate electrical issues. Learn more about this in our resource on how to fix garage door sensor hum or buzz.
If none of these steps resolve the problem, the sensors themselves may be faulty and require replacement. In that case, purchasing new sensor lights can be a practical solution.
Preventing Sensor Problems During Future Painting Projects
To avoid similar issues the next time you paint your garage, take these preventive steps:
- Cover sensors carefully: Use a small plastic bag or wrap to shield the sensors from paint, securing it with painter’s tape. Be sure to remove the covering as soon as the paint is dry.
- Avoid direct contact: Keep ladders, brushes, and other tools away from the sensor area to prevent accidental bumps or misalignment.
- Inspect sensors immediately after painting: Before using the garage door, check the sensors for any paint splatter or debris and clean as needed.
When to Call a Professional
Most sensor issues after painting can be resolved with cleaning and realignment. However, if you’ve tried all the steps above and your garage door still won’t operate correctly, it may be time to call a professional technician. Persistent problems could indicate internal sensor damage or wiring issues that require specialized tools and expertise.
Professional help is especially important if you notice electrical shorts, exposed wires, or if the sensors are physically damaged. Attempting to repair these issues without proper training can be dangerous.
Frequently Asked Questions
How do I know if paint is blocking my garage door sensor?
If your garage door won’t close and the sensor lights are blinking or off, inspect the sensor lenses for any paint or residue. Even a thin layer of paint can block the infrared beam. Cleaning the lenses with a soft cloth usually resolves the issue.
What should I do if my garage door sensor light keeps blinking after cleaning?
Continuous blinking often means the sensors are misaligned or there’s still an obstruction. Double-check that both sensors are facing each other at the same height and that nothing is blocking the beam. If the problem persists, check the wiring and consult your opener’s manual for specific error codes.
Can I use any cleaner on my garage door sensors?
It’s best to use a soft, dry or slightly damp cloth. Avoid harsh chemicals or abrasive cleaners, as these can damage the sensor lens and affect performance.
Is it safe to operate the garage door with malfunctioning sensors?
No. The sensors are a critical safety feature designed to prevent injury or damage. If the sensors aren’t working, avoid using the automatic opener until the issue is resolved.
Conclusion
Addressing sensor issues after painting your garage is a straightforward process when you know what to look for. By cleaning the lenses, removing any tape, realigning the sensors, and checking for wiring problems, you can restore your garage door’s functionality and safety. For more in-depth troubleshooting, explore resources like the troubleshooting guide for garage door sensors or browse our related articles for specific repair scenarios. Taking preventive measures during your next painting project will help you avoid these hassles in the future.