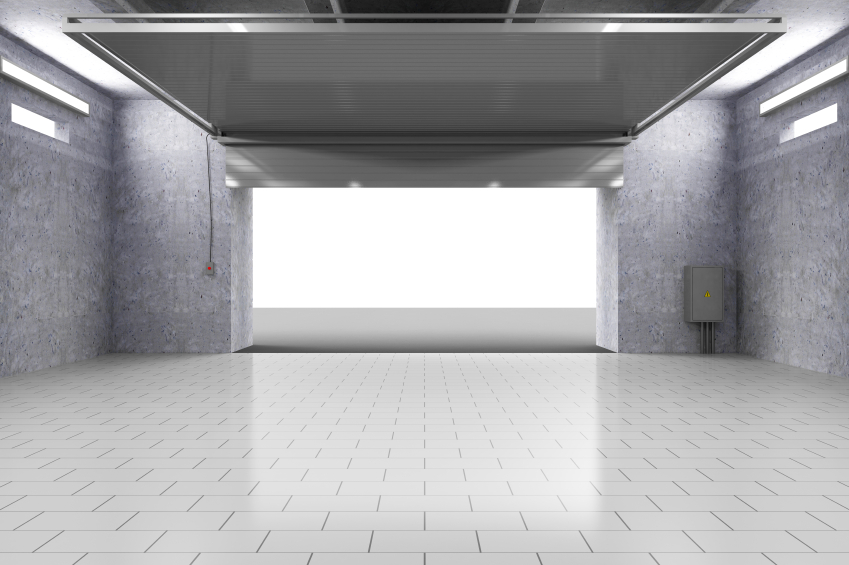
Adjusting the open limit on your garage door opener is essential for both safety and functionality. If your garage door opens too far or not enough, it can cause unnecessary strain on the system, reduce security, or even damage the door and opener. Understanding how to set the open limit ensures your door operates smoothly and reliably every time.
Whether you’re installing a new opener or troubleshooting an existing one, knowing the proper steps for adjusting the open limit can save you time and prevent costly repairs. This article will walk you through the process, highlight common mistakes, and provide practical tips for maintaining your garage door system.
If you’re also dealing with sensor issues or want to learn more about related adjustments, check out our guide on how to fix garage door sensor mounting on metal studs for additional troubleshooting tips.
Why Adjusting the Open Limit Matters
The open limit setting on a garage door opener determines how far the door travels when opening. If set incorrectly, your door might not open fully, leaving you with limited clearance. Conversely, if the limit is set too high, the door could hit the opener’s stop bolt or even cause the door to jam. Proper adjustment helps:
- Prevent damage to the door and opener mechanism
- Enhance safety by ensuring the door doesn’t overextend
- Improve convenience by allowing vehicles to enter and exit smoothly
- Increase the lifespan of your garage door system
Tools and Preparation for Garage Door Limit Adjustment
Before you begin, gather the following tools and take necessary safety precautions:
- Stepladder (to reach the opener unit)
- Flathead or Phillips screwdriver (depending on your opener model)
- Owner’s manual (for reference to your specific opener)
- Protective gloves and safety glasses
Always disconnect power to the opener before making adjustments to avoid accidental activation. If you’re unsure about any step, consult a professional technician.
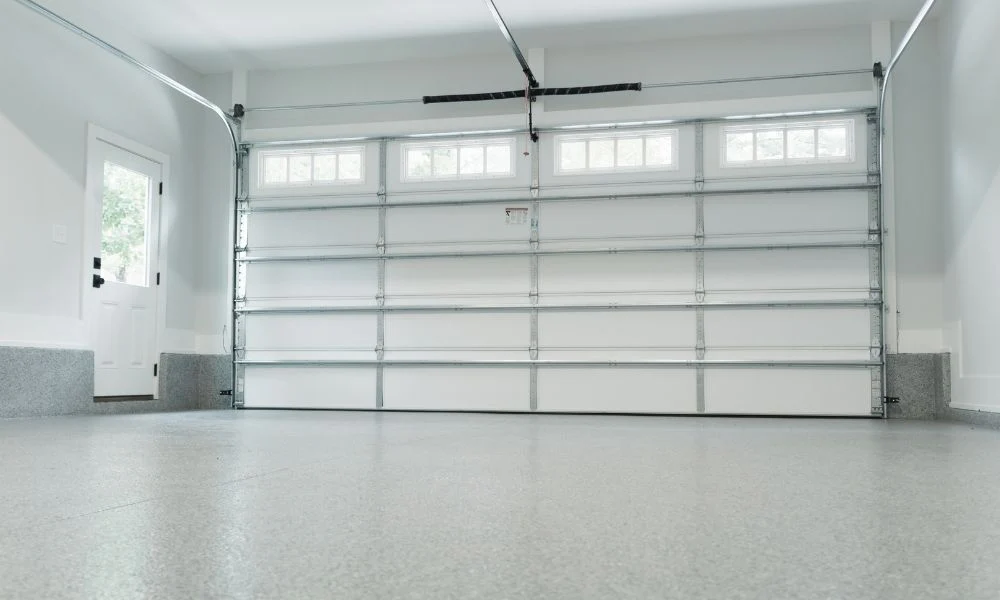
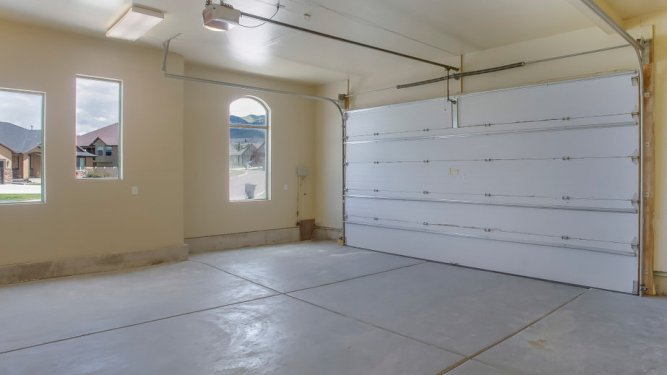
Step-by-Step Guide to Setting the Garage Door Open Limit
The process for adjusting the open limit varies slightly depending on the brand and model of your opener, but most follow a similar approach. Here’s a general method you can use:
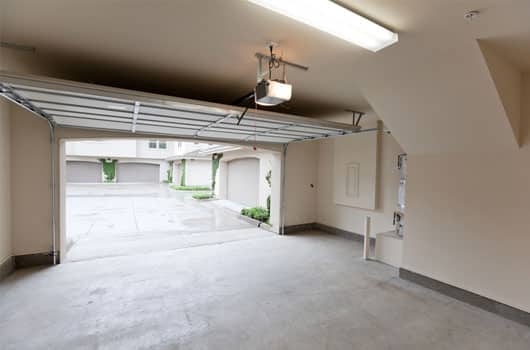
1. Locate the Limit Adjustment Screws or Dials
Most openers have two adjustment screws or dials labeled “up” (open) and “down” (close). These are usually found on the side or back of the opener motor housing. Consult your manual if you have trouble locating them.
2. Test the Current Open Limit
Reconnect power and use the wall control or remote to open the door. Observe how far the door travels and note whether it stops too soon or goes too far.
3. Adjust the Open Limit
- Turn the “up” or “open” screw/dial in small increments (usually 1/4 turn at a time).
- Increase the limit if the door doesn’t open far enough; decrease if it opens too much.
- After each adjustment, operate the door to test the new setting.
Repeat this process until the door opens to the desired height without straining the opener or hitting the stop bolt.
4. Fine-Tune and Test Safety Features
Once the open limit is set, test the door’s safety reversal system. Place a small object in the door’s path and ensure it reverses when closing. Adjust the force and sensitivity settings if needed.
Common Issues When Adjusting Garage Door Open Limits
Sometimes, even after careful adjustment, you may encounter issues such as the door stopping halfway or not responding to changes. These problems can be caused by:
- Worn or damaged limit switches
- Obstructions in the door track
- Improperly aligned sensors
- Electrical issues or faulty wiring
For troubleshooting tips on doors that stop mid-cycle, refer to this comprehensive guide on garage doors stopping halfway.
Tips for Maintaining Proper Garage Door Operation
Regular maintenance can prevent most issues related to open limit settings. Here are some best practices:
- Lubricate moving parts with a recommended spray to reduce friction
- Inspect the tracks and rollers for debris or damage
- Test the opener’s safety features monthly
- Check the sensors and wiring for secure connections
- Consult your manual for specific maintenance intervals
When to Call a Professional
If you’ve followed all the steps and your door still doesn’t operate correctly, or if you notice unusual noises, erratic movement, or electrical problems, it’s best to consult a qualified technician. Attempting complex repairs without the right expertise can lead to further damage or injury.
For more information on related garage door sensor issues, you may also find our articles on why is my garage door sensor light blinking twice and how to fix garage door sensor wiring using electrical tape helpful.
Frequently Asked Questions
How often should I check or adjust my garage door open limit?
It’s a good idea to check the open and close limits at least once a year, or whenever you notice the door not opening or closing fully. Regular checks help maintain smooth operation and prevent wear on the opener.
What if my garage door still won’t open fully after adjusting the limit?
If the door doesn’t respond to adjustments, inspect for physical obstructions, damaged hardware, or sensor misalignment. Persistent issues may require professional inspection to diagnose electrical or mechanical faults.
Can I adjust the open limit on any garage door opener?
Most modern openers allow for open and close limit adjustments, but the method may vary. Always refer to your opener’s manual for model-specific instructions. If your opener lacks adjustment screws or dials, consult the manufacturer or a technician.
Why does my garage door reverse after reaching the open position?
This can happen if the open limit is set too high, causing the door to hit the stop bolt or opener’s physical limits. Reduce the open limit incrementally and test until the door stops at the correct position without reversing.
Conclusion
Setting the open limit on your garage door opener is a straightforward but important task that ensures safe, reliable operation. By following the steps outlined above and performing regular maintenance, you can avoid common problems and extend the life of your garage door system. For persistent issues or complex repairs, don’t hesitate to seek professional help.