If your Chamberlain garage door suddenly refuses to close or the lights on the sensors start blinking, it can be frustrating and inconvenient. Many homeowners encounter issues with their garage door safety sensors, but most problems can be resolved with a few simple checks and adjustments. This guide will walk you through practical steps for diagnosing and fixing common sensor issues, helping you restore reliable operation to your garage door system.
Understanding the basics of how these safety devices work is key to solving most malfunctions. We’ll cover visual indicators, alignment, wiring checks, cleaning, and when to consider replacement. Before you call a professional, try these troubleshooting techniques to save time and money.
For more advanced repairs, such as rewiring or checking for damaged cables, you might want to reference this guide on how to rewire garage door sensors. It provides step-by-step instructions for safely handling electrical components.
Understanding Chamberlain Sensor Operation
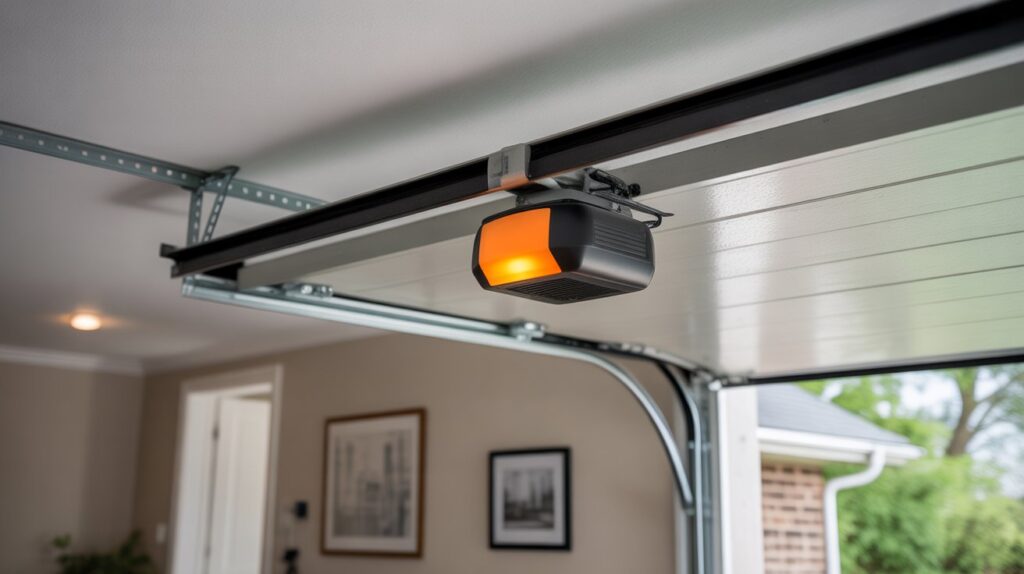
Chamberlain garage door openers use a pair of safety sensors—one transmitter and one receiver—mounted near the base of the door tracks. These devices create an invisible beam across the opening. If the beam is interrupted, the door will not close, preventing accidents or damage. When troubleshooting, it’s important to recognize how the system is designed to function:
- The transmitter emits an infrared beam.
- The receiver detects the beam on the opposite side.
- If the beam is blocked or the sensors are misaligned, the opener will stop or reverse the door.
- Indicator lights on each sensor provide clues about their status.
Common Signs of Sensor Problems
Before diving into fixes, it’s helpful to identify symptoms that point to sensor issues. Here are the most frequent indicators:
- The garage door won’t close unless you hold the wall button down.
- One or both sensor lights are off or blinking.
- The door reverses immediately after starting to close.
- Obvious obstructions or dirt on the sensor lenses.
If your door only closes when you press and hold the button, you may find this article on why does my garage door only close when I hold the button helpful for further troubleshooting.
Step-by-Step Guide to Diagnosing Sensor Issues
1. Inspect Sensor Lights and Connections
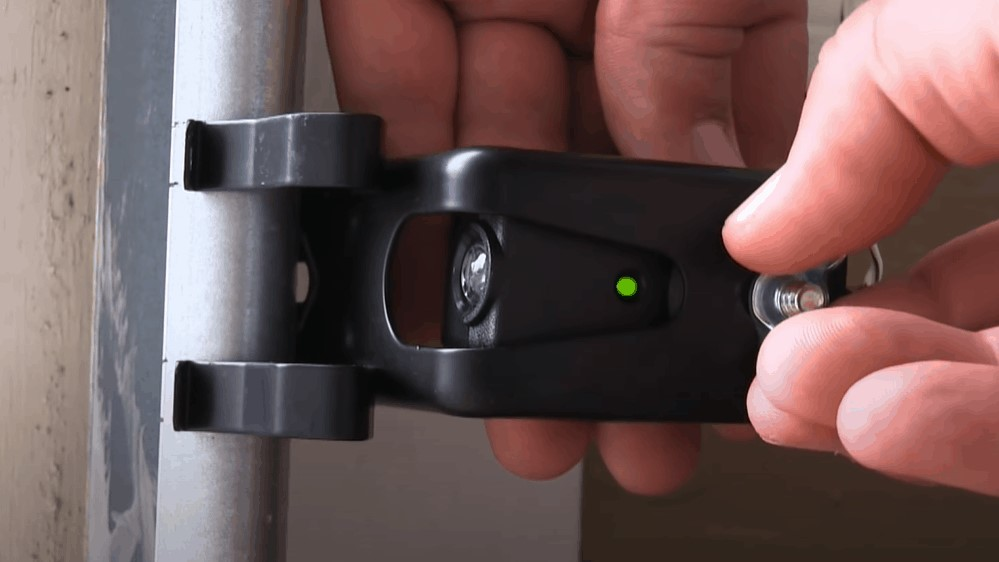
Start by checking the indicator lights on both sensors. Typically, a steady green or amber light means the sensor is powered and aligned. If one or both lights are off or flashing, there may be a power, alignment, or wiring problem.
- Ensure both sensors are securely attached to the track and not loose.
- Check for any visible damage to the sensor housings or wires.
- Make sure the wires are firmly connected at both the sensor and opener terminals.
2. Clean the Sensor Lenses
Dirt, cobwebs, or debris on the sensor lenses can block the infrared beam. Use a soft, dry cloth to gently wipe both lenses. Avoid using water or harsh chemicals, as these can damage the electronics.
3. Adjust Sensor Alignment
Misalignment is one of the most common causes of sensor failure. Both devices must be pointed directly at each other for the beam to connect. To realign:
- Loosen the mounting bracket screws slightly.
- Gently adjust the sensors until both indicator lights are steady and not blinking.
- Tighten the screws while holding the sensors in place.
- Test the door operation to confirm the fix.
4. Check for Wiring Issues
If cleaning and alignment don’t resolve the issue, inspect the wiring for visible damage, fraying, or disconnections. Sometimes, rodents or weather can cause problems with the low-voltage wires running from the sensors to the opener.
For a more thorough inspection, see this resource on how to check garage door sensor wiring for damage. It covers how to safely test for shorts or breaks.
5. Test Sensor Functionality
After checking alignment and wiring, test the sensors by closing the door and waving an object in front of the beam. The door should stop or reverse immediately. If it does not, the sensors may need replacement.
For a detailed walkthrough, refer to this article on how to test garage door safety sensors for proper function.
When to Replace Your Garage Door Sensors
If you’ve tried all the above steps and the sensors still don’t work, they may be faulty. Replacement is straightforward and often less expensive than a service call. Look for compatible Chamberlain sensors and follow the manufacturer’s instructions for installation.
Additional Tips for Reliable Operation
- Keep the area around the sensors clear of objects, tools, or storage bins.
- Periodically clean the lenses to prevent dust buildup.
- Check sensor brackets for vibration or movement after storms or accidental bumps.
- Replace worn or damaged wires promptly to avoid intermittent issues.
Understanding Sensor Light Patterns
The indicator lights on Chamberlain sensors can help you pinpoint the issue. For example, a blinking light often means misalignment, while no light could indicate a wiring or power problem. For a detailed explanation of what different blinking patterns mean, see this guide to garage door sensor blinking lights.
FAQ
What does it mean if my Chamberlain sensor light is blinking?
A blinking sensor light usually indicates that the sensors are not properly aligned or that something is blocking the infrared beam. Try cleaning the lenses and adjusting the alignment until the light becomes steady.
Can I bypass the safety sensors temporarily?
Bypassing the sensors is not recommended for regular use, as it disables a key safety feature. However, if you need to close the door in an emergency, you can hold down the wall button. For safe and effective bypass methods, see this guide to bypass garage door sensors safely.
How often should I check my garage door sensors?
It’s a good idea to inspect and clean your sensors every few months, especially if your garage is exposed to dust, debris, or frequent use. Regular maintenance helps prevent unexpected malfunctions.
What should I do if realignment and cleaning don’t fix the problem?
If the sensors remain unresponsive after cleaning and aligning, check the wiring for damage. If the wiring is intact and the sensors still don’t work, replacement is likely necessary.
By following these troubleshooting steps, most homeowners can resolve Chamberlain sensor issues without professional help. Regular maintenance and prompt attention to warning signs will ensure your garage door operates safely and reliably.


