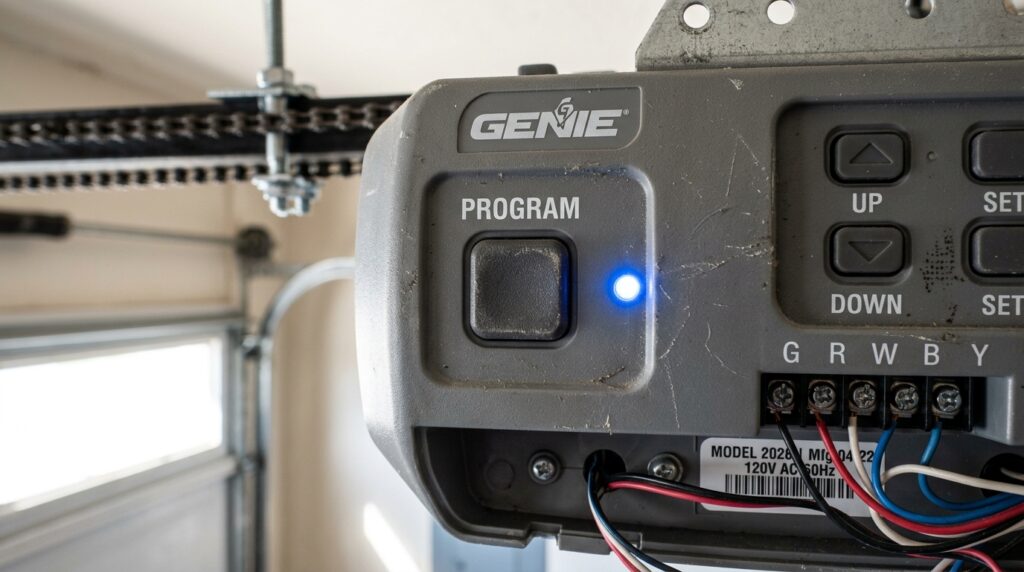
If you’ve noticed that the small indicator light on your garage door sensor isn’t glowing, it’s more than just a minor annoyance. The sensor light plays a critical role in your garage door’s safety system, signaling that the sensors are powered and aligned correctly. When the light is off, your garage door may refuse to close, or worse, it could compromise the safety features designed to prevent accidents. Understanding the reasons behind a non-functioning sensor light can help you restore your garage door’s reliability and keep your home secure.
This article will walk you through the most common causes for a sensor light that won’t turn on, practical troubleshooting steps, and when to consider professional help. For those dealing with related sensor issues, you may also find it helpful to learn how to fix garage door sensor flickering for a broader understanding of sensor malfunctions.
Understanding Garage Door Sensor Lights
Garage door sensors are typically installed near the bottom of the door tracks, facing each other. These sensors use an invisible infrared beam to detect obstructions in the doorway. When the beam is interrupted, the door will not close, helping prevent accidents and injuries. The small LED or indicator light on each sensor provides a quick visual cue: if the light is on, the sensor is powered and (usually) aligned. If it’s off, there’s a problem that needs attention.
Common Reasons for a Sensor Light Not Working
There are several reasons why the indicator on your garage door sensor might not be illuminated. Here are the most frequent culprits:
- Power supply issues: If the sensor isn’t getting power, the light will remain off.
- Wiring problems: Damaged or loose wires can interrupt the electrical flow.
- Misalignment: Sensors that are not facing each other correctly may not activate the light.
- Dirty or obstructed lenses: Dirt, spider webs, or debris can block the sensor’s view.
- Faulty sensor or LED: Sometimes, the sensor or just the light itself fails and needs replacement.
Step-by-Step Troubleshooting for a Sensor Light That’s Off
If you’re wondering, “Why is my garage door sensor light off?”, follow these steps to diagnose and resolve the issue:
1. Check for Power Supply Problems
Start by verifying that your garage door opener is plugged in and that there’s no tripped circuit breaker. If the opener itself has no power, neither will the sensors. If only the sensor light is off but the opener works, move to the next step.
2. Inspect the Sensor Wiring
Examine the wires running to each sensor. Look for visible damage, loose connections, or corrosion. If you spot any issues, you may need to repair or replace the wiring. For a more detailed guide on this process, see how to check garage door sensor wiring for damage.
3. Realign the Sensors
Even a slight bump can knock sensors out of alignment. Both sensors should face each other directly, with their lenses parallel. Slowly adjust one sensor until the light comes on. If the light flickers or remains off, continue troubleshooting.
4. Clean the Sensor Lenses
Dust, cobwebs, or even a small insect can block the sensor’s lens. Use a soft, dry cloth to gently wipe both lenses. Avoid using harsh chemicals, as these can damage the plastic.
5. Test for Sensor or LED Failure
If you’ve checked power, wiring, alignment, and cleanliness, but the light is still off, the sensor or its LED may be faulty. At this point, replacing the sensor is often the best solution. For DIYers, you can find compatible sensor lights online and install them with basic tools.
Other Issues That Can Affect Sensor Lights
Sometimes, the problem isn’t with the sensor itself. Environmental factors or garage conditions can also play a role:
- Direct sunlight can interfere with the infrared beam, causing the light to turn off intermittently.
- Vibration from the garage door may loosen sensor mounts over time.
- Water damage from rain or snow can short out sensors, especially in older garages.
When to Reset or Replace Your Garage Door Sensors
If you’ve tried all the above steps and your sensor light remains off, consider resetting your sensors. Many garage door openers allow you to reset the sensors by unplugging the opener for a minute and plugging it back in, or by following the manufacturer’s reset procedure. For a detailed walkthrough, see this step-by-step guide on resetting garage door sensors.
If resetting doesn’t help, replacement is likely necessary. Modern sensors are affordable and can be installed with basic DIY skills. If you’re not comfortable working with electrical components, contact a professional technician.
Preventing Future Sensor Light Problems
Regular maintenance can help you avoid sensor issues in the future. Here are a few tips:
- Periodically clean sensor lenses to prevent dirt buildup.
- Check sensor alignment after any accidental bumps or door repairs.
- Inspect wiring for signs of wear, especially in older garages.
- Test your sensors monthly to ensure both the beam and light are working. For a step-by-step process, review how to test garage door safety sensors.
FAQ
Why does my garage door only close when I hold the button?
This usually indicates a problem with the safety sensors. If the sensors aren’t working or the light is off, the opener’s safety system will only allow the door to close when you hold the wall button, overriding the sensor. For more details, see why does my garage door only close when I hold the button.
Can I rewire my garage door sensors myself?
Yes, many homeowners can safely rewire garage door sensors with basic tools and attention to safety. If you’re interested in a DIY approach, check out this simple guide on rewiring garage door sensors.
How do I know if my sensor is completely broken?
If you’ve checked power, wiring, alignment, and cleaning, but the light remains off, the sensor may be faulty. Try swapping the sensors (if possible) to see if the problem follows the sensor or stays with the wiring. If the issue persists, replacement is recommended.


