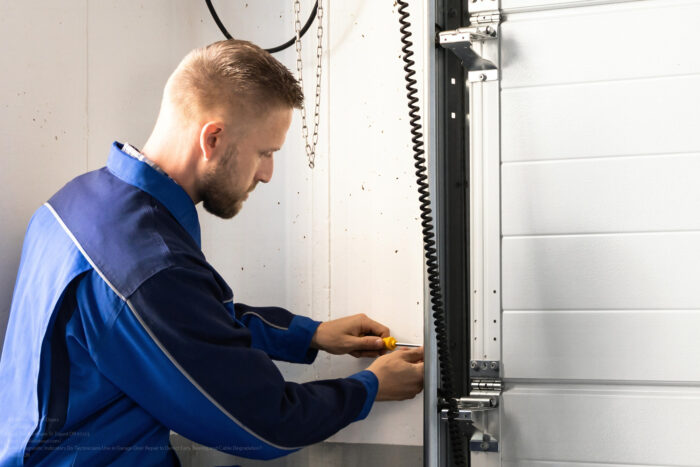
Replacing a garage door cable is a task that many homeowners can tackle with the right preparation and safety measures. Cables are essential for the smooth and balanced operation of your garage door, and when they wear out or snap, the door can become heavy, uneven, or even dangerous to operate. This garage door cable replacement guide will walk you through the process step by step, highlighting safety tips, required tools, and best practices for a successful and secure repair.
Before starting, it’s important to understand the role of cables in your garage door system. Cables work in tandem with springs to lift and lower the door safely. Over time, they can fray, rust, or break due to constant tension and exposure to the elements. Recognizing early signs of wear can help prevent sudden failures and costly repairs. For more on common issues, check out this resource on garage door cable common problems to help you identify symptoms before they escalate.
Why Garage Door Cables Fail and When to Replace Them
Garage door cables are under constant tension and are exposed to dirt, moisture, and temperature changes. Over time, these factors can cause cables to:
- Fray or unravel due to wear and tear
- Rust from moisture exposure
- Snap suddenly, often when the door is in motion
Signs that your cables need attention include visible fraying, loose strands, or the door appearing crooked or struggling to open and close. If you notice any of these issues, it’s time to consider a replacement. For tips on preventing future breakdowns, you might find this article on garage door cable prevention tips helpful.
Essential Tools and Safety Gear for Cable Replacement
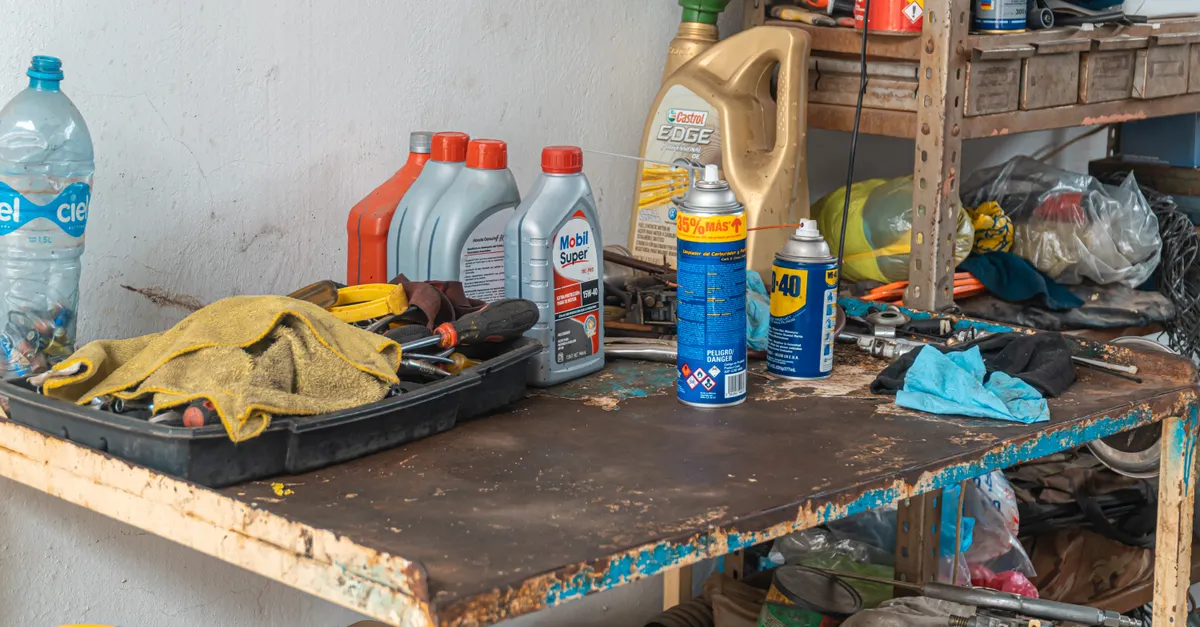
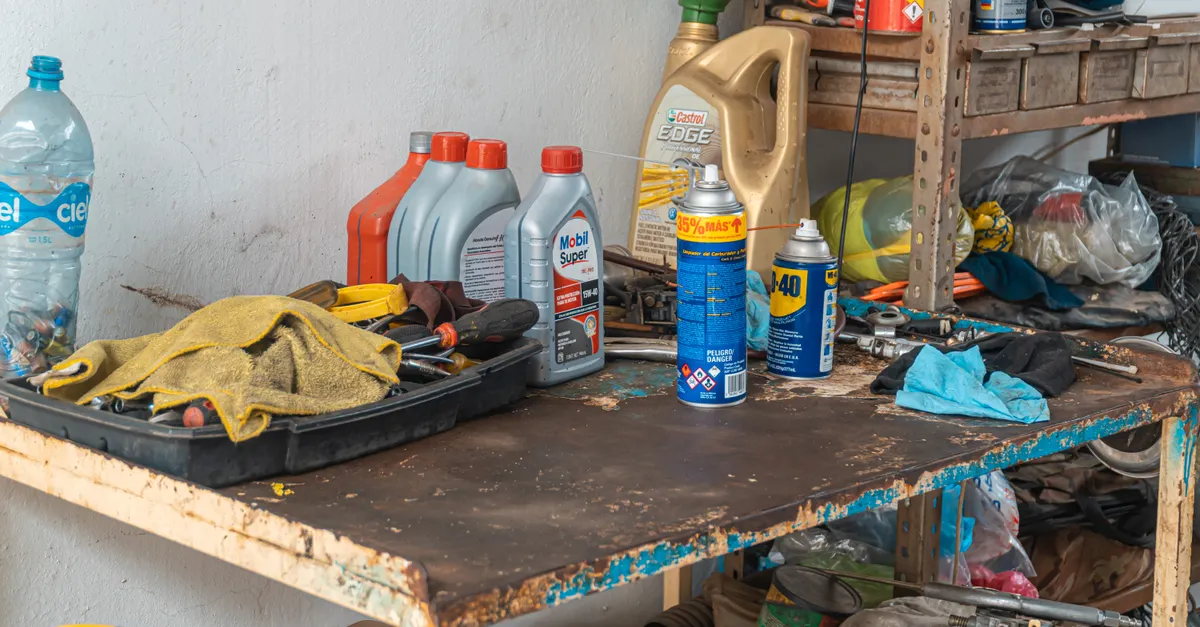
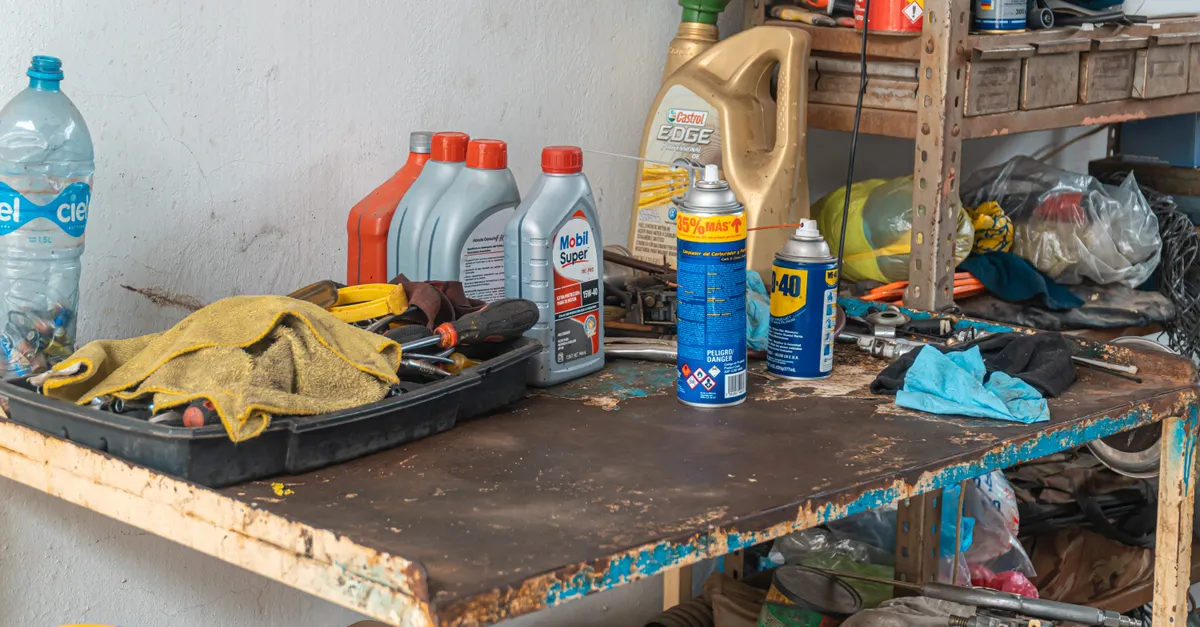
Before you begin, gather the following tools and safety equipment:
- New garage door cables (matched to your door type)
- Winding bars (for torsion spring systems)
- Adjustable wrench and socket set
- Locking pliers or C-clamps
- Flathead screwdriver
- Work gloves and safety glasses
Always disconnect the garage door opener and ensure the door is fully closed before starting. If your door uses extension springs, the process is less hazardous, but torsion spring systems require extra caution due to the high tension involved.
Step-by-Step Instructions for Replacing Garage Door Cables
Follow these directions for a safe and effective cable swap. If you are unsure at any point, consider consulting a professional or reviewing a detailed garage door gable guide for additional context.
1. Prepare the Area and Secure the Door
Clear the workspace around your garage door. Disconnect the opener and use locking pliers or C-clamps to secure the door in the closed position. This prevents accidental movement while you work.
2. Release Tension from the Springs
For torsion spring systems, use winding bars to carefully unwind the springs and relieve tension. This is a critical safety step—never use screwdrivers or makeshift tools for this purpose. For extension springs, open the door fully and secure it so the springs are relaxed.
3. Remove the Old Cable
Locate the cable drums (for torsion springs) or pulleys (for extension springs) at the top corners of the door. Loosen the set screws or nuts holding the cable in place. Carefully unwind and remove the old cable from the drum or pulley and bottom bracket.
4. Install the New Cable
Thread the new cable through the same path as the old one. Attach it securely to the bottom bracket and wind it onto the drum or pulley, ensuring there are no twists or kinks. Tighten the set screws or nuts to hold the cable in place.
5. Reapply Tension and Test the Door
For torsion springs, use winding bars to reapply the correct amount of tension. Remove the pliers or C-clamps and reconnect the opener. Slowly open and close the door by hand to check for smooth operation and proper balance. Make adjustments as needed.
Tips for a Smooth and Safe Cable Swap
- Double-check cable compatibility with your door model before purchasing replacements.
- Work with a partner if possible, especially when handling heavy doors or torsion springs.
- Lubricate moving parts after installation to ensure smooth operation and reduce wear.
- Inspect other hardware, such as brackets and drums, for signs of damage or wear during the process.
For those new to garage door maintenance, the garage door cable beginner guide offers a helpful introduction to the basics and safety considerations.
Maintaining Your Garage Door After Cable Replacement
Once your new cables are installed, regular maintenance will help extend their lifespan and keep your door operating smoothly. Here are a few simple steps:
- Visually inspect cables, springs, and rollers every few months for signs of wear or rust.
- Lubricate all moving parts with a silicone-based spray or light oil.
- Test the door’s balance by disconnecting the opener and lifting the door by hand—it should move smoothly and stay open halfway.
- Address minor issues promptly to avoid larger, more expensive repairs.
For more advanced tips and technical details, the garage door cable professional guide is a valuable resource for homeowners seeking deeper knowledge.
Frequently Asked Questions
How do I know if my garage door cable needs replacing?
Look for visible fraying, rust, or broken strands along the cable. If your door is uneven, heavy to lift, or won’t open at all, the cable may be damaged. Regular inspections can help you spot issues early.
Is it safe to replace garage door cables myself?
Replacing cables on extension spring systems is generally manageable for careful DIYers. However, torsion spring systems are under high tension and can be dangerous. If you’re unsure, it’s best to hire a professional.
What type of cable should I buy for my garage door?
Always match the cable size and type to your door’s specifications. Check your owner’s manual or consult with a hardware supplier. Using the wrong cable can lead to improper operation or safety hazards.
How often should I inspect or replace my garage door cables?
Inspect cables every six months for signs of wear or corrosion. Most cables last several years, but environmental factors and usage can shorten their lifespan. Replace them at the first sign of significant wear.
Conclusion
Handling a cable replacement is a practical way to maintain your garage door’s safety and efficiency. By following the steps in this garage door cable replacement guide, using the right tools, and observing safety precautions, you can restore smooth operation and avoid unexpected breakdowns. For more on optimizing your door’s performance, see this article on garage door cable efficiency. If you ever feel uncertain, don’t hesitate to consult a professional technician to ensure your repair is completed safely and correctly.