When your garage door starts to jerk, sag, or refuses to open smoothly, worn or broken cables are often the culprit. Tackling garage door cable replacement yourself can save time and money, but it’s crucial to follow safe, methodical steps. This guide walks you through the process, highlights essential safety tips, and offers expert advice for a successful repair.
Before you begin, understand that garage door cables are under significant tension. If you’re unsure about any step or notice damage to springs or other components, consider consulting a professional. For those ready to proceed, this article covers the tools, preparation, and step-by-step instructions you’ll need.
For more technical details and troubleshooting tips, you may find the garage door cable professional guide a helpful resource before starting your repair.
Understanding Garage Door Cables and Their Role
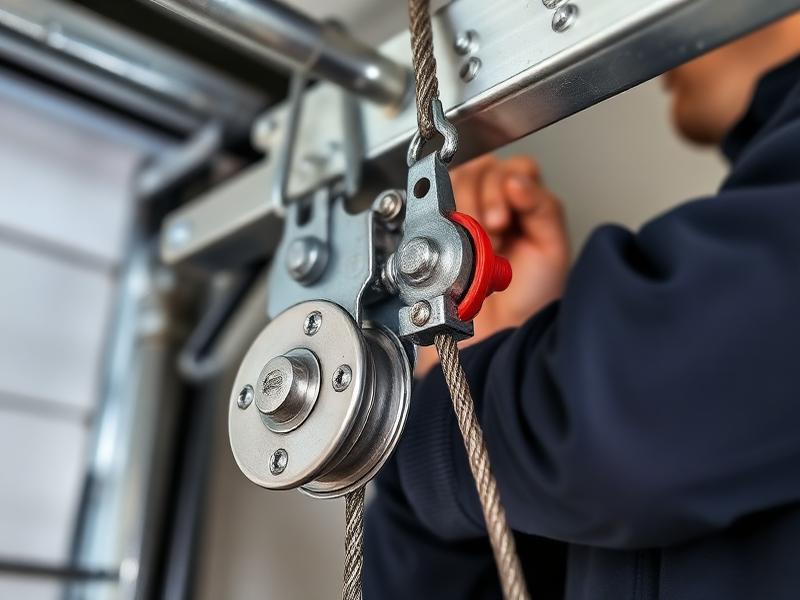
Garage door cables are heavy-duty wires that help lift and lower the door safely. They work in tandem with springs—either torsion or extension types—to counterbalance the door’s weight. When a cable frays or snaps, the door may become unbalanced, jammed, or even dangerous to operate.
There are two main types of cables:
- Torsion spring cables: Run along the bottom of the door and wind around drums at each end of the torsion bar.
- Extension spring cables: Attach to pulleys and run along the sides of the door, stretching as the door moves.
Knowing which system your garage uses is essential for selecting the correct replacement parts and following the right procedure.
Signs You Need to Replace Garage Door Cables
Common indicators that it’s time for new cables include:
- Visible fraying, rust, or kinks in the cable
- The door hangs unevenly or sags on one side
- Difficulty opening or closing the door
- Loud snapping sounds or cables visibly off the drum or pulley
Ignoring these warning signs can lead to further damage or even personal injury. Regular inspection and timely garage door cable replacement are key to safe operation. For additional prevention strategies, review these practical garage door cable prevention tips.
Essential Tools and Materials for Cable Replacement
Gather all necessary tools and replacement parts before starting. You’ll need:
- Replacement cables (matched to your door type and size)
- Winding bars (for torsion spring systems)
- Adjustable wrench and socket set
- Locking pliers or C-clamps
- Flathead screwdriver
- Safety glasses and gloves
- Stepladder
Purchase high-quality cables and pulleys to ensure long-lasting results. If you need reliable parts, consider using the links provided in the next sections for recommended kits.
Step-by-Step Instructions for Replacing Garage Door Cables
Follow these steps for a safe and effective cable swap. The process varies slightly between torsion and extension spring systems, so identify your setup first.
1. Disconnect Power and Secure the Door
- Unplug the garage door opener to prevent accidental activation.
- Fully close the door. If the cable is broken and the door is stuck open, use locking pliers or C-clamps on the tracks beneath the rollers to keep the door from falling.
2. Release Spring Tension (Torsion Systems Only)
- Using winding bars, carefully unwind the torsion springs to relieve tension. Never use screwdrivers or makeshift tools for this step.
- Mark the current position of the springs and drums for easier reassembly.
3. Remove the Old Cable
- For torsion systems: Loosen the set screws on the cable drum and slide the drum away from the bearing plate. Remove the old cable from the drum and bottom bracket.
- For extension systems: Detach the cable from the bottom bracket and pulley. Remove any clips or fasteners holding the cable in place.
4. Install the New Cable
- Thread the replacement cable through the same path as the original, ensuring it sits correctly in the drum or pulley grooves.
- Secure the cable to the bottom bracket and drum or pulley. Double-check for twists or kinks.
- Re-tighten set screws and ensure all hardware is secure.
5. Reapply Spring Tension and Test
- For torsion springs: Use winding bars to restore the correct number of turns to the spring, following manufacturer specifications.
- Remove any clamps or pliers from the tracks.
- Reconnect the opener and test the door manually for smooth, balanced movement.
If you encounter any issues or the door does not operate smoothly, consult a professional or refer to a detailed DIY cable repair guide for troubleshooting tips.
Maintenance Tips to Extend Cable Life
Routine care can help prevent premature cable failure. Here are some best practices:
- Inspect cables for fraying, rust, or wear every few months.
- Lubricate moving parts with a silicone-based spray. For guidance, see this article on garage door cable lubrication frequency.
- Keep the tracks and rollers clean and free of debris.
- Address any signs of corrosion promptly. For more on this, check out the garage door cable corrosion prevention guide.
- Consider upgrading to modern cable systems for enhanced durability. Learn more about options in the garage door cable system upgrade overview.
When to Call a Professional
While many homeowners can handle cable replacement with the right tools and instructions, certain situations call for expert help:
- Broken or stretched springs
- Multiple cables off the drum or pulley
- Unusual noises or jerky movement after replacement
- Uncertainty about the door’s balance or safety
Professional technicians have the experience and equipment to handle complex repairs safely. Don’t hesitate to reach out if you’re unsure or encounter unexpected issues.
Frequently Asked Questions
How often should garage door cables be replaced?
Most cables last between 7 and 15 years, depending on usage and maintenance. Inspect them at least twice a year and replace at the first sign of significant wear or fraying.
Can I replace garage door cables myself, or should I hire a pro?
Many homeowners can perform cable replacement with proper tools and safety precautions. However, if your door uses torsion springs or you feel unsure at any step, hiring a professional is the safest option.
What are the risks of delaying cable replacement?
Worn or broken cables can cause the door to become unbalanced, jam, or even fall suddenly, posing a risk of injury or property damage. Prompt replacement is essential for safe operation.
Do I need to replace both cables if only one is damaged?
It’s generally recommended to replace both cables at the same time. This ensures even wear and reduces the likelihood of another failure soon after the repair.