When your garage door refuses to open smoothly or suddenly becomes crooked, the culprit is often a cable issue. Garage door cable troubleshooting is essential for homeowners who want to quickly identify and resolve common problems before they escalate into costly repairs. Understanding the signs of cable trouble, knowing what to look for, and learning safe diagnostic steps can help you restore your garage door’s function and safety.
This guide covers the most frequent cable issues, how to spot them, and what steps you can take—plus when it’s time to call a professional. For those interested in a more technical overview, the garage door cable professional guide provides in-depth technical tips and specifications.
Recognizing Common Garage Door Cable Problems
Garage door cables are a critical part of the lifting mechanism. When they malfunction, you might notice:
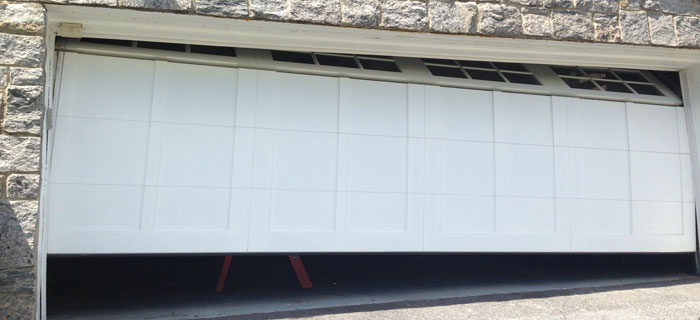
- Door is uneven or crooked when opening or closing
- Visible fraying, rust, or kinks in the cables
- Garage door gets stuck or won’t move at all
- Loud snapping or grinding noises during operation
- Cables appear loose, off the drum, or completely broken
These symptoms usually indicate a problem with the cables, drums, or related hardware. Addressing these issues quickly can prevent further damage to your door and opener.
Step-by-Step Guide to Garage Door Cable Troubleshooting
Before you begin, remember that garage doors are under high tension. If you’re unsure or uncomfortable, always consult a professional. Here’s how to safely inspect your cables:
- Disconnect the opener: Pull the emergency release cord to operate the door manually. This prevents accidental activation.
- Visually inspect the cables: Look for fraying, rust, or broken strands. Check both sides of the door.
- Check cable tension: Cables should be taut but not overly tight. Loose cables may slip off the drum; overtightened cables can snap.
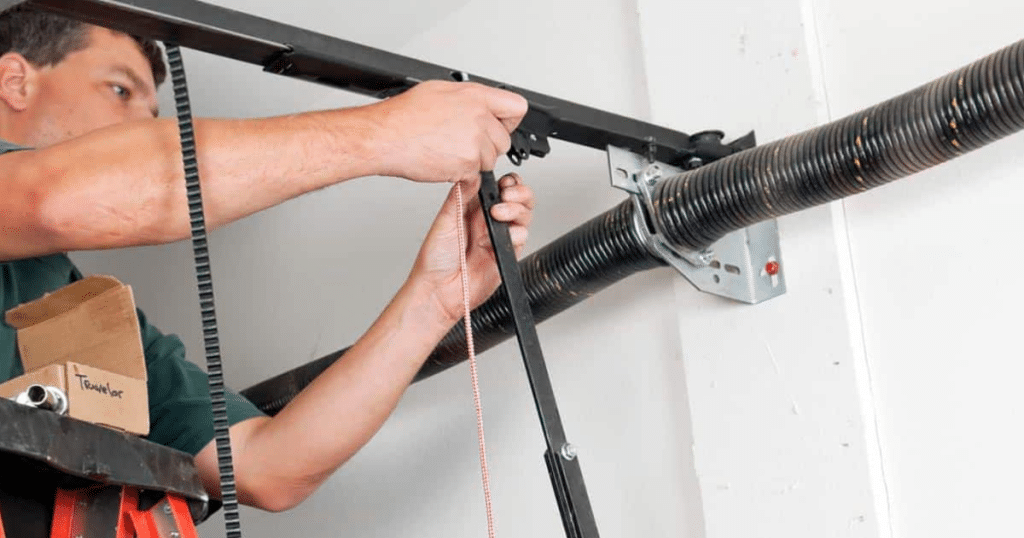
- Examine the drums and pulleys: Ensure cables are properly seated on the drum and that pulleys spin freely without wobbling.
- Test door balance: With the opener disconnected, lift the door halfway. If it stays in place, the springs and cables are likely balanced. If it falls or shoots up, there’s an issue.
If you discover severe fraying, broken cables, or significant rust, do not attempt to operate the door until repairs are made. For more on preventing future issues, see these garage door cable prevention tips.
Why Garage Door Cables Fail
Understanding the root causes of cable failure helps with both troubleshooting and prevention. The most common reasons include:
- Wear and tear: Cables endure constant tension and movement, leading to gradual fraying or breakage.
- Corrosion: Exposure to moisture or chemicals can cause rust, weakening the cable strands. For strategies to prevent this, check out the garage door cable corrosion prevention guide.
- Poor installation: Incorrect cable routing or tensioning can cause premature wear or slippage.
- Lack of maintenance: Failing to lubricate or inspect cables regularly accelerates deterioration. Learn about the right garage door cable lubrication frequency to keep your system running smoothly.
- Obstructions: Debris in the tracks or around the drums can cause cables to slip or become misaligned.
How to Fix Minor Garage Door Cable Issues
Some minor cable issues can be addressed by careful DIYers. Here are a few safe fixes:
- Re-seat a slipped cable: If a cable has come off the drum but is not frayed or damaged, you may be able to re-seat it by lowering the door fully and carefully guiding the cable back onto the drum.
- Lubricate cables: Use a silicone-based lubricant to reduce friction and prevent rust. Avoid using heavy oils that attract dust.
- Tighten loose hardware: Check that cable anchors and drum set screws are secure, but never overtighten.
Never attempt to replace a broken cable or adjust torsion springs yourself. These tasks are dangerous and require specialized tools and training. If you notice significant damage, contact a professional technician.
When to Call a Professional for Cable Repairs
While some minor adjustments can be handled at home, certain situations require expert help. Call a professional if:
- The cable is broken, severely frayed, or rusted through
- The door is stuck open or closed and cannot be moved manually
- Springs or drums appear damaged or out of alignment
- You’re unsure about any aspect of the repair process
Attempting complex repairs without proper tools and knowledge can lead to injury or further damage. For those considering upgrades, a garage door cable system upgrade can improve safety and performance.
For a list of best practices and what to avoid, see this comprehensive guide to garage door cable dos and don’ts.
Preventing Future Cable Issues
Regular maintenance is the best way to avoid unexpected cable failures. Here are some tips:
- Inspect cables for wear and rust every three to six months
- Lubricate moving parts on a regular schedule
- Keep the area around the door tracks and drums clean
- Address minor issues before they become major problems
- Schedule professional tune-ups annually
By staying proactive, you can extend the life of your cables and avoid inconvenient breakdowns.
Frequently Asked Questions
How do I know if my garage door cable needs to be replaced?
Look for visible signs such as fraying, rust, kinks, or broken strands. If the door is uneven, gets stuck, or you hear unusual noises, it’s time for a closer inspection. When in doubt, consult a technician.
Can I replace garage door cables myself?
Replacing cables involves working with high-tension components and can be dangerous without the right tools and experience. Minor adjustments like re-seating a slipped cable may be safe, but full replacements should be left to professionals.
How often should I inspect and maintain my garage door cables?
It’s recommended to inspect cables every three to six months and lubricate them as part of your regular garage door maintenance routine. Annual professional tune-ups can help catch issues early and keep your door operating safely.