Garage door sensors are essential for safe and reliable operation. When the mounting brackets holding these sensors become loose, your garage door may stop working correctly, or worse, pose a safety risk. Learning how to tighten garage door sensor mounting brackets quickly and correctly can save you time, prevent malfunctions, and keep your garage secure.
This guide will walk you through the process of securing your sensor brackets, explain why they loosen over time, and offer troubleshooting tips for common issues. Whether you’re a homeowner or a DIY enthusiast, these steps will help you restore your garage door’s performance and safety.
If you’re dealing with sensor brackets attached to metal studs or facing persistent alignment problems, you may find additional solutions in how to fix garage door sensor mounting on metal studs, which covers mounting challenges in more detail.
Understanding Garage Door Sensor Brackets and Why They Loosen
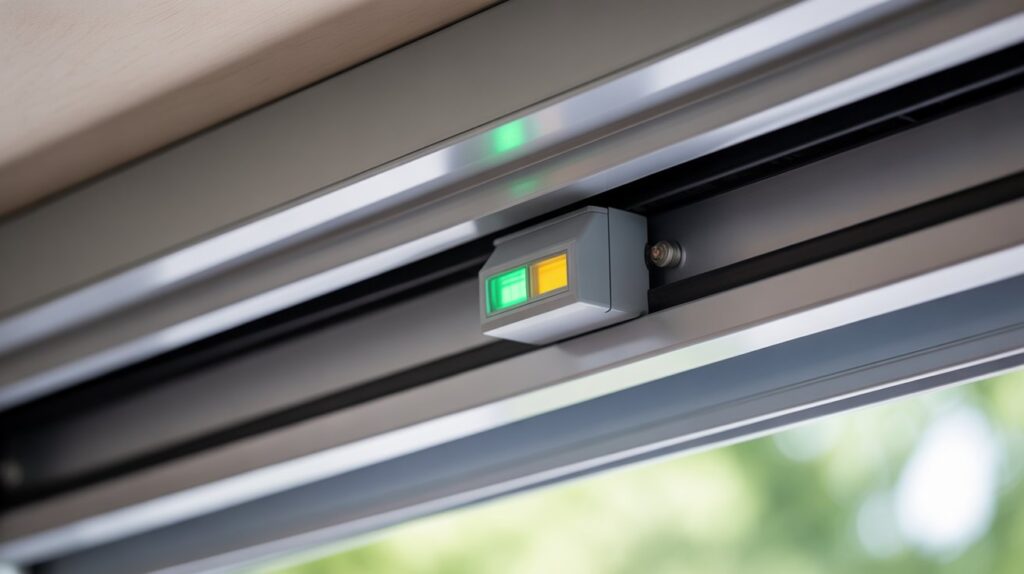
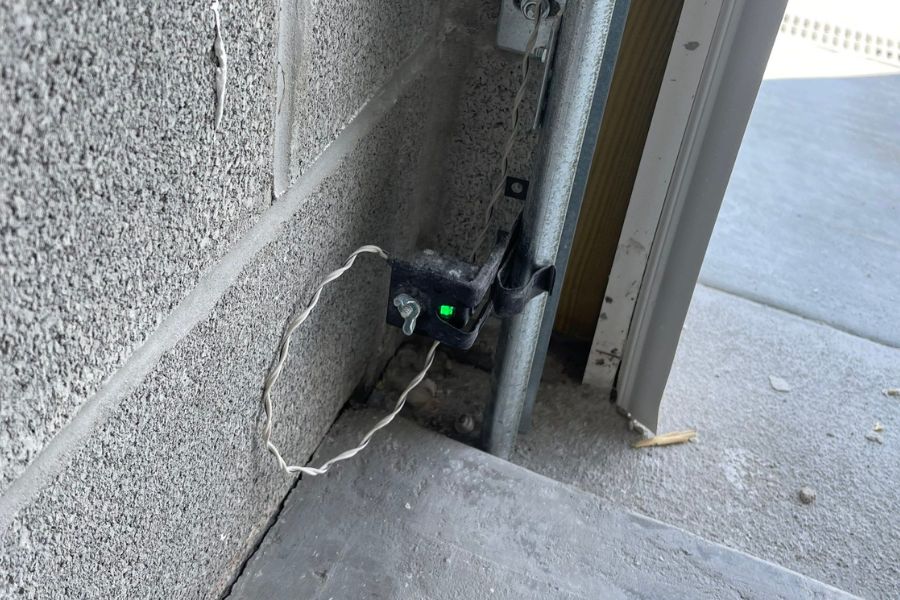
Garage door safety sensors are typically mounted near the base of the door tracks, about six inches above the ground. These sensors rely on precise alignment to function properly. The brackets that hold them in place can become loose due to:
- Vibration from the door opening and closing
- Accidental bumps or impacts from vehicles, tools, or children
- Temperature changes causing expansion and contraction
- Improper installation or use of the wrong hardware
Loose brackets can cause the sensors to misalign, resulting in blinking lights, the door refusing to close, or intermittent operation. Addressing this promptly helps avoid further complications and keeps your garage door system running smoothly.
Tools and Materials Needed for Quick Bracket Tightening
Before starting, gather the following tools and materials to ensure you can complete the job efficiently:
- Phillips or flathead screwdriver (depending on your bracket screws)
- Socket wrench or adjustable wrench (for nut and bolt brackets)
- Level (preferably a small torpedo level)
- Replacement screws or bolts (if originals are stripped or missing)
- Clean rag (to remove dust and debris)
Having the right tools on hand will make the process of tightening sensor brackets much faster and more effective.
Step-by-Step Instructions for Securing Sensor Brackets
Follow these steps to ensure your garage door sensor brackets are tightened properly and your sensors remain aligned:
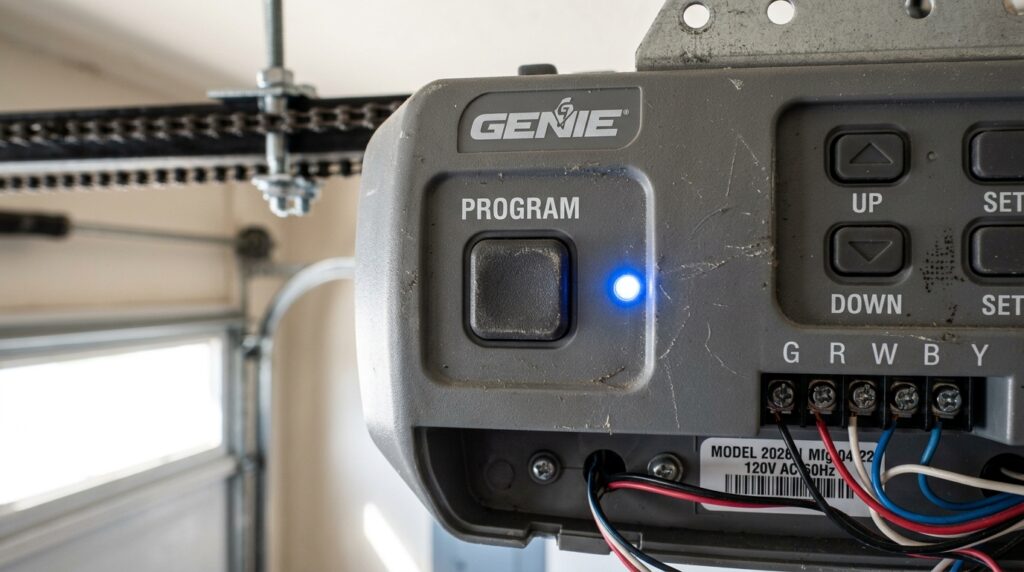
- Disconnect the Power: For safety, unplug the garage door opener or switch off the circuit breaker before working near the sensors.
- Inspect the Brackets: Check both sides of the garage door for loose, bent, or damaged brackets. If you notice any bending, refer to how to fix garage door sensor bracket bending for repair tips.
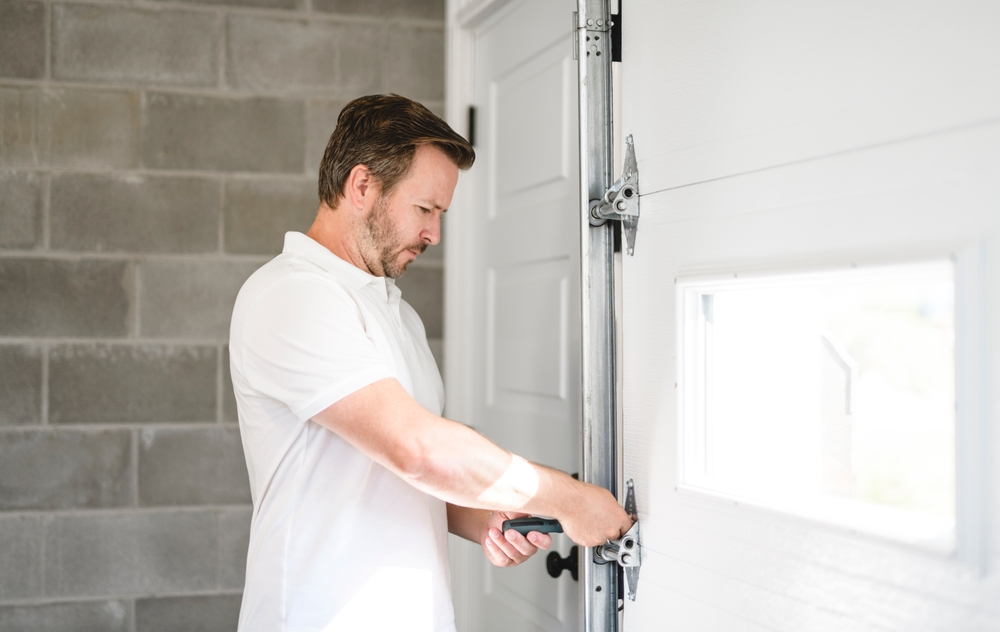
- Tighten the Screws or Bolts: Use your screwdriver or wrench to firmly tighten all mounting hardware. Be careful not to overtighten, as this can strip the screws or damage the bracket.
- Check Sensor Alignment: After tightening, use a level to ensure both sensors are perfectly aligned. Misalignment can cause the garage door to malfunction.
- Test the Sensors: Restore power and test the garage door. The indicator lights on the sensors should be solid (not blinking). If you see blinking or no light, check out why is my garage door sensor light turning off and on for troubleshooting steps.
Common Issues After Tightening Sensor Brackets
Even after securing the brackets, you may encounter some common problems:
- Sensor Light Still Blinking: This usually means the sensors are still misaligned or there’s an obstruction. Clean the sensor lenses and double-check alignment.
- Bracket Keeps Loosening: If the bracket continues to loosen, the mounting surface may be compromised. Consider using longer screws, wall anchors, or even relocating the bracket to a more stable area. If temperature changes are a factor, see how to fix garage door sensor from shifting due to temperature for more details.
- Missing or Damaged Indicator Light: If the sensor’s indicator light is missing or not working, refer to why is my garage door sensor indicator light missing for guidance.
Persistent issues may require replacing the sensor or bracket. Always use compatible parts recommended by your garage door manufacturer.
Tips for Preventing Bracket Loosening in the Future
Once you’ve tightened your sensor brackets, a few preventative measures can help keep them secure:
- Check and tighten brackets every few months as part of regular garage door maintenance.
- Avoid bumping the sensors with tools, bikes, or vehicles.
- Use lock washers or thread-locking compound on screws to reduce loosening from vibration.
- Ensure the mounting surface is solid and free of rust or damage.
Proactive care can extend the life of your garage door sensors and minimize future repairs.

When to Seek Professional Help
If you’ve followed all the steps and your garage door sensors are still not working, it might be time to call a professional. Complex wiring issues, damaged sensors, or persistent bracket problems may require expert attention. For more detailed troubleshooting, you can consult resources like this comprehensive guide to fixing garage door sensors.
Professional technicians have the tools and experience to diagnose and resolve issues quickly, ensuring your garage door operates safely and reliably.
FAQ: Garage Door Sensor Bracket Tightening
How do I know if my garage door sensor brackets are loose?
Signs of loose brackets include blinking sensor lights, the garage door refusing to close, or the sensors appearing misaligned. You may also notice the brackets wobbling when touched. Regularly inspecting the brackets can help you catch issues early.
Can I use any screws to tighten the sensor brackets?
It’s best to use screws or bolts that match the original hardware. Using the wrong size or type can strip the mounting holes or fail to secure the bracket properly. If the original screws are missing or damaged, replace them with ones of similar length and diameter.
What should I do if the brackets keep coming loose?
If brackets repeatedly loosen, check the mounting surface for damage or wear. Reinforce the area with wall anchors or use thread-locking compound on the screws. If the problem persists, you may need to relocate the bracket to a sturdier spot or replace it entirely.
Is it safe to operate the garage door with loose sensor brackets?
No, operating the garage door with loose or misaligned sensors can compromise safety. The sensors may fail to detect obstructions, increasing the risk of injury or property damage. Always secure the brackets before using the door.
How often should I check my garage door sensor brackets?
Inspect the brackets every three to six months, or sooner if you notice operational issues. Regular maintenance helps prevent unexpected failures and extends the life of your garage door system.