Regularly checking your garage door cables is essential for maintaining a safe and functional door system. Over time, cables can fray, rust, or lose tension, leading to potential hazards or costly repairs. This guide provides a detailed, step-by-step approach to inspecting your garage door cables, helping you spot issues early and keep your system running smoothly.
Understanding the different types of cables and knowing what to look for during an inspection can prevent unexpected breakdowns. If you want to expand your knowledge about cable types, consider reviewing this overview of garage door cable varieties for additional context.
For those looking to take their maintenance skills further, the garage door cable professional guide offers advanced tips and technical insights.
Why Inspecting Garage Door Cables Matters
Garage door cables play a critical role in the safe operation of your door. They support the weight, balance the movement, and ensure smooth opening and closing. Ignoring cable maintenance can result in snapped wires, uneven lifting, or even sudden door drops, posing a risk to people and property. Following a thorough garage door cable inspection checklist helps you identify wear and tear before it becomes a safety issue.
Preparation: Safety First
Before starting your inspection, prioritize safety. Disconnect the automatic opener to prevent accidental activation. If your door uses extension or torsion springs, remember these are under high tension—never attempt repairs unless you are trained. Wear gloves and safety glasses to protect against sharp cable strands or debris.
- Unplug the garage door opener.
- Ensure the door is in the closed position.
- Gather a flashlight, gloves, and a sturdy step ladder.
Step-by-Step Cable Inspection Process
Use this checklist to systematically examine your garage door cables:
1. Visual Assessment of Cables
Start by visually inspecting both sides of the door. Look for:
- Fraying or broken strands: Even minor fraying can weaken the cable.
- Rust or corrosion: Moisture and salt can cause cables to deteriorate.
- Kinks or twists: These can affect smooth movement and may indicate underlying issues.
If you notice significant wear, consult a professional or consider replacing the cables. For more on preventing cable corrosion, see this garage door cable corrosion prevention guide.

2. Check Cable Tension and Alignment
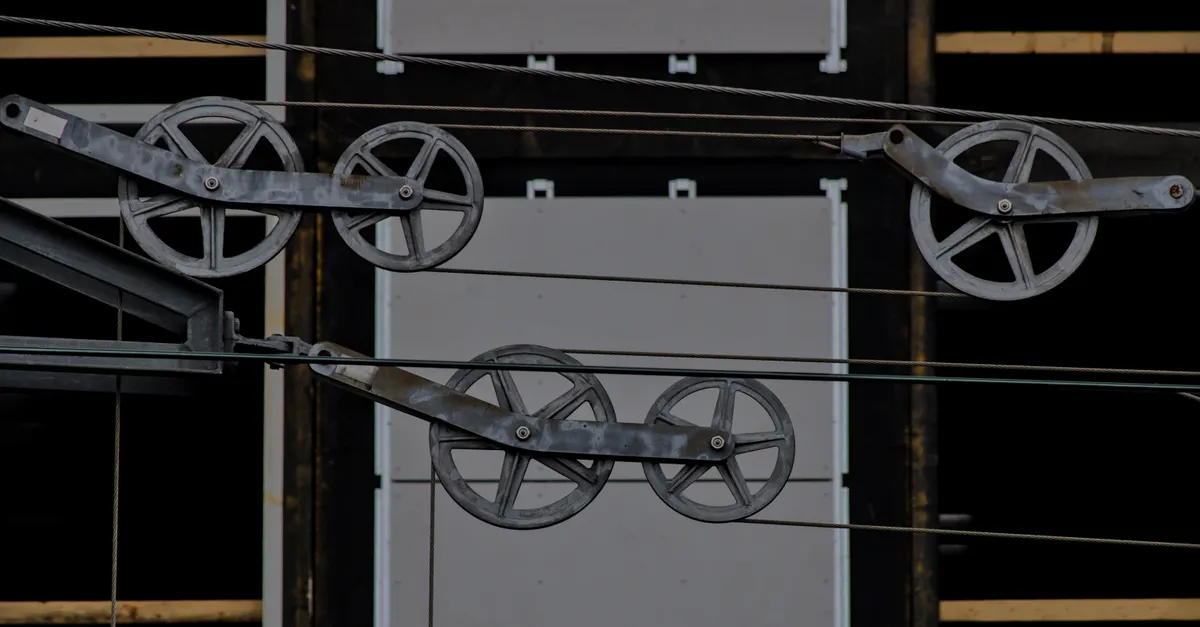
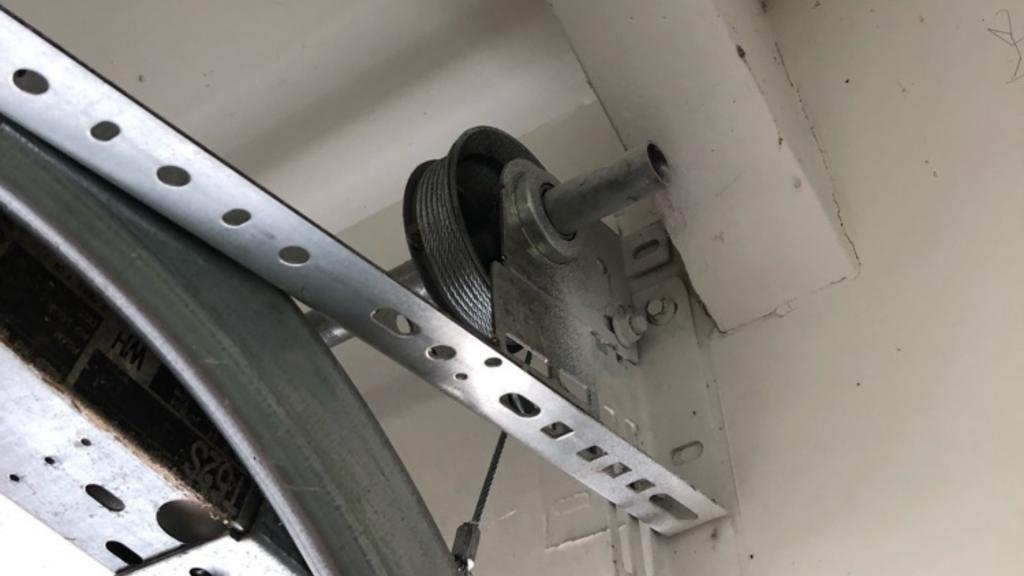
Proper tension is vital for balanced door movement. With the door closed, gently press on the cables. They should feel taut but not overly tight. If you notice slack or uneven tension between sides, this could signal a problem with the springs or pulleys. Misaligned cables may rub against hardware, causing premature wear.
- Inspect the cable drum and pulley system for proper seating.
- Ensure cables run straight and do not slip off the drum or pulley.
For tips on upgrading your cable system for better performance, explore this garage door cable system upgrade resource.
3. Examine Attachment Points
Inspect where the cables attach to the bottom bracket and the drum or pulley. Look for:
- Loose fasteners: Tighten any bolts or screws as needed.
- Wear at anchor points: Metal fatigue or rust can weaken these areas.
- Signs of cable slippage: If the cable is not securely anchored, it can unravel or detach.
4. Inspect for Lubrication and Cleanliness
Clean cables and hardware last longer. Wipe away dust, dirt, and debris. Apply a light lubricant to moving parts, avoiding direct application to the cables themselves unless specified by the manufacturer. For advice on how often to lubricate, refer to this garage door cable lubrication frequency guide.
5. Test Door Operation
After your inspection, reconnect the opener and operate the door several times. Listen for unusual noises and watch for smooth, even movement. If the door jerks, hesitates, or makes grinding sounds, further investigation may be needed.
When to Replace or Call a Professional
If you find any of the following issues, it’s best to replace the cables or consult a professional:
- Severe fraying or broken strands
- Rust that cannot be cleaned off
- Loose or damaged anchor points
- Repeated cable slippage
Attempting to repair or replace high-tension cables without proper training can be dangerous. When in doubt, hire a qualified technician for repairs.
Additional Tips for Preventing Cable Problems
- Perform a visual inspection every three to six months.
- Keep the area around your garage door clean and dry.
- Address any signs of water intrusion or excessive humidity promptly.
- Use only manufacturer-recommended replacement parts.
For more proactive advice, check out these garage door cable prevention tips to help avoid costly breakdowns.
FAQ: Common Questions About Cable Inspections
How often should I inspect my garage door cables?
It’s recommended to check your cables every three to six months. More frequent inspections may be needed in humid or coastal environments where rust develops faster.
What are the signs that my garage door cables need replacing?
Look for frayed wires, visible rust, kinks, or cables that appear loose or uneven. If the door moves unevenly or you hear scraping sounds, these can also indicate cable issues.
Can I replace garage door cables myself?
While some experienced DIYers replace cables, it’s risky due to the high tension in springs and cables. If you’re unsure, always hire a professional to avoid injury.
Should I lubricate the cables directly?
Generally, you should lubricate the pulleys and moving hardware, not the cables themselves, unless the manufacturer specifies otherwise. Over-lubrication can attract dirt and cause premature wear.
What tools do I need for a basic cable inspection?
A flashlight, gloves, safety glasses, and a sturdy ladder are usually sufficient for a visual inspection. For tightening hardware, a basic socket or wrench set may be needed.